
ADD SOME COLOR THIS SPRING WITH THESE BOLD BIRDHOUSES
It’s been another tough winter up here in Northeast Wisconsin, and I’m already daydreaming about the warm summer to come. Although it’s still early, spring is right around the corner…right? So why not get ready and start making something really cool and colorful? These birdhouses are one of my first projects exploring with our new Glowforge laser cutter which has been amazing to play around with! I’m so impressed with the precision, the design interface, and how quickly you can create with this machine. Although it’s just a birdhouse, I’ve packed a lot of creativity and thought into not just how it looks but how it is assembled and painted, so it will look just stunning. This house is designed for a house wren with an opening of 1-1/4″, I searched for birdhouse hole sizes and found a page that had a ton of information.
WHAT YOU’LL NEED:
- 1X 1/4″ x 6″ x 48″ Poplar Board (Find this at your local Menards or other Hardware Store)
- 1X 1/4″ x 11″ x 19.5″ Double Corrugated Cardboard sheet (paint supports)
- 6X #6 x 1/2″ Wood Screws (should be clear coated)
- Box of wire nails (18×1/2″ – you can also just glue the house together too if you’d prefer)
- Wood Glue (I find the Titebond glues work best, but don’t take my word for it)
- Thin Masking Tape
- 1 Can of Universal Bonding Spray Primer (I found spray primer to work really well)
- 2 Cans of Spray Paint (Spray paint will give you a better texture and finish, get a bold and neutral color)
- Quick Grips (for pinching the house together)
- Design files (get them here)
ASSEMBLY:
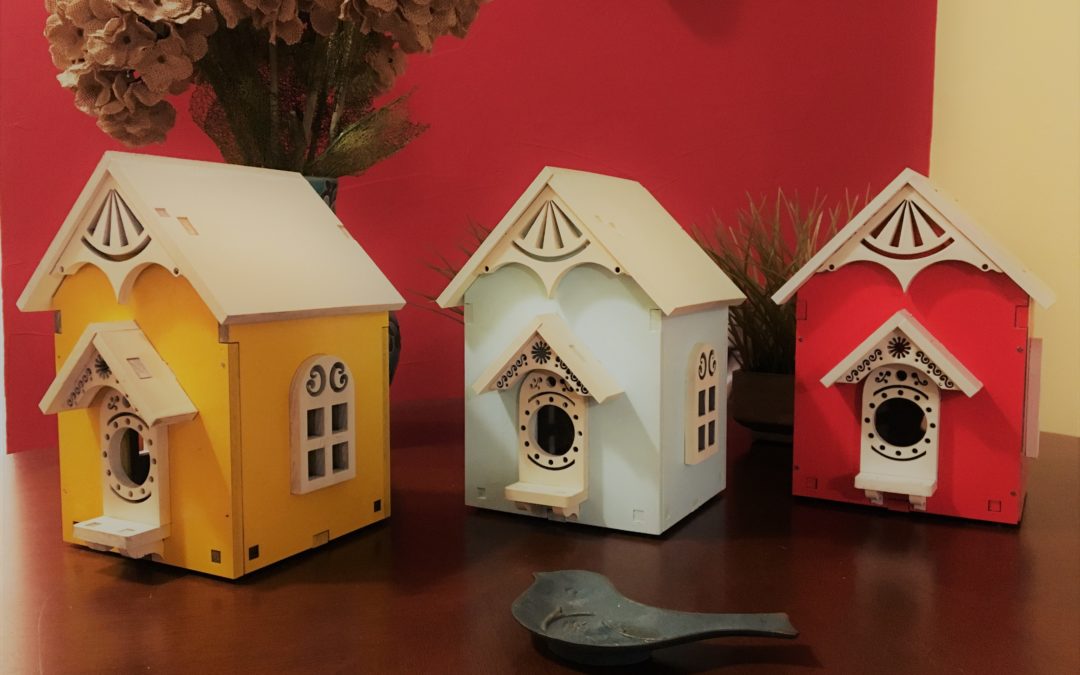
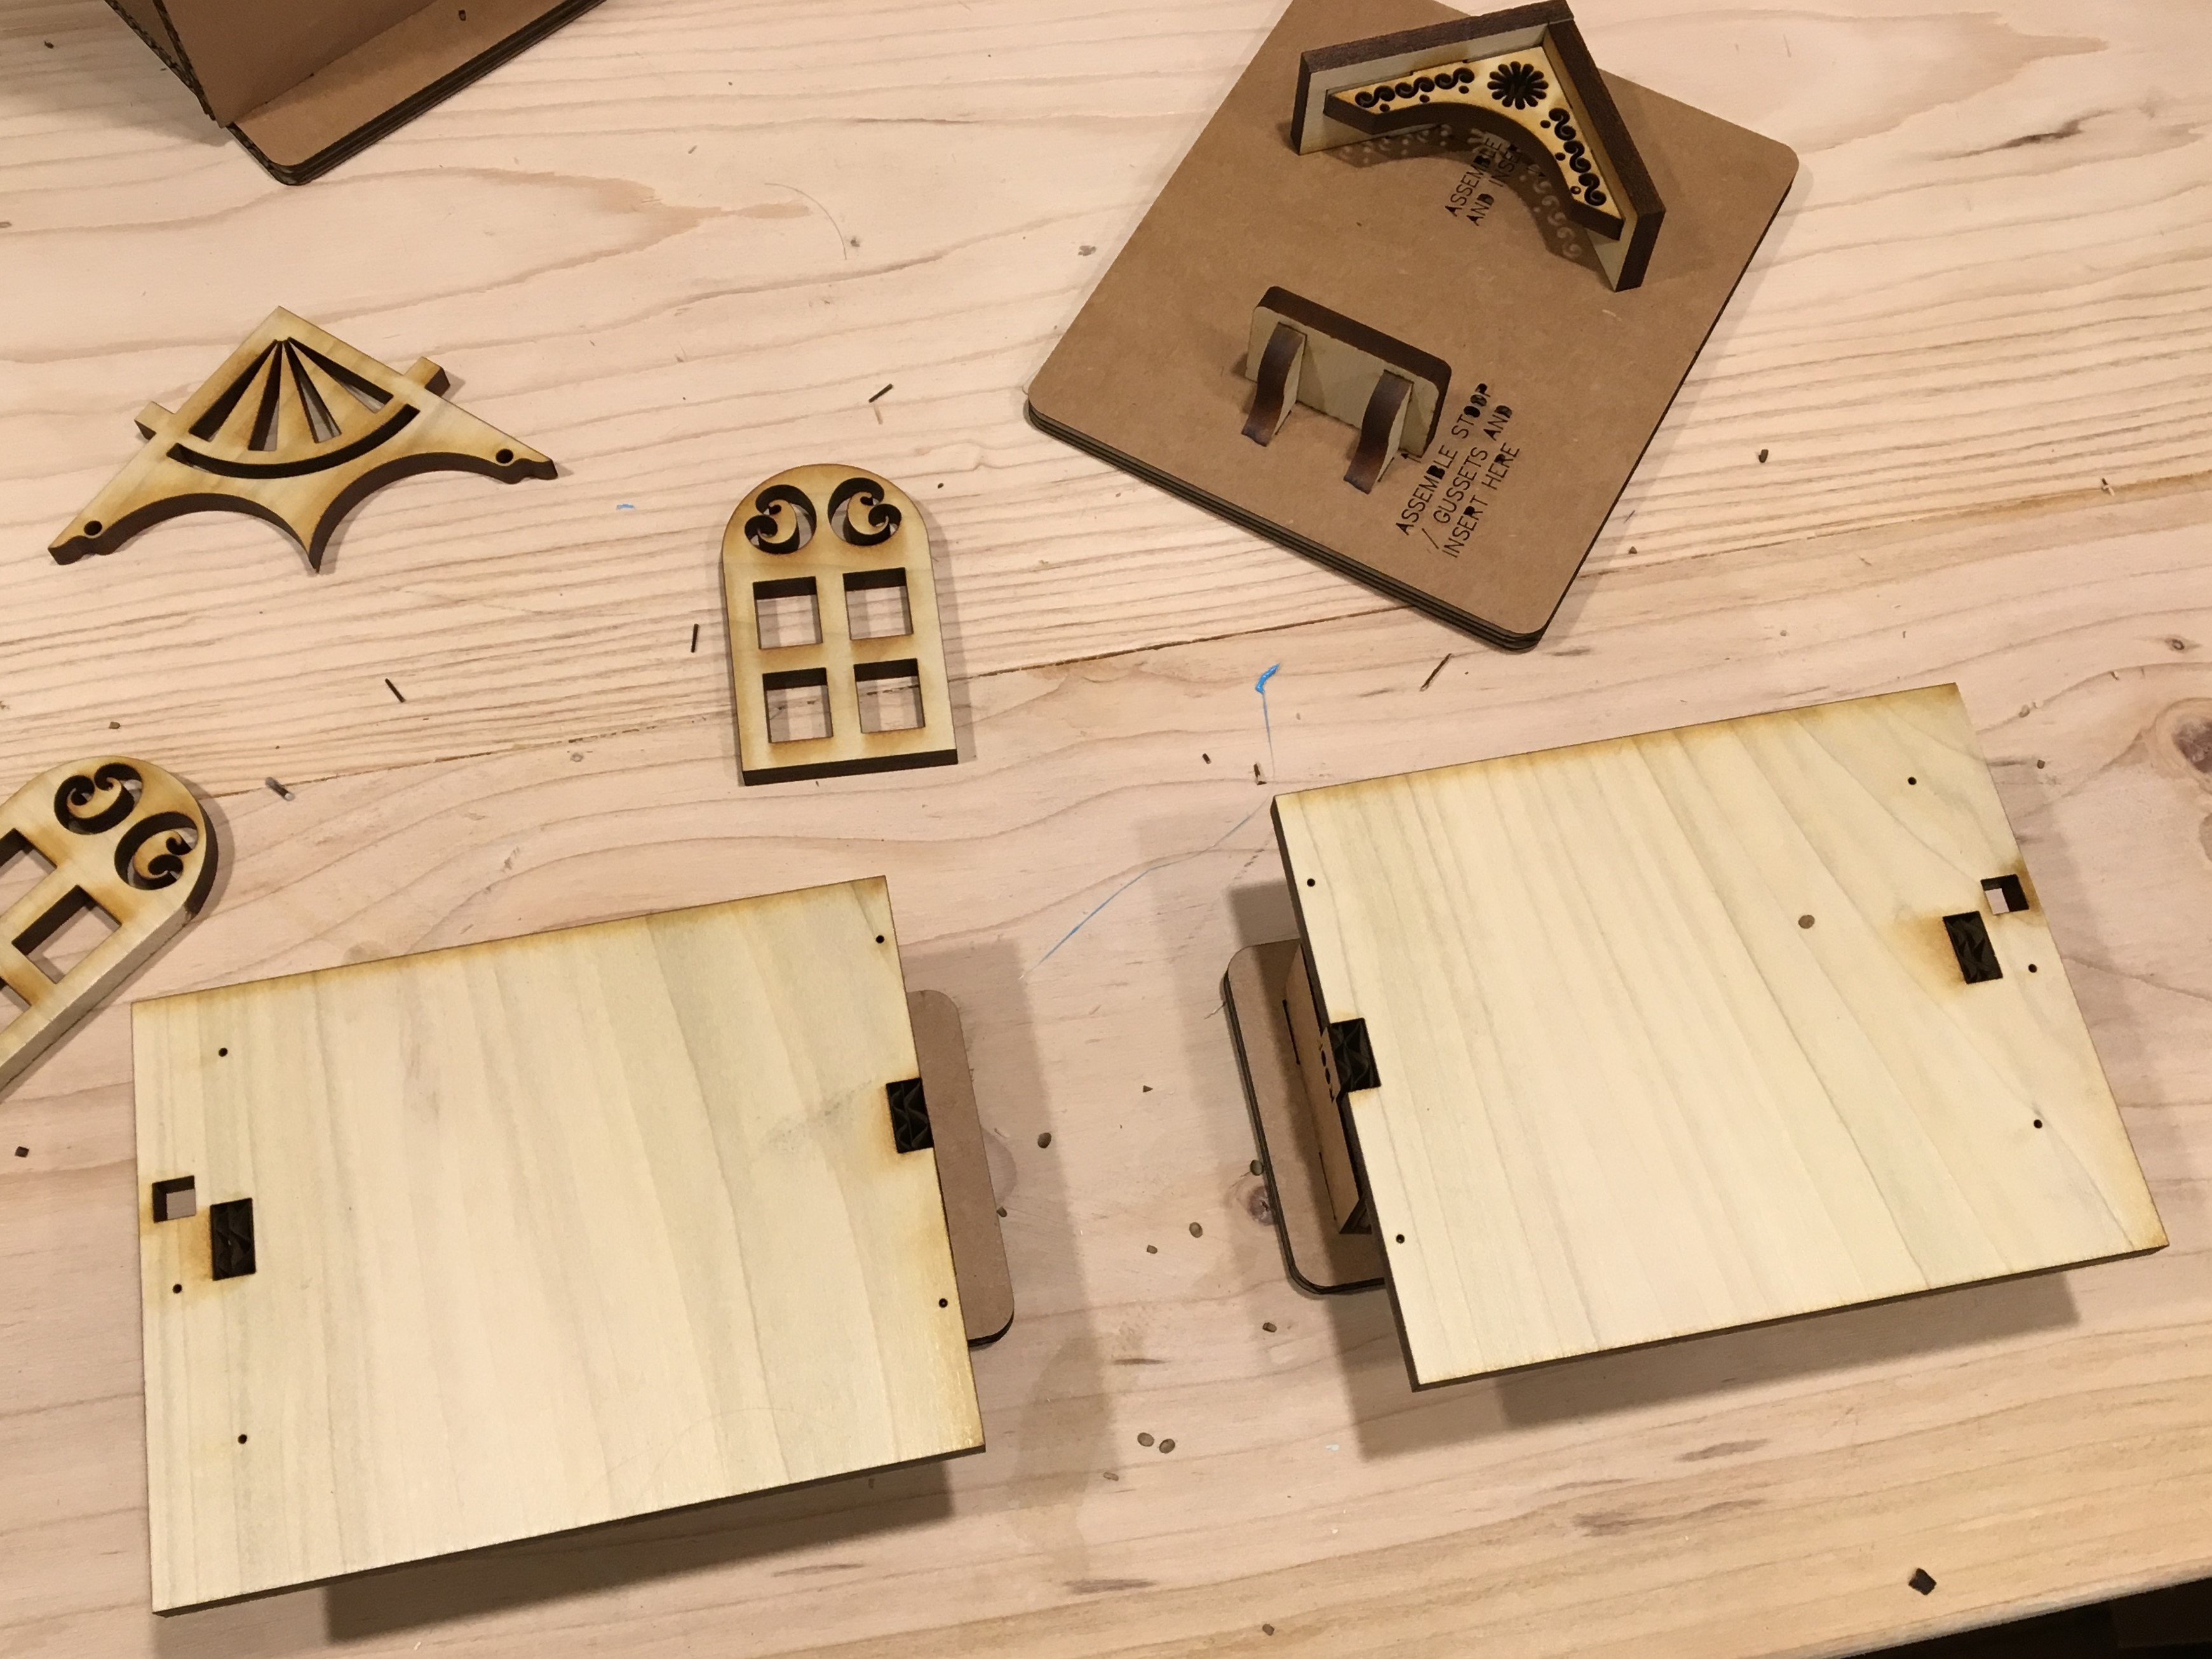
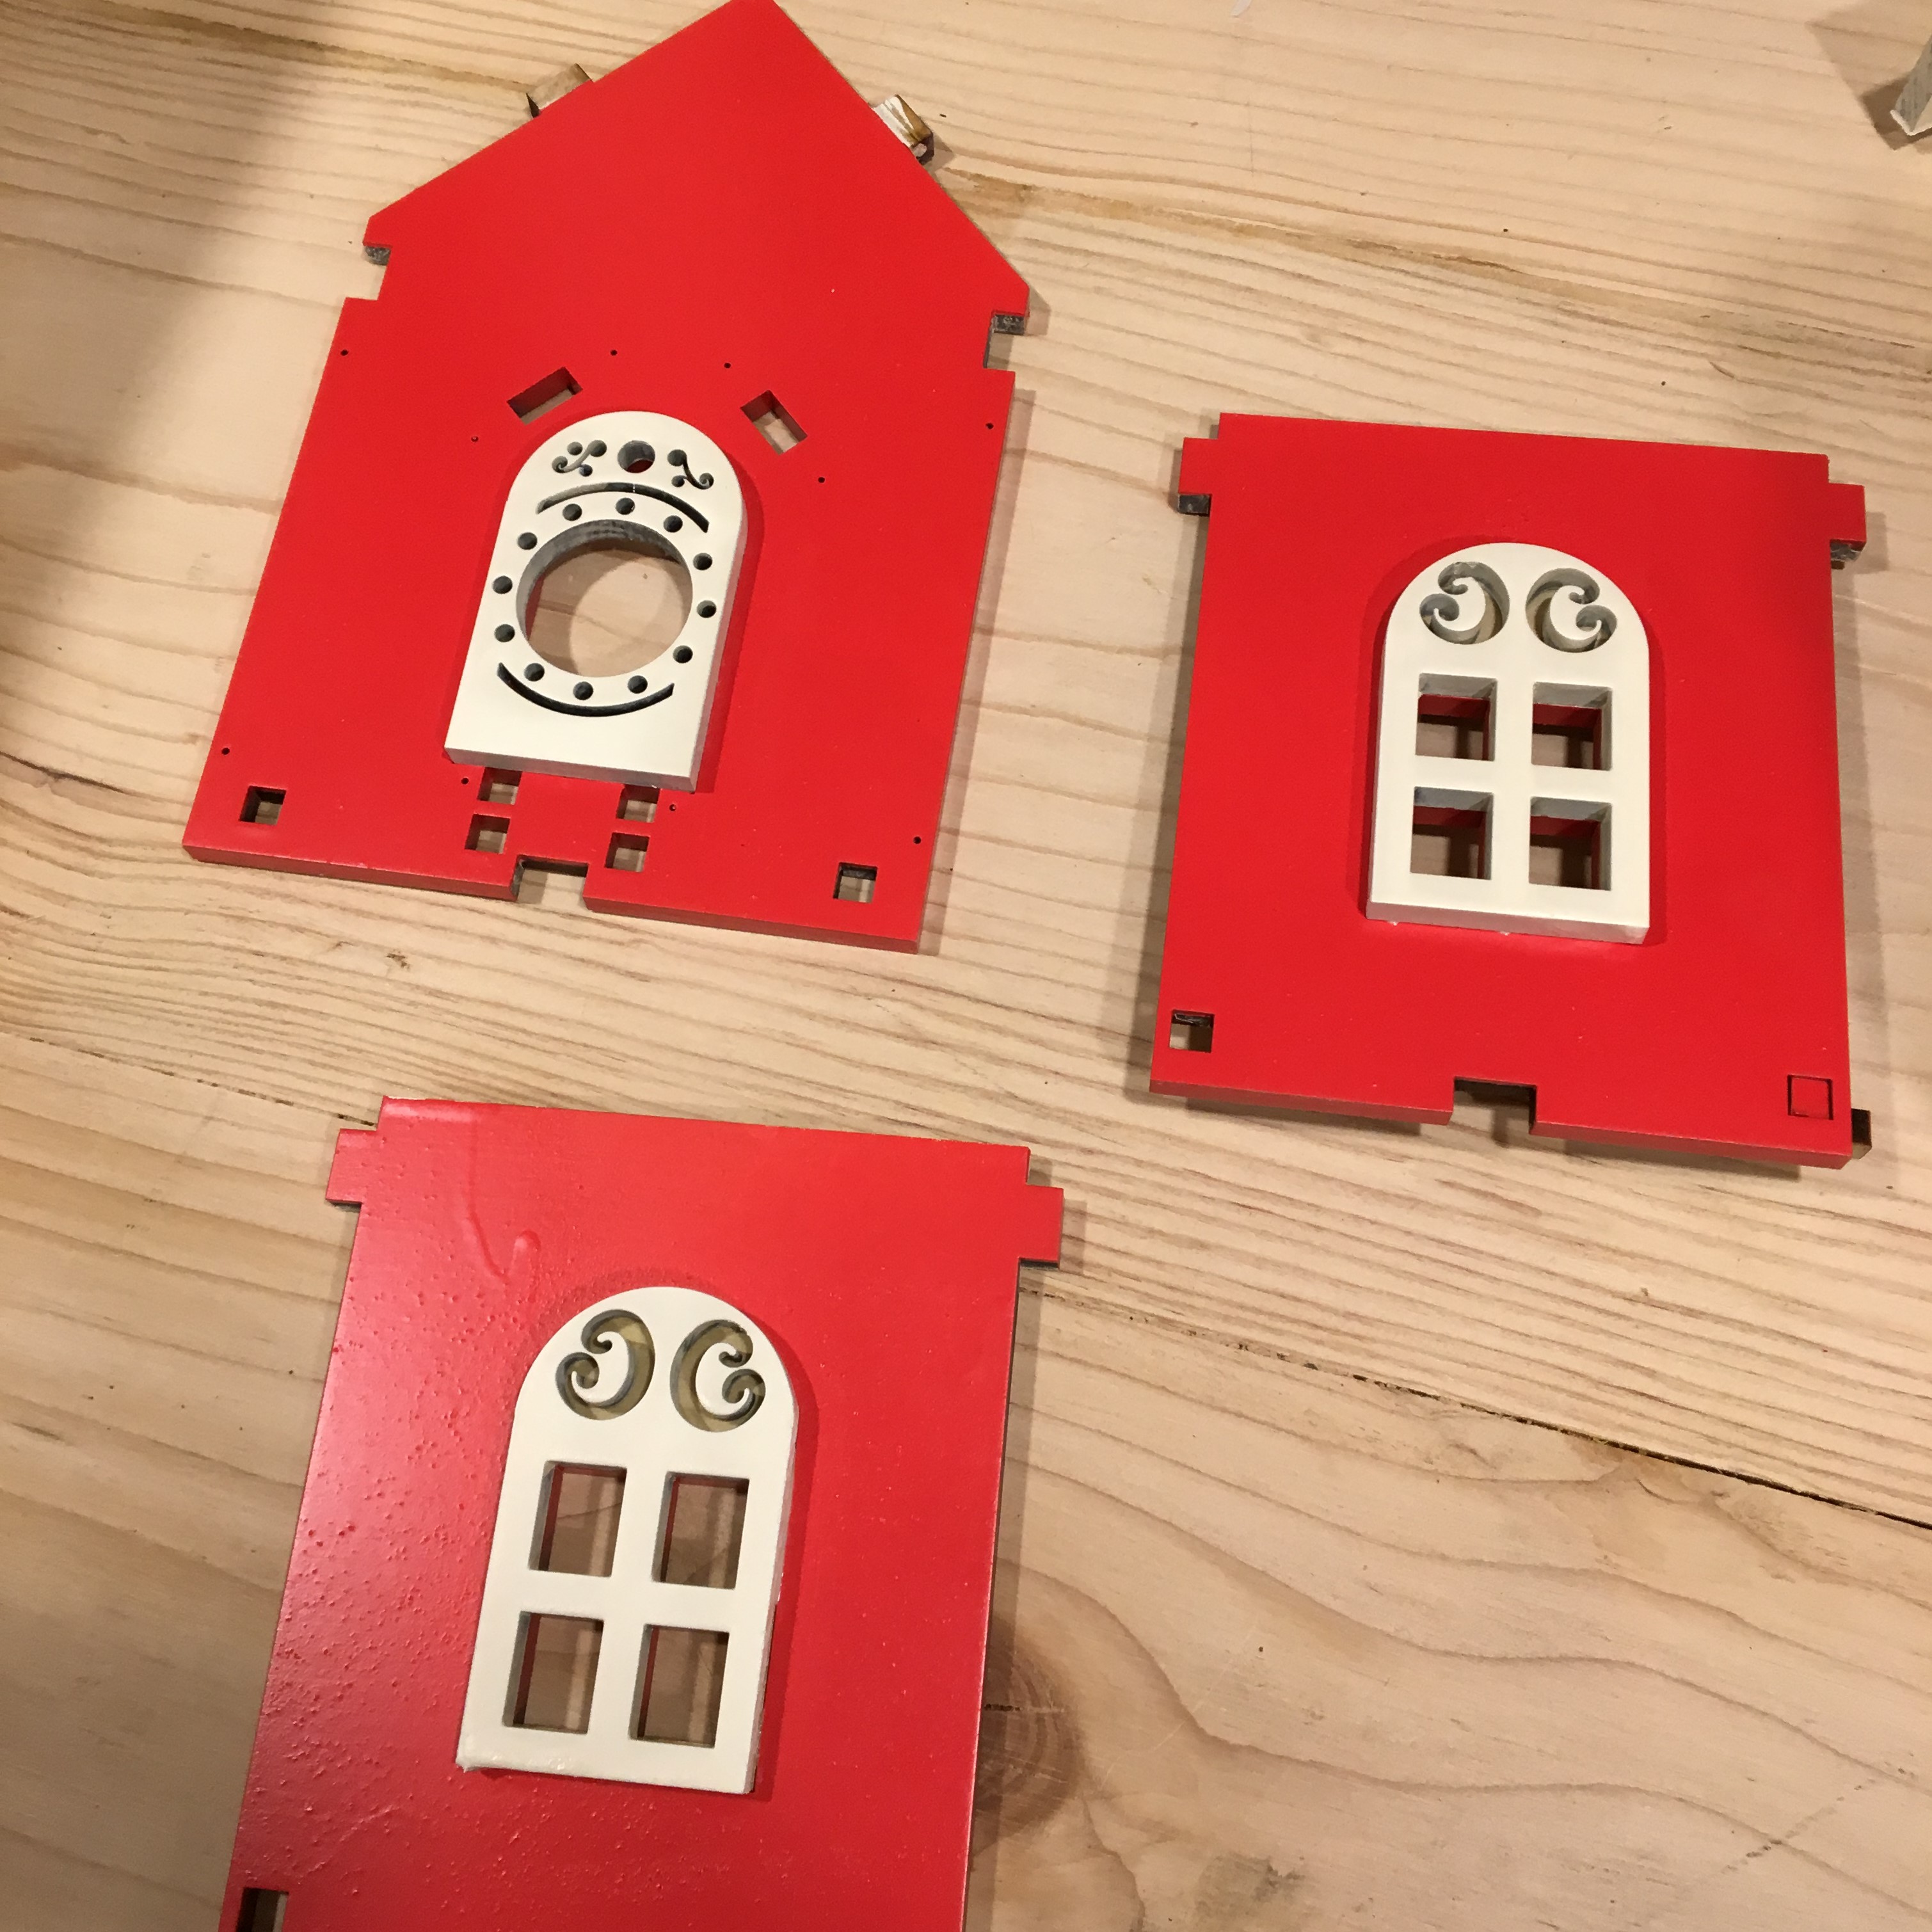
Laser Cut -1 &-2
Laser both -1 & -2 nest files using the poplar wood, set to manual cut on the glowforge. Apply the masking tape around the side panel windows and the house entrance. Ignore the border and apply settings to manually score the magenta colored lines.
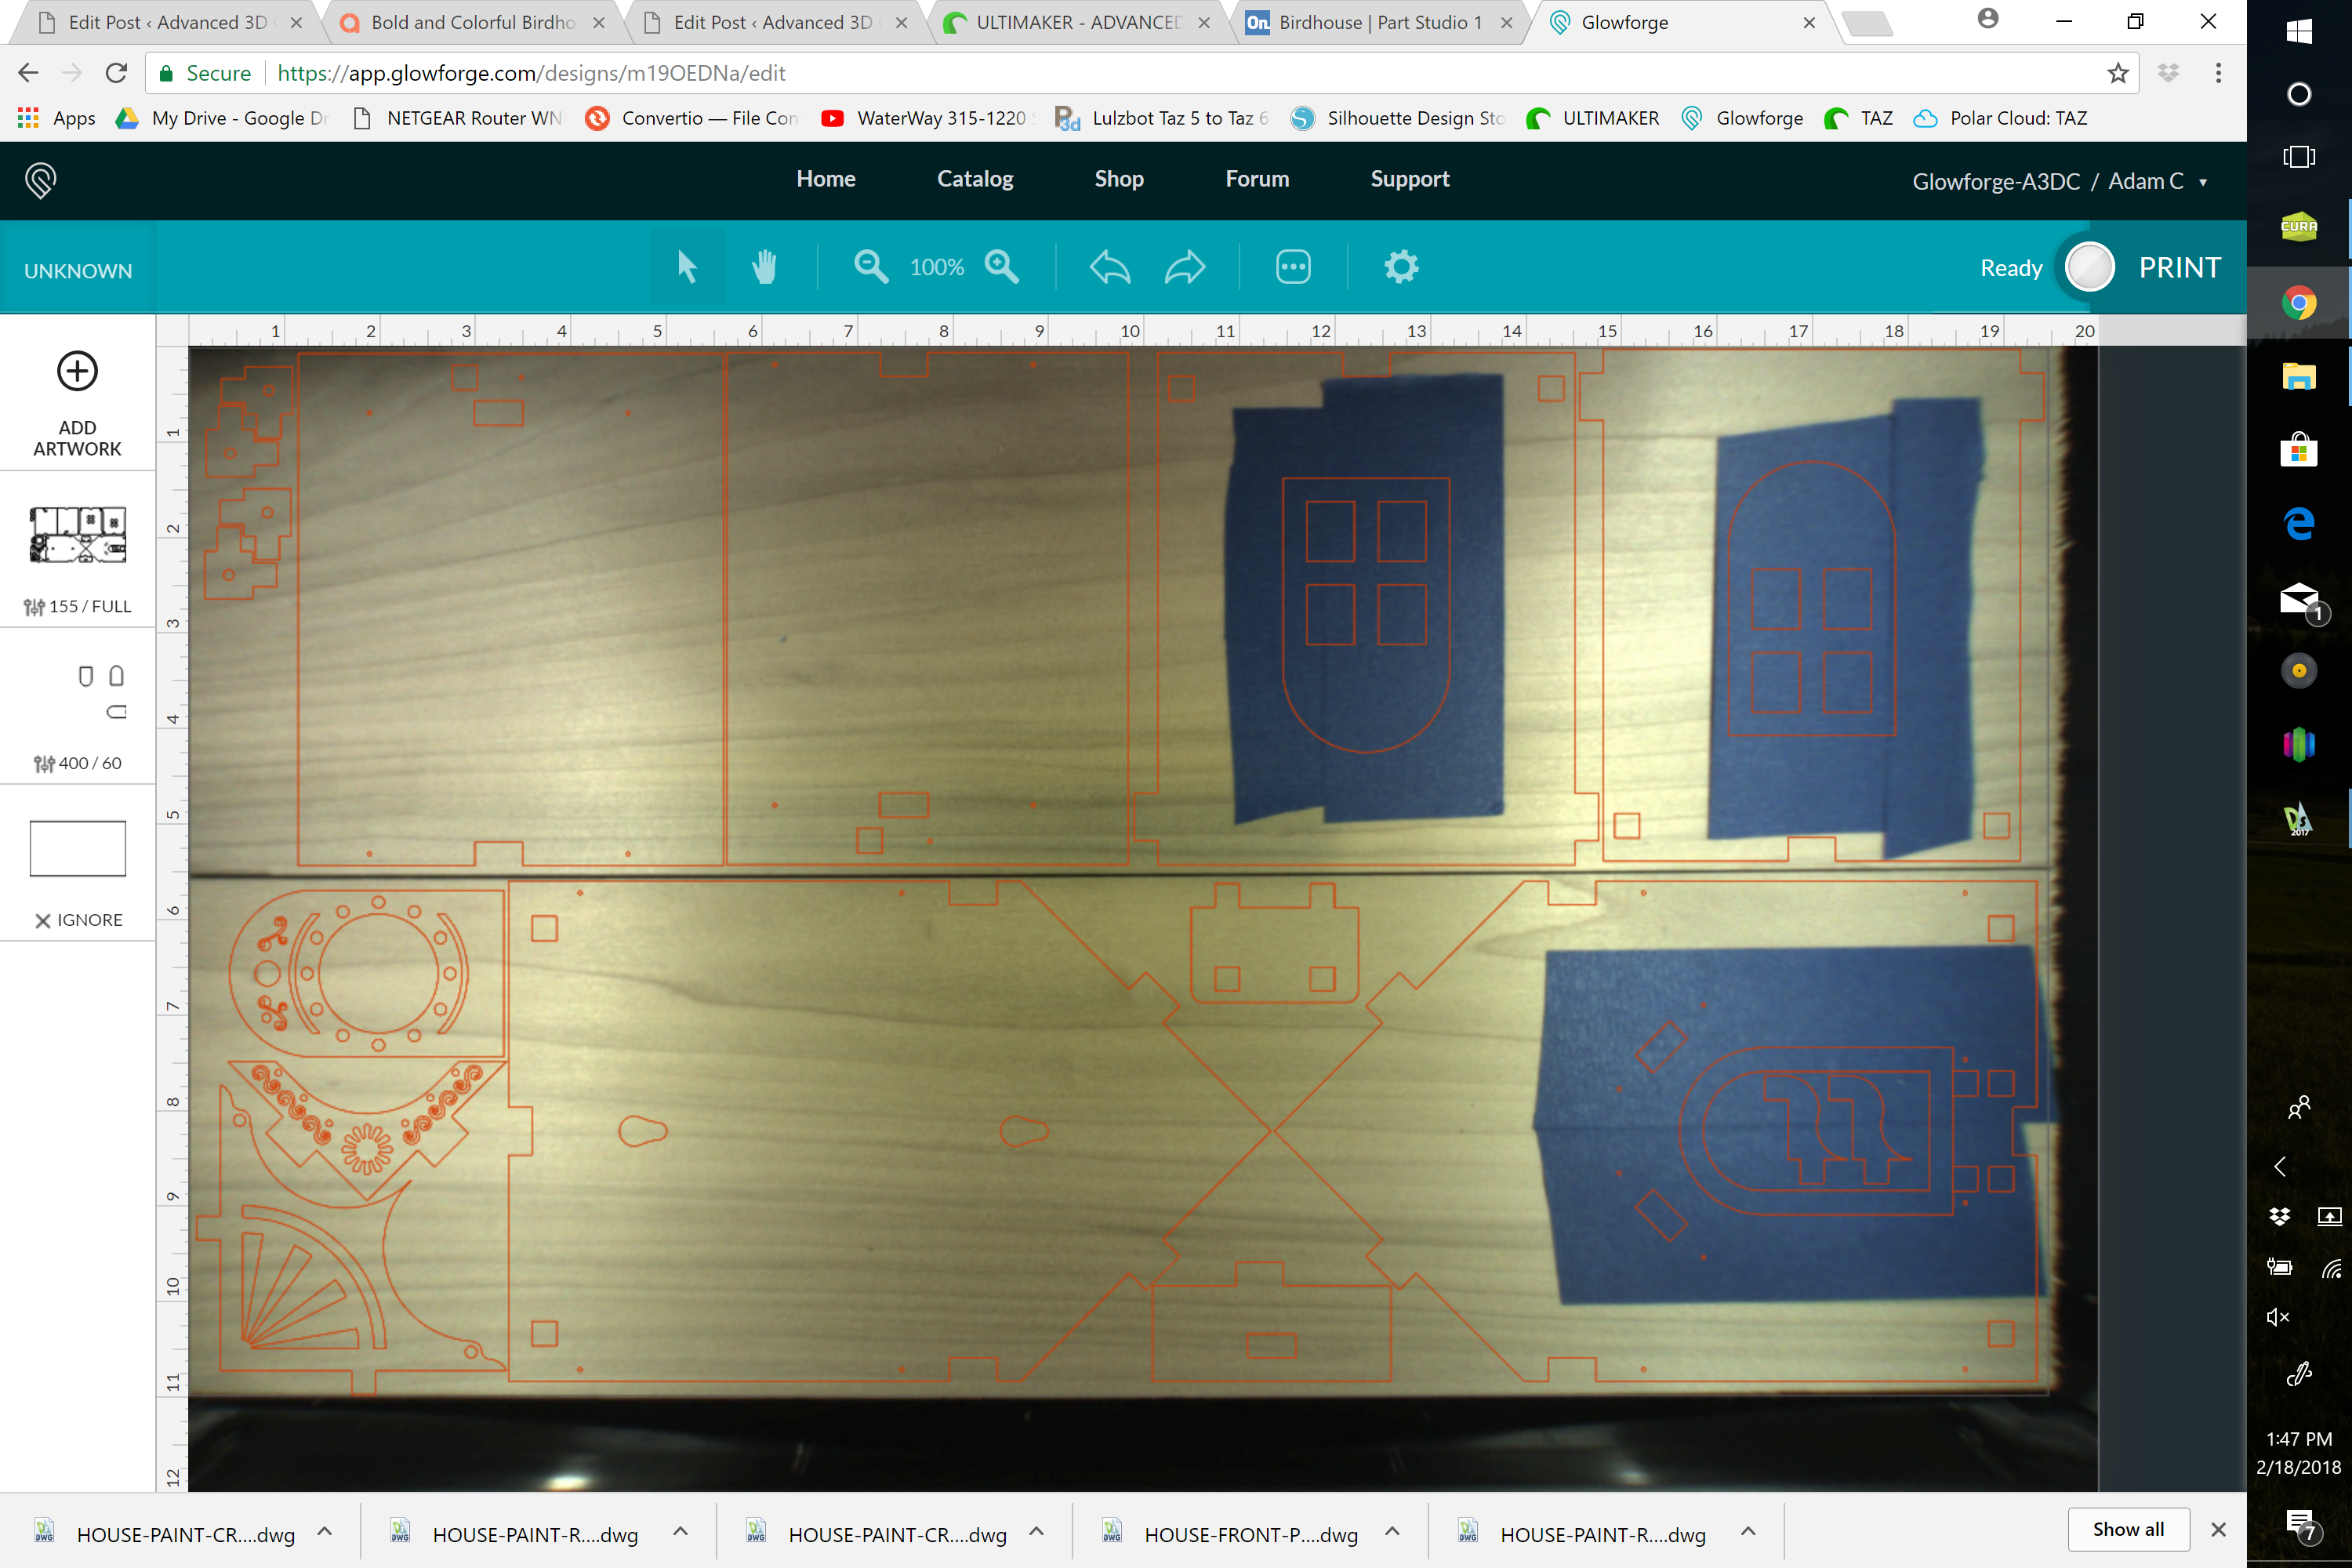
Peel Tape
Peel the tape around the house door as well as the window frames on the sides of the house
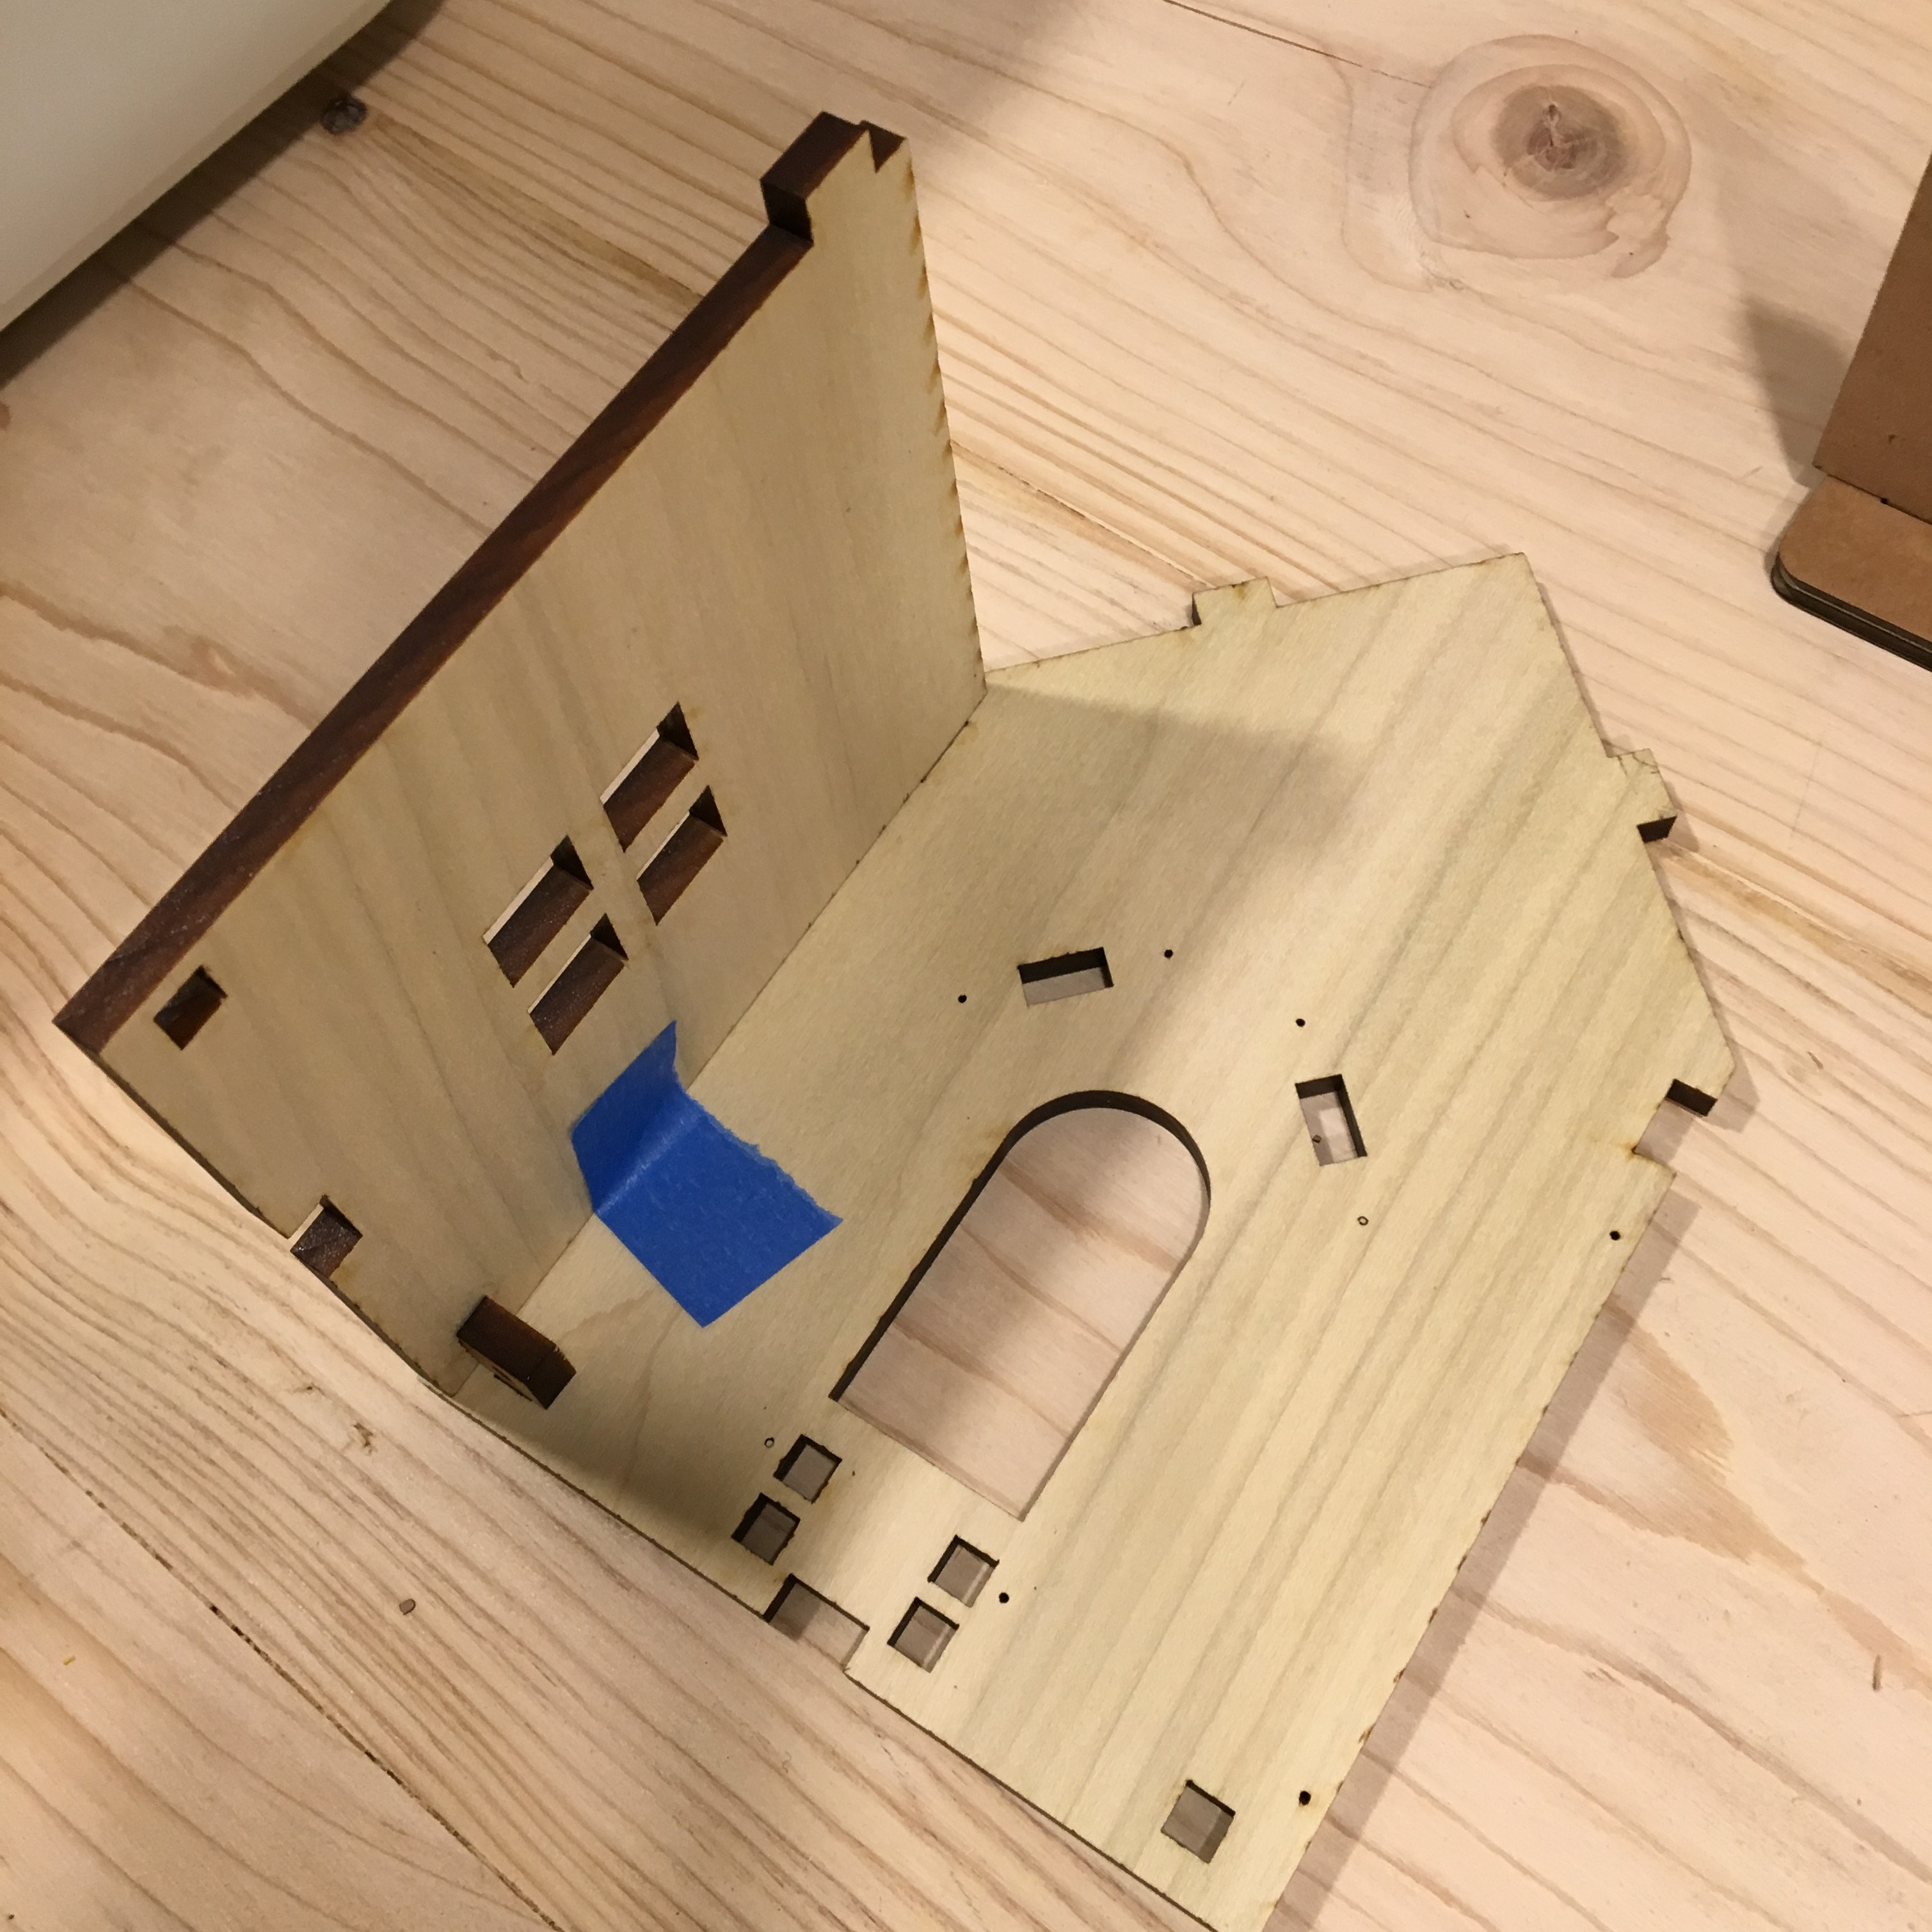
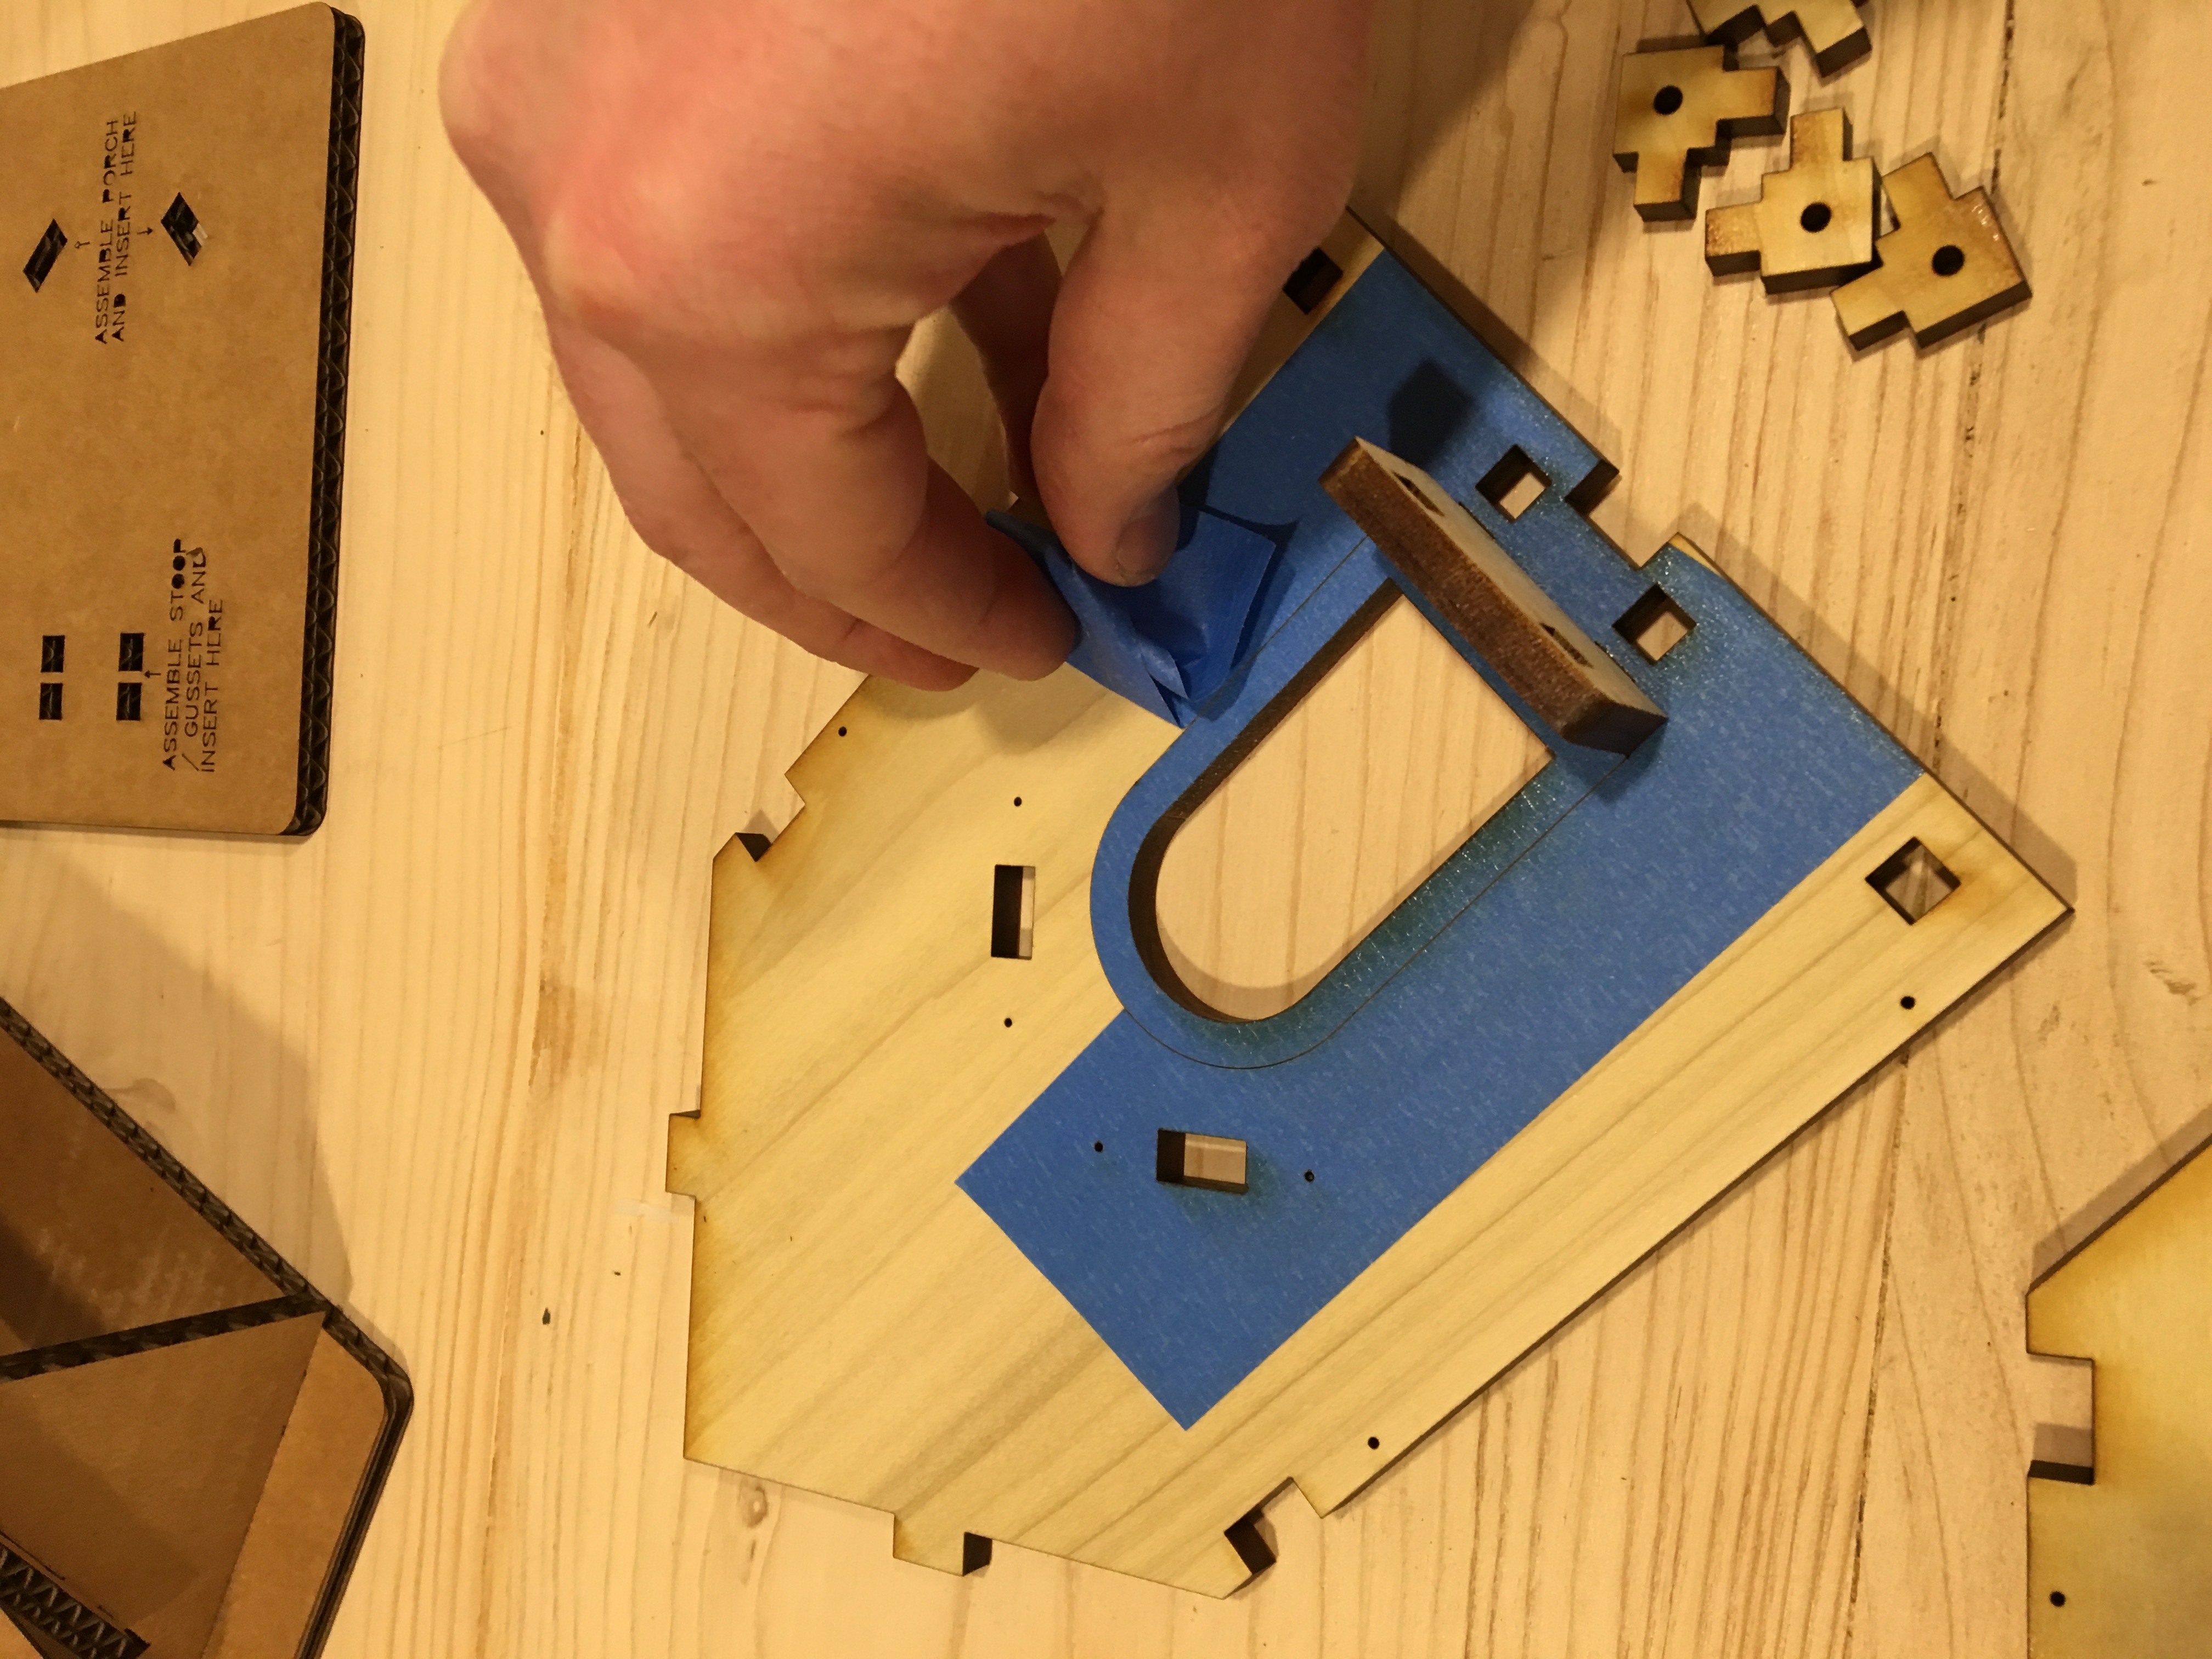
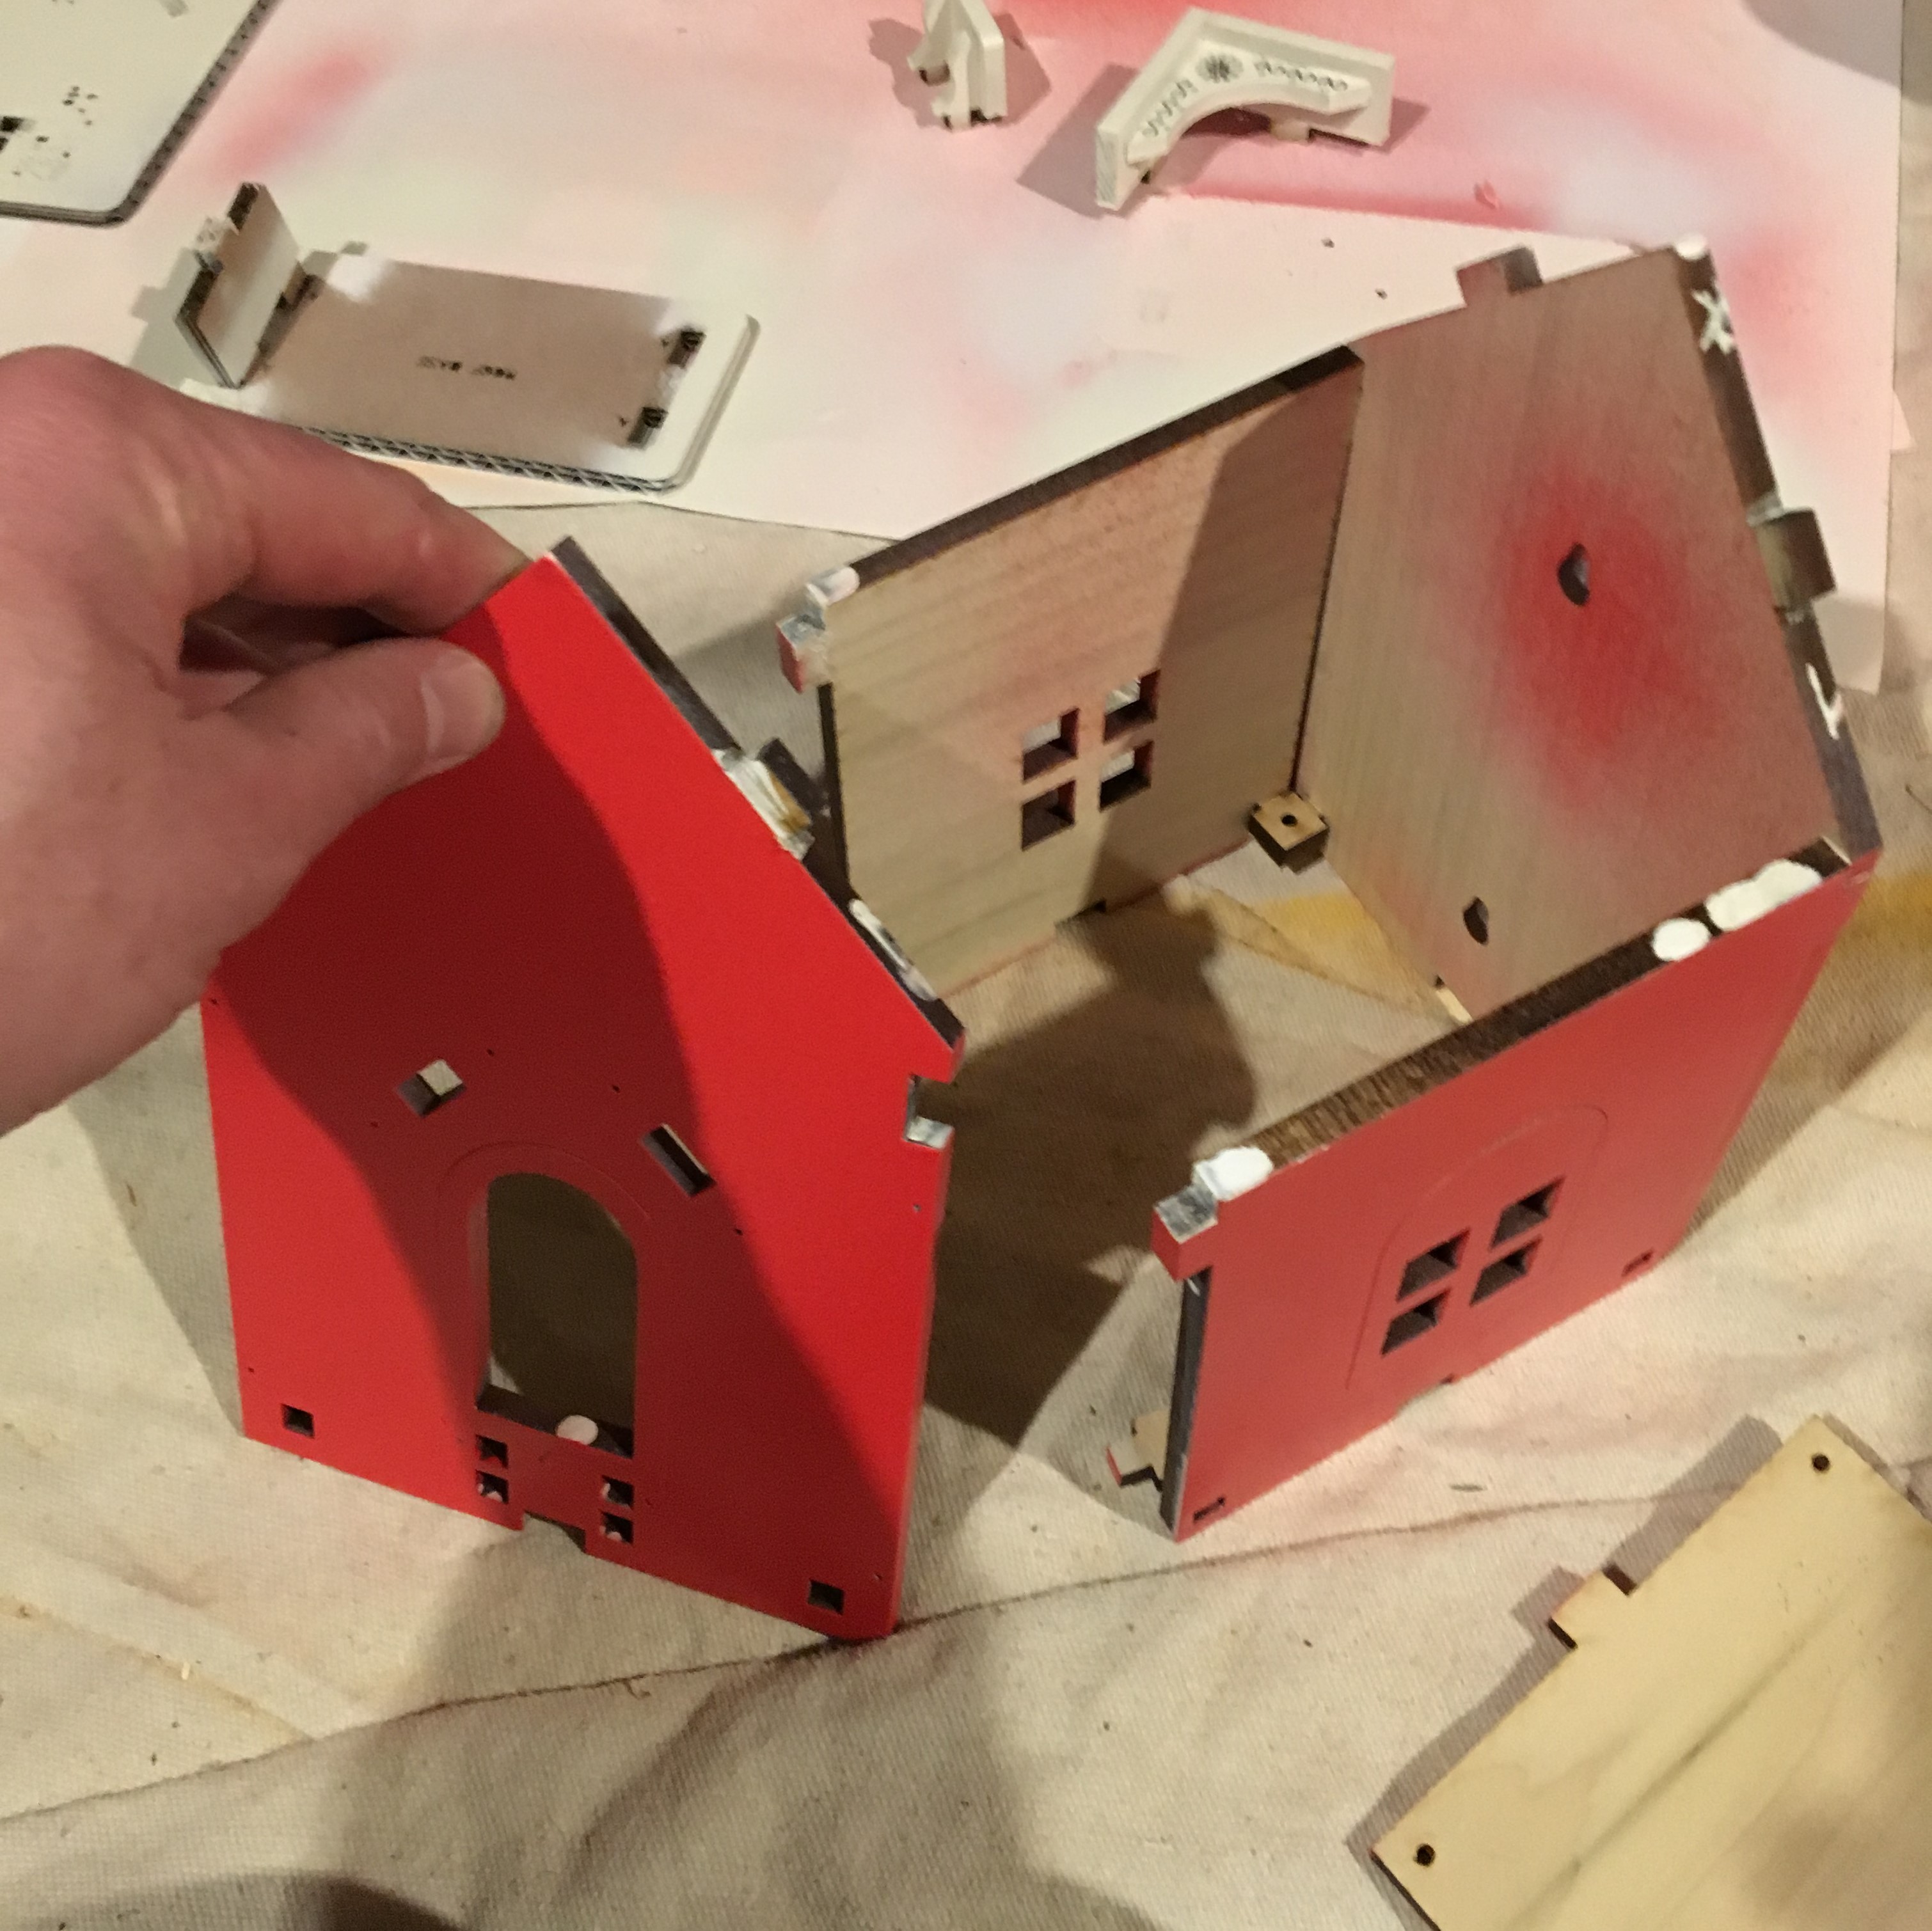
Assemble Panels
Using masking tape assemble the sides of the house together and tape the corners
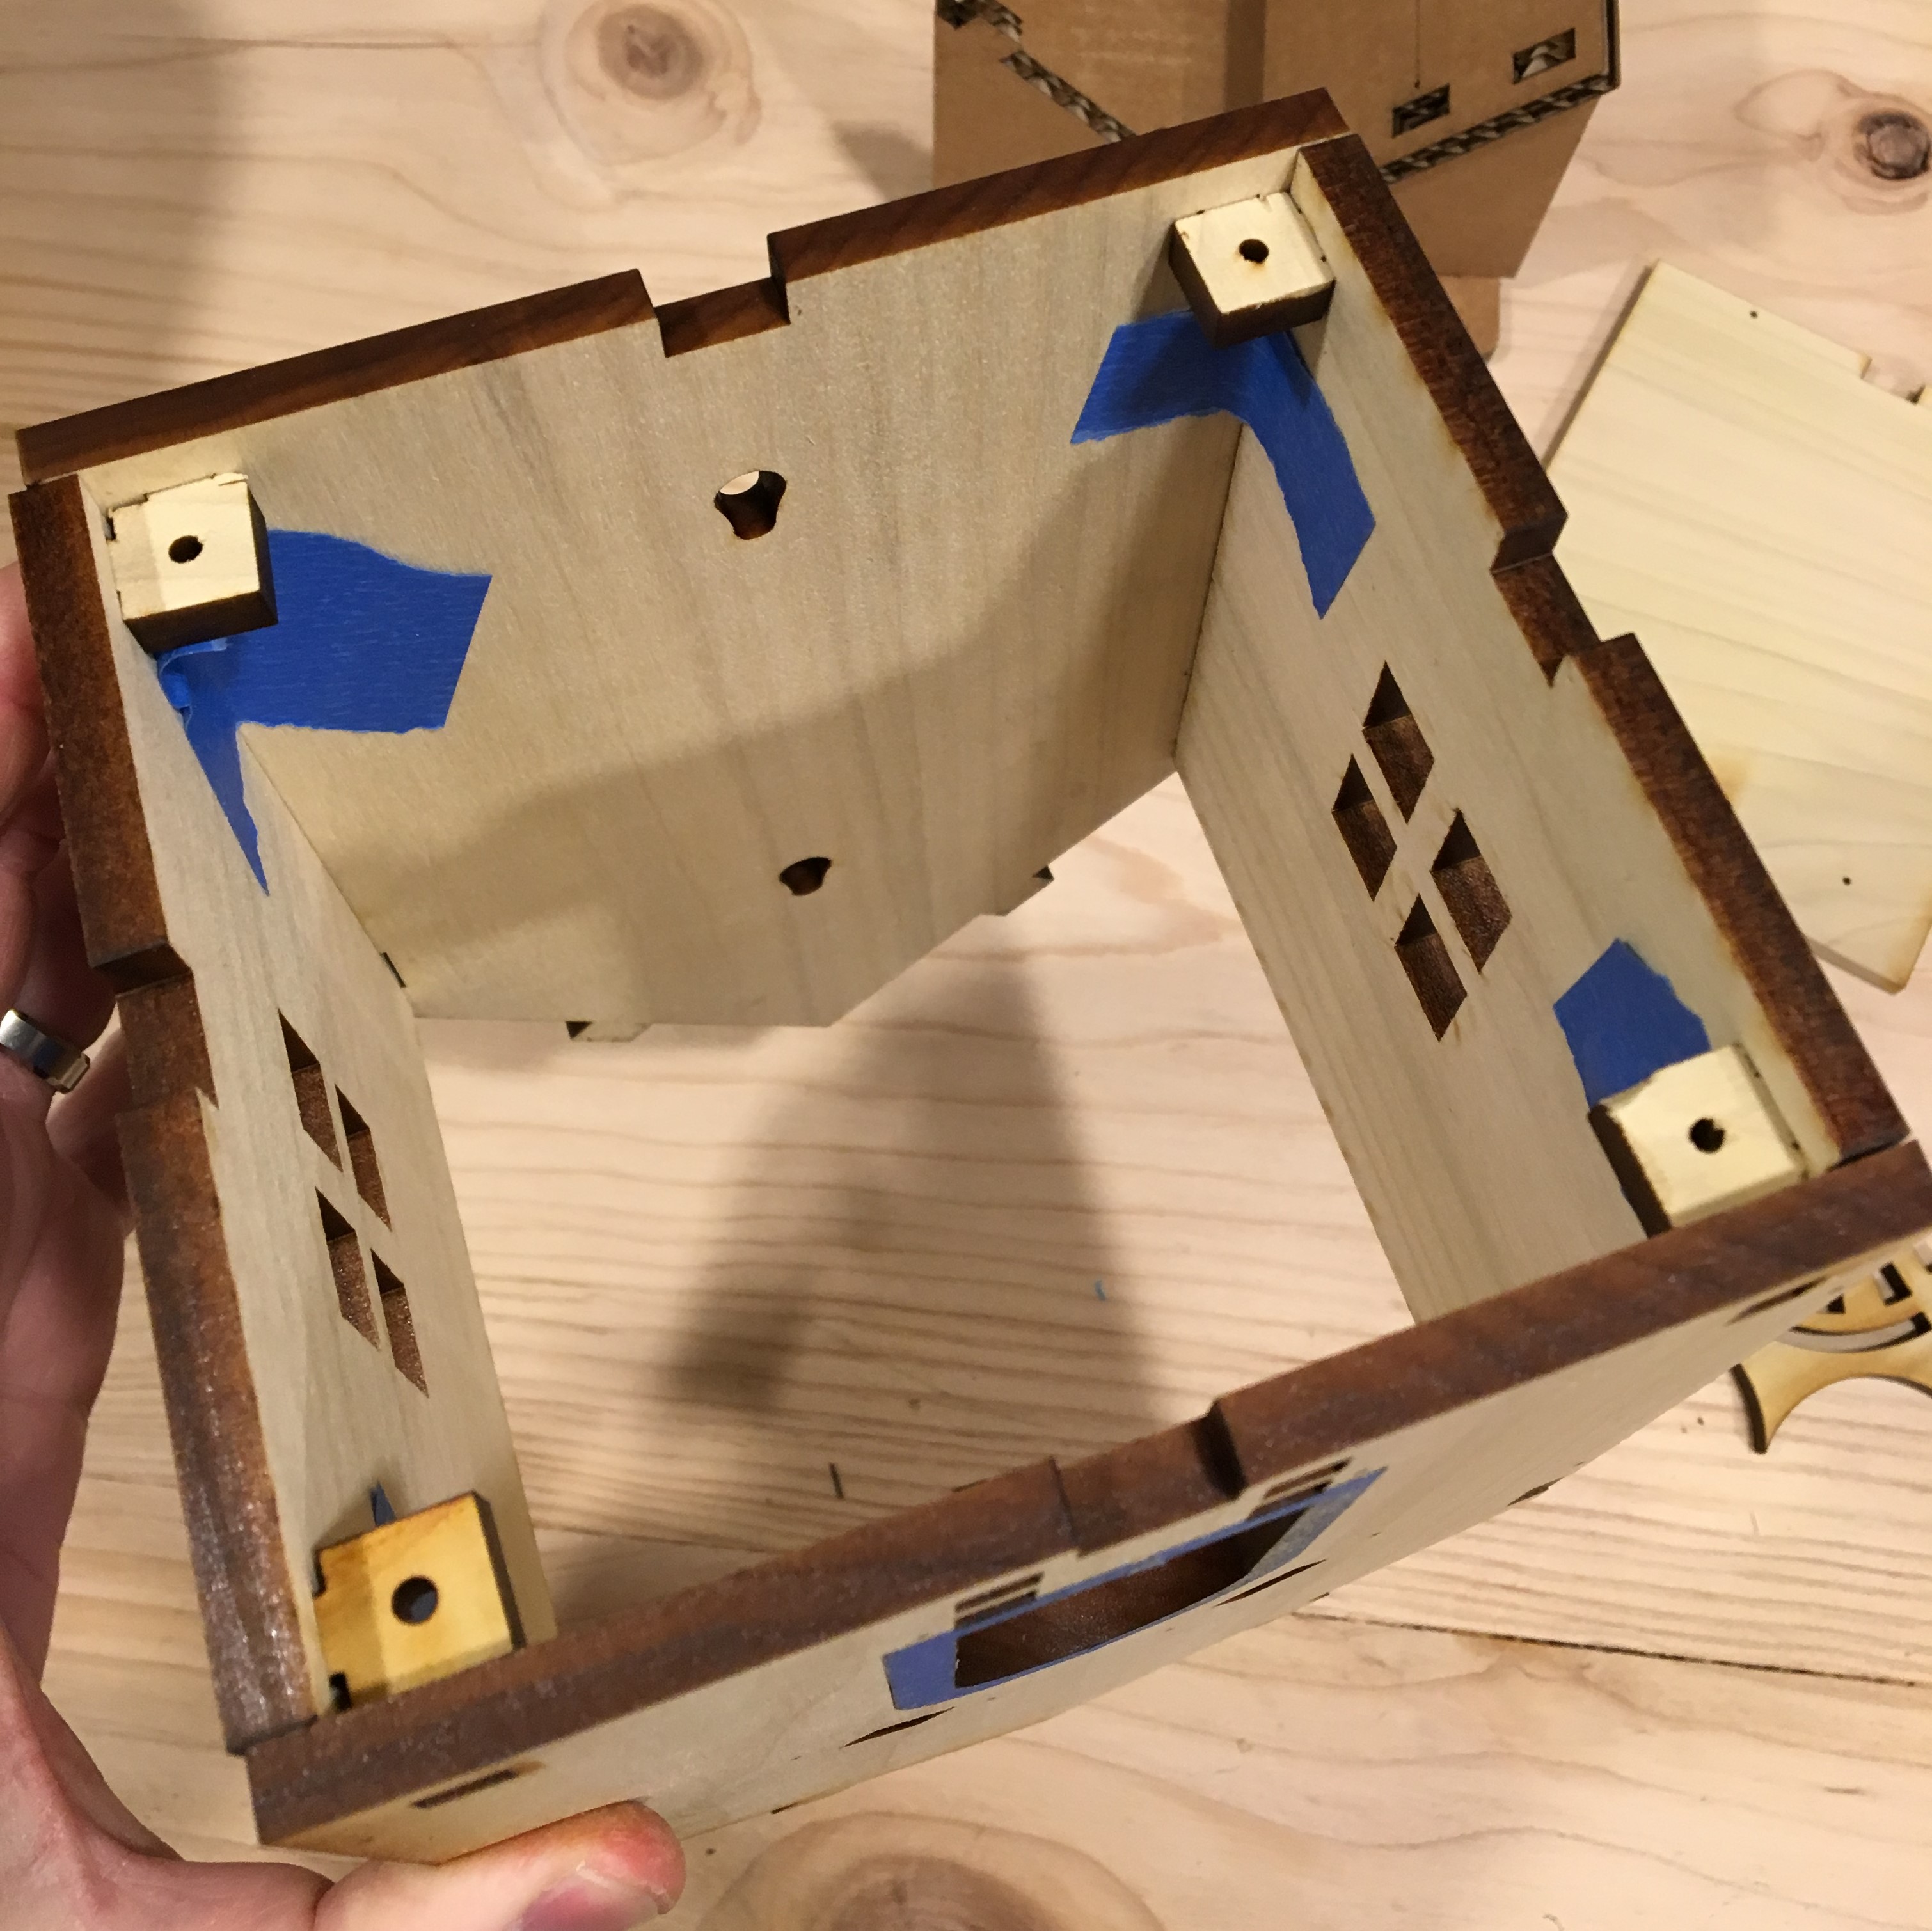
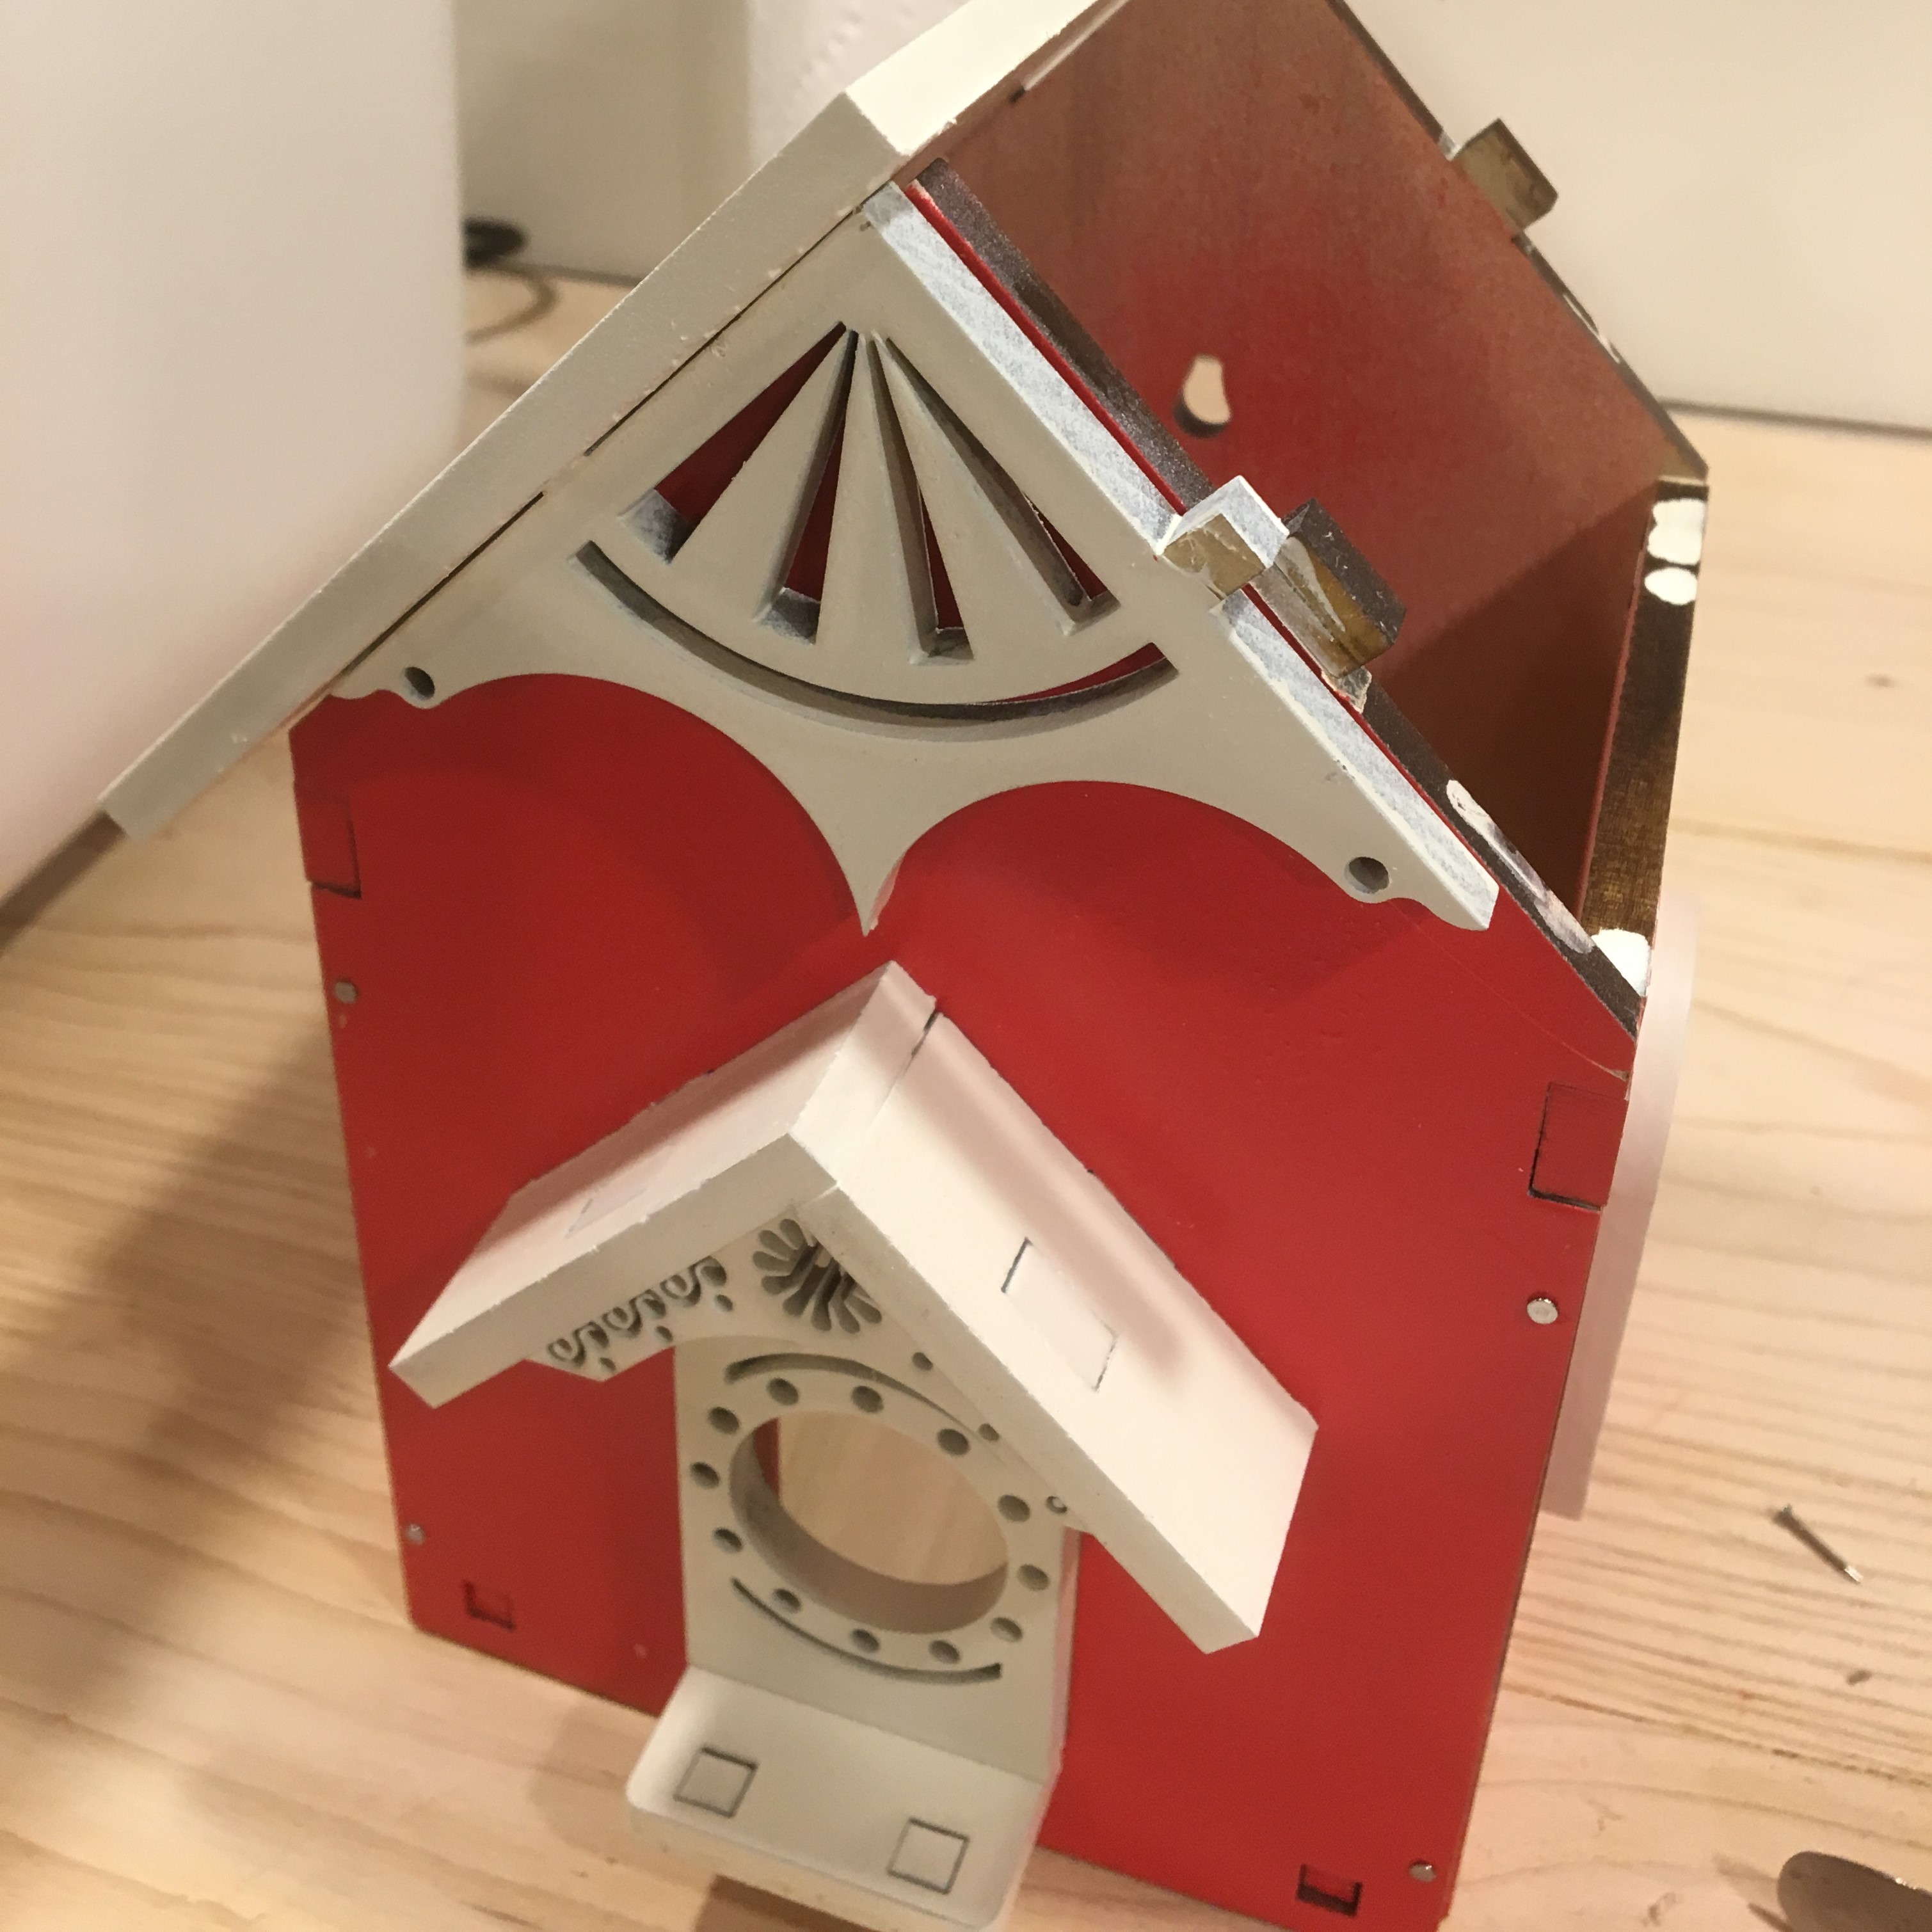
Get Ready For Painting
Here is what it should look like upside down. Don’t forget to put the bottom of the house on as well.

Paint Supports
laser cut the paint supports file using cardboard, you can also use the poplar material, but you’ll need to buy two 48″ boards if you do. Adhere the supports together using wood glue at the edges.
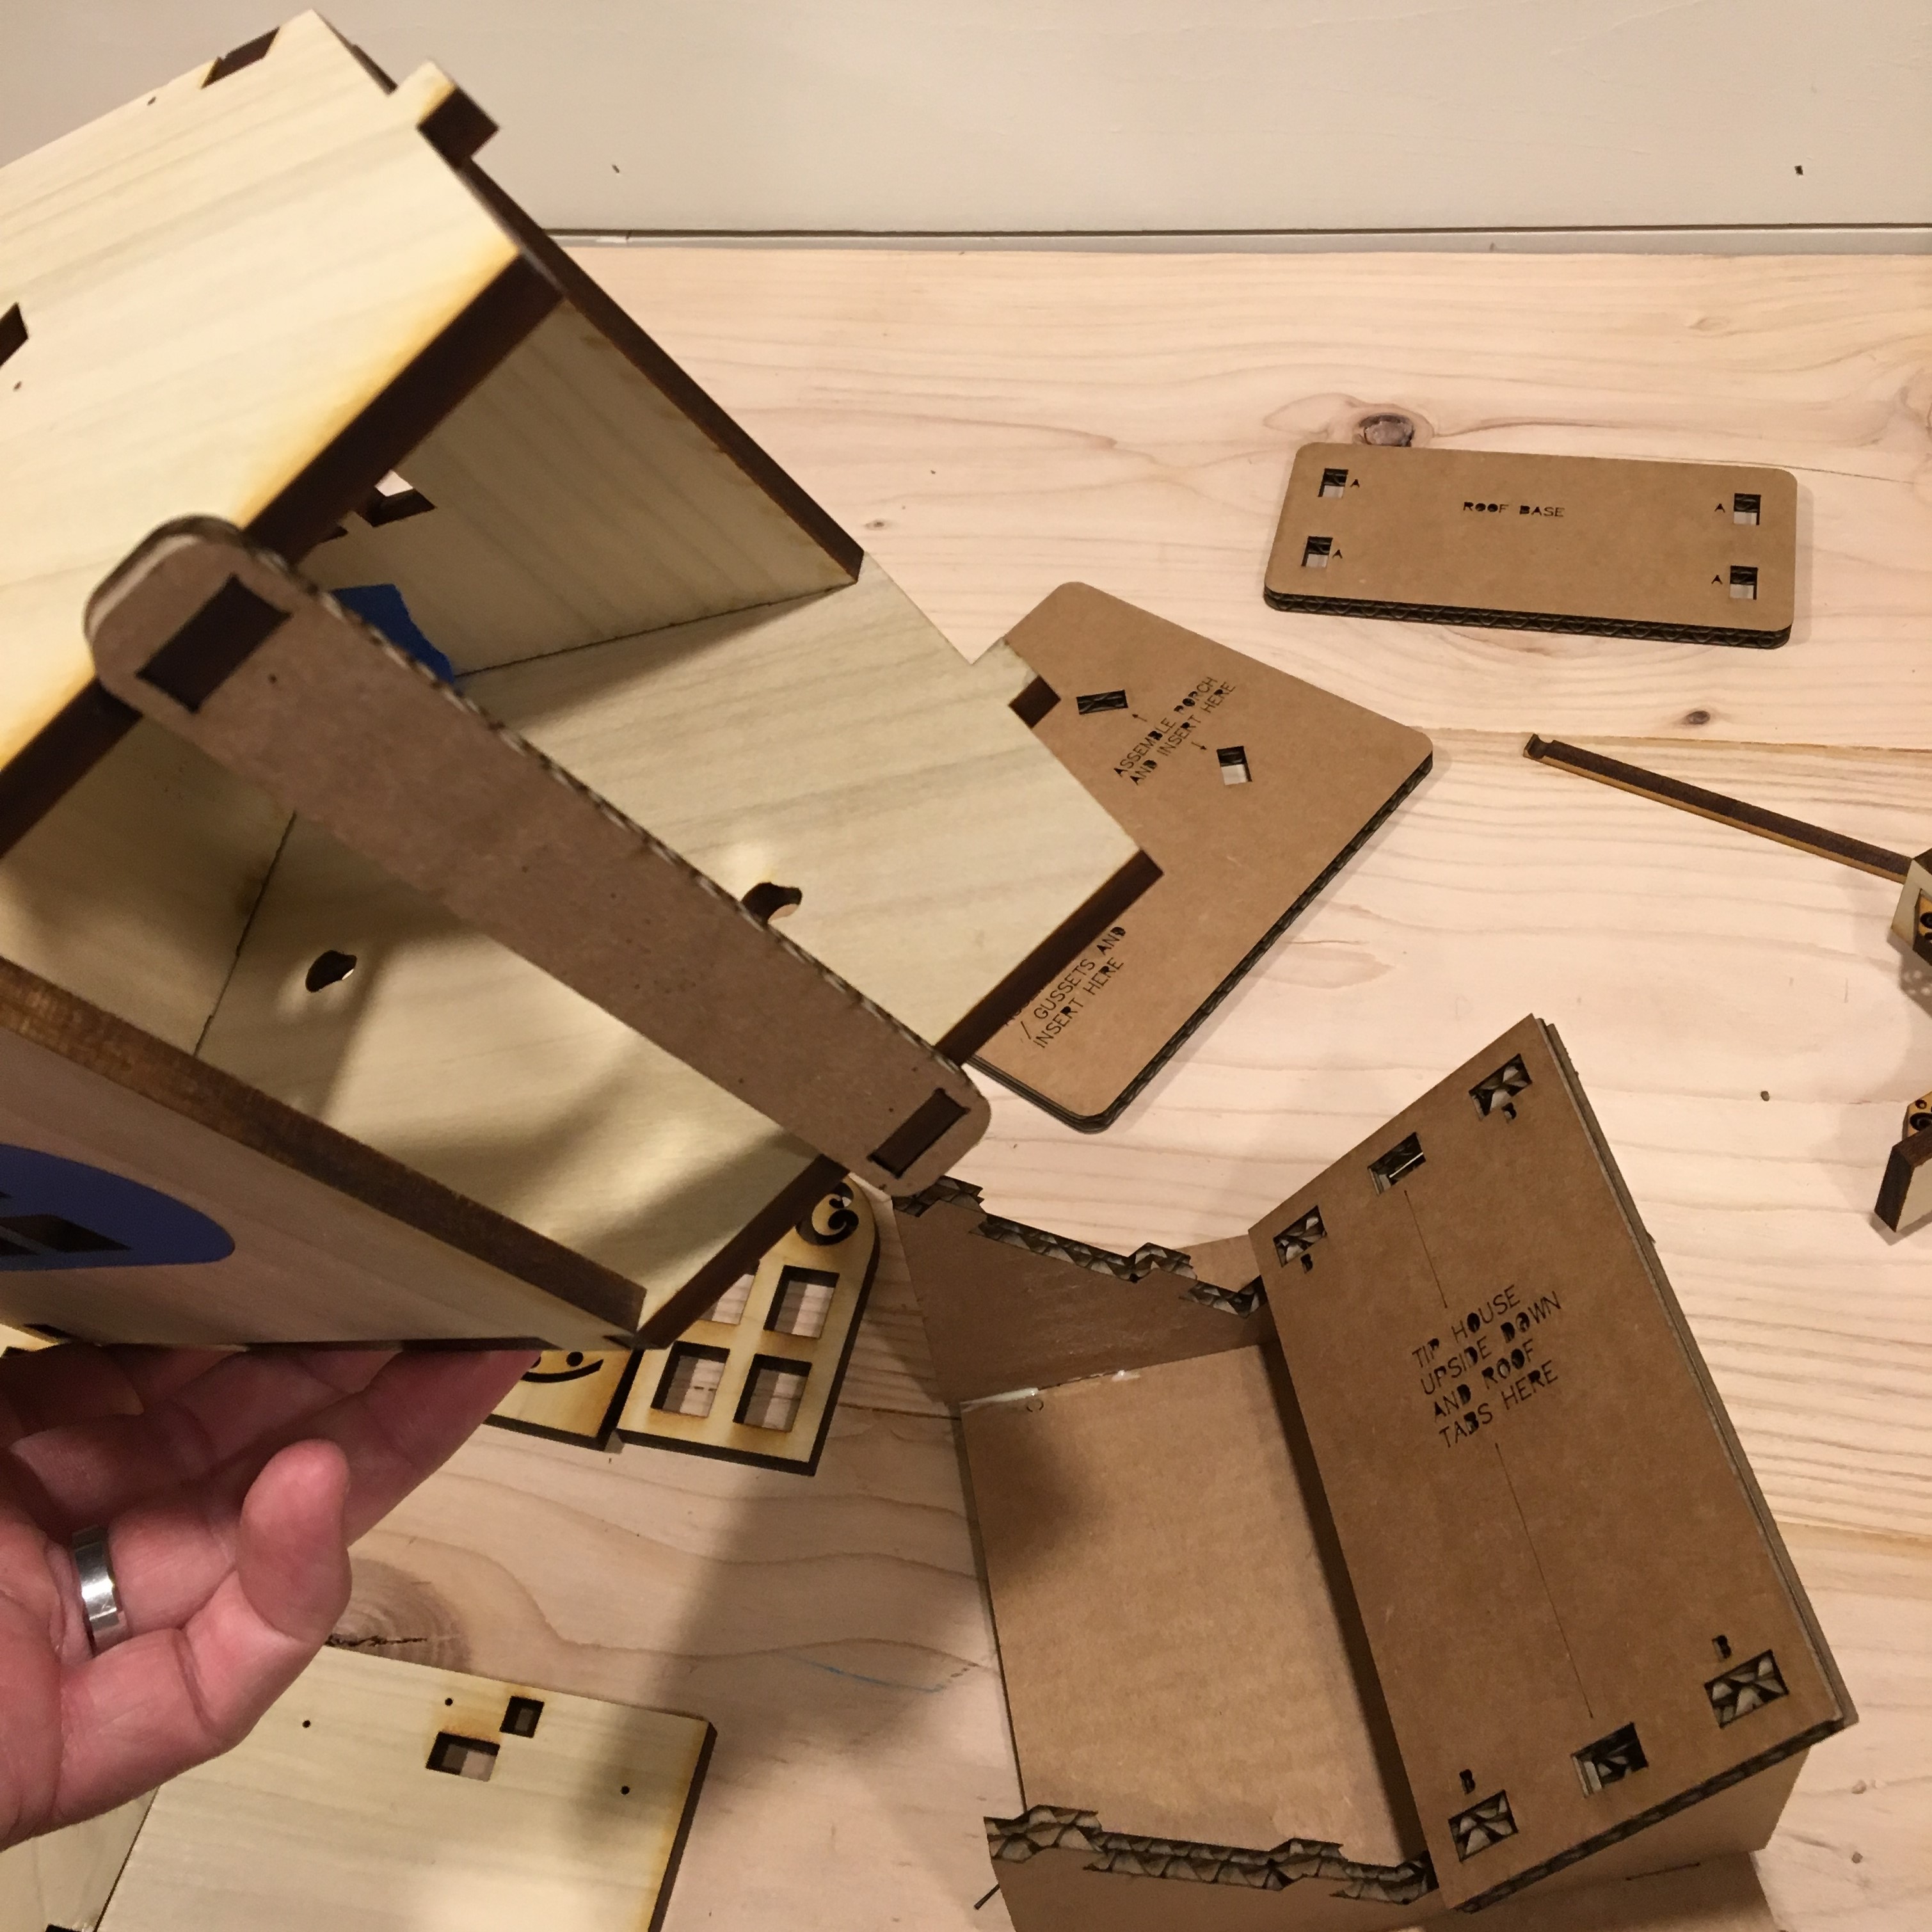
Roof Paint Supports
Install the roof tab as shown on one side of the birdhouse.
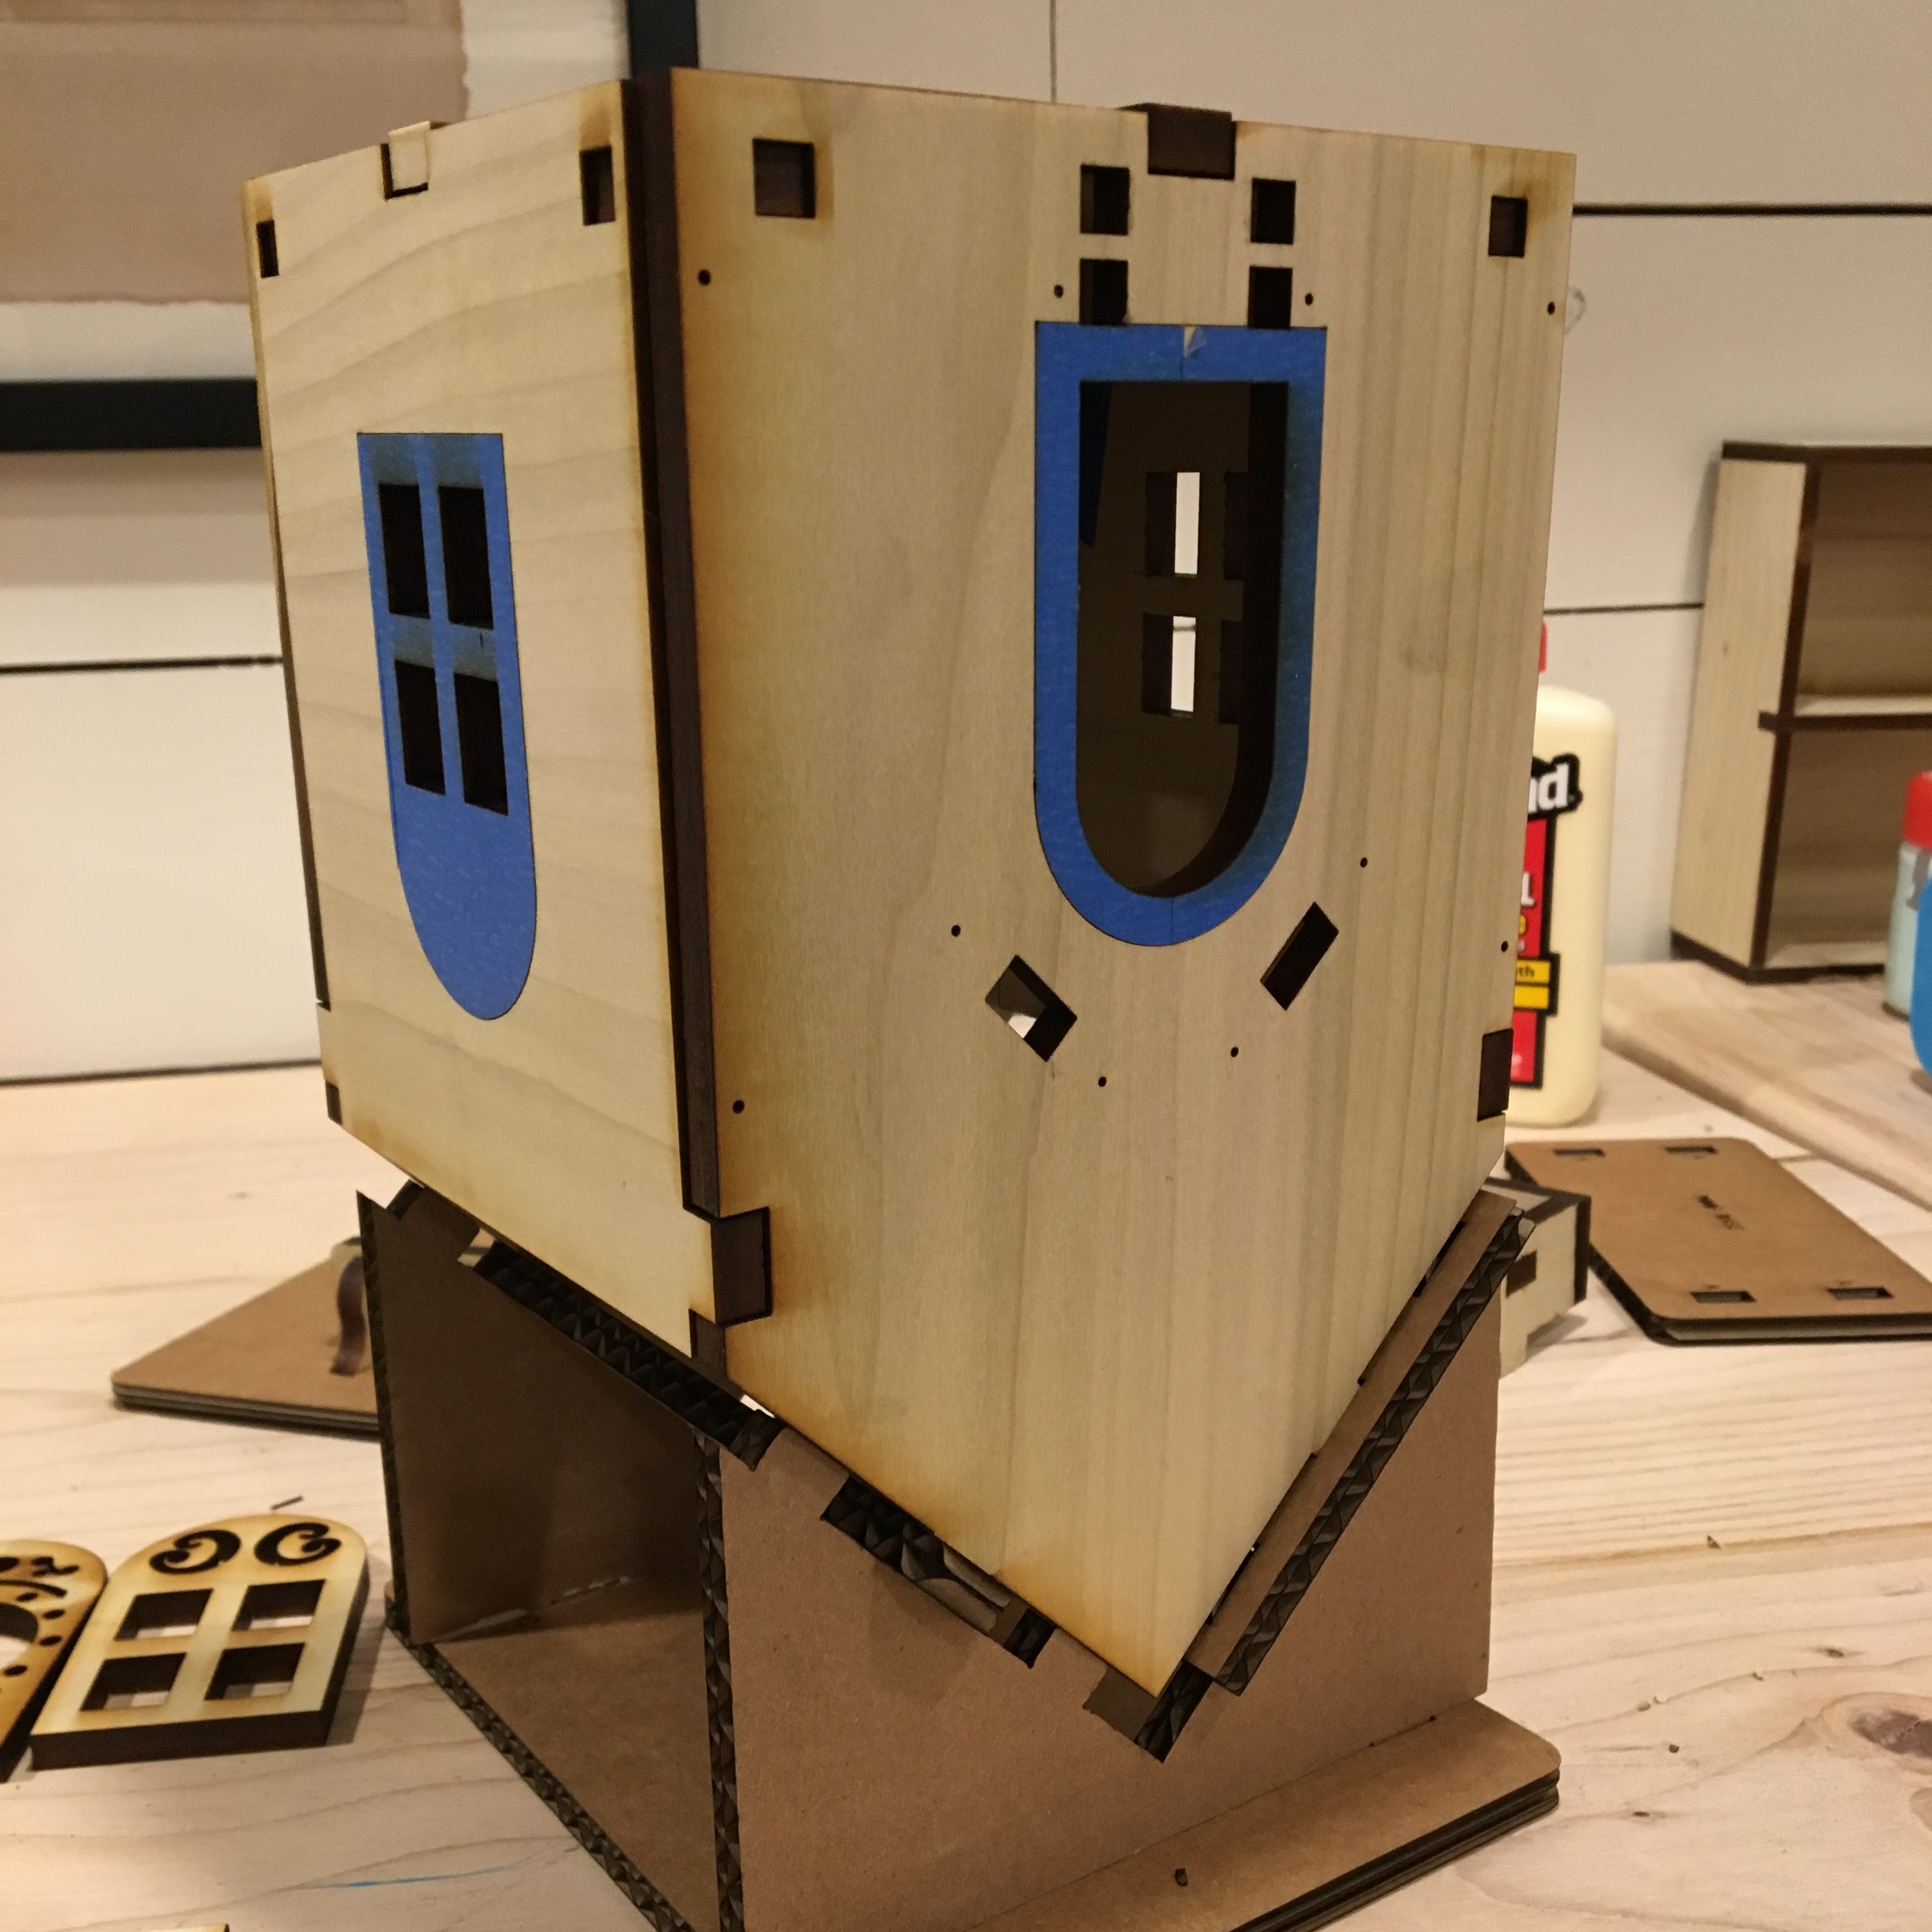
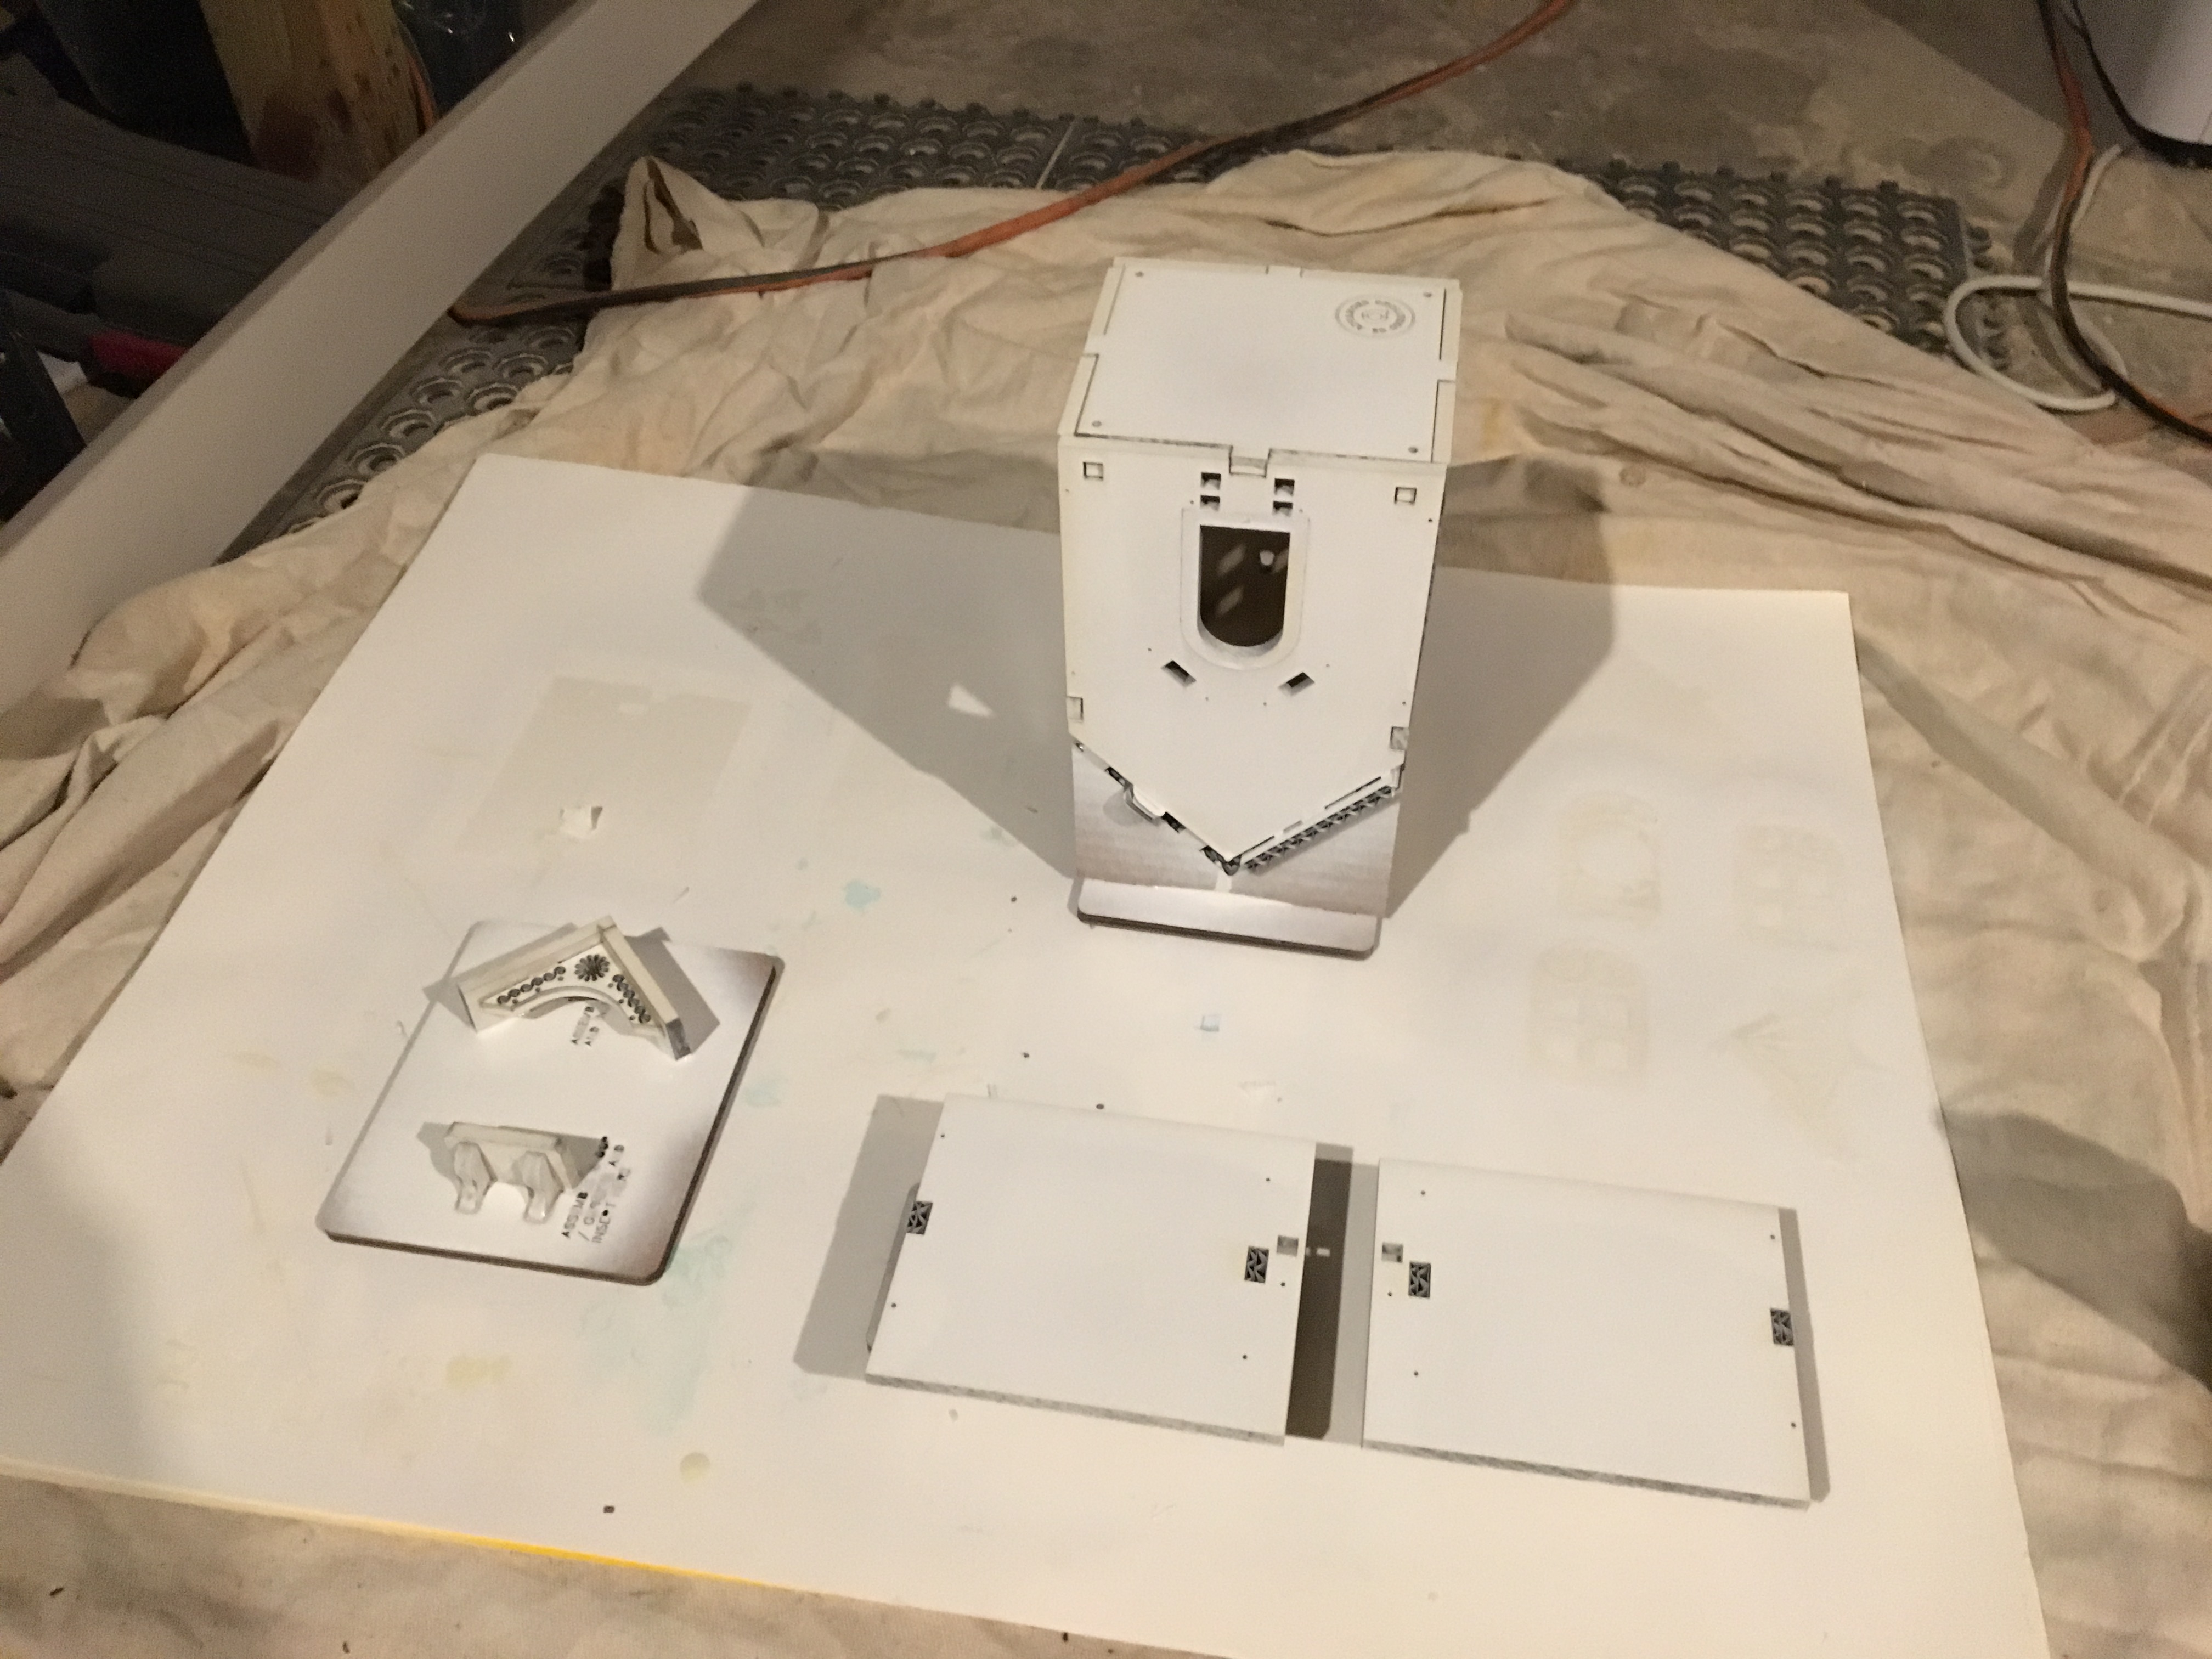
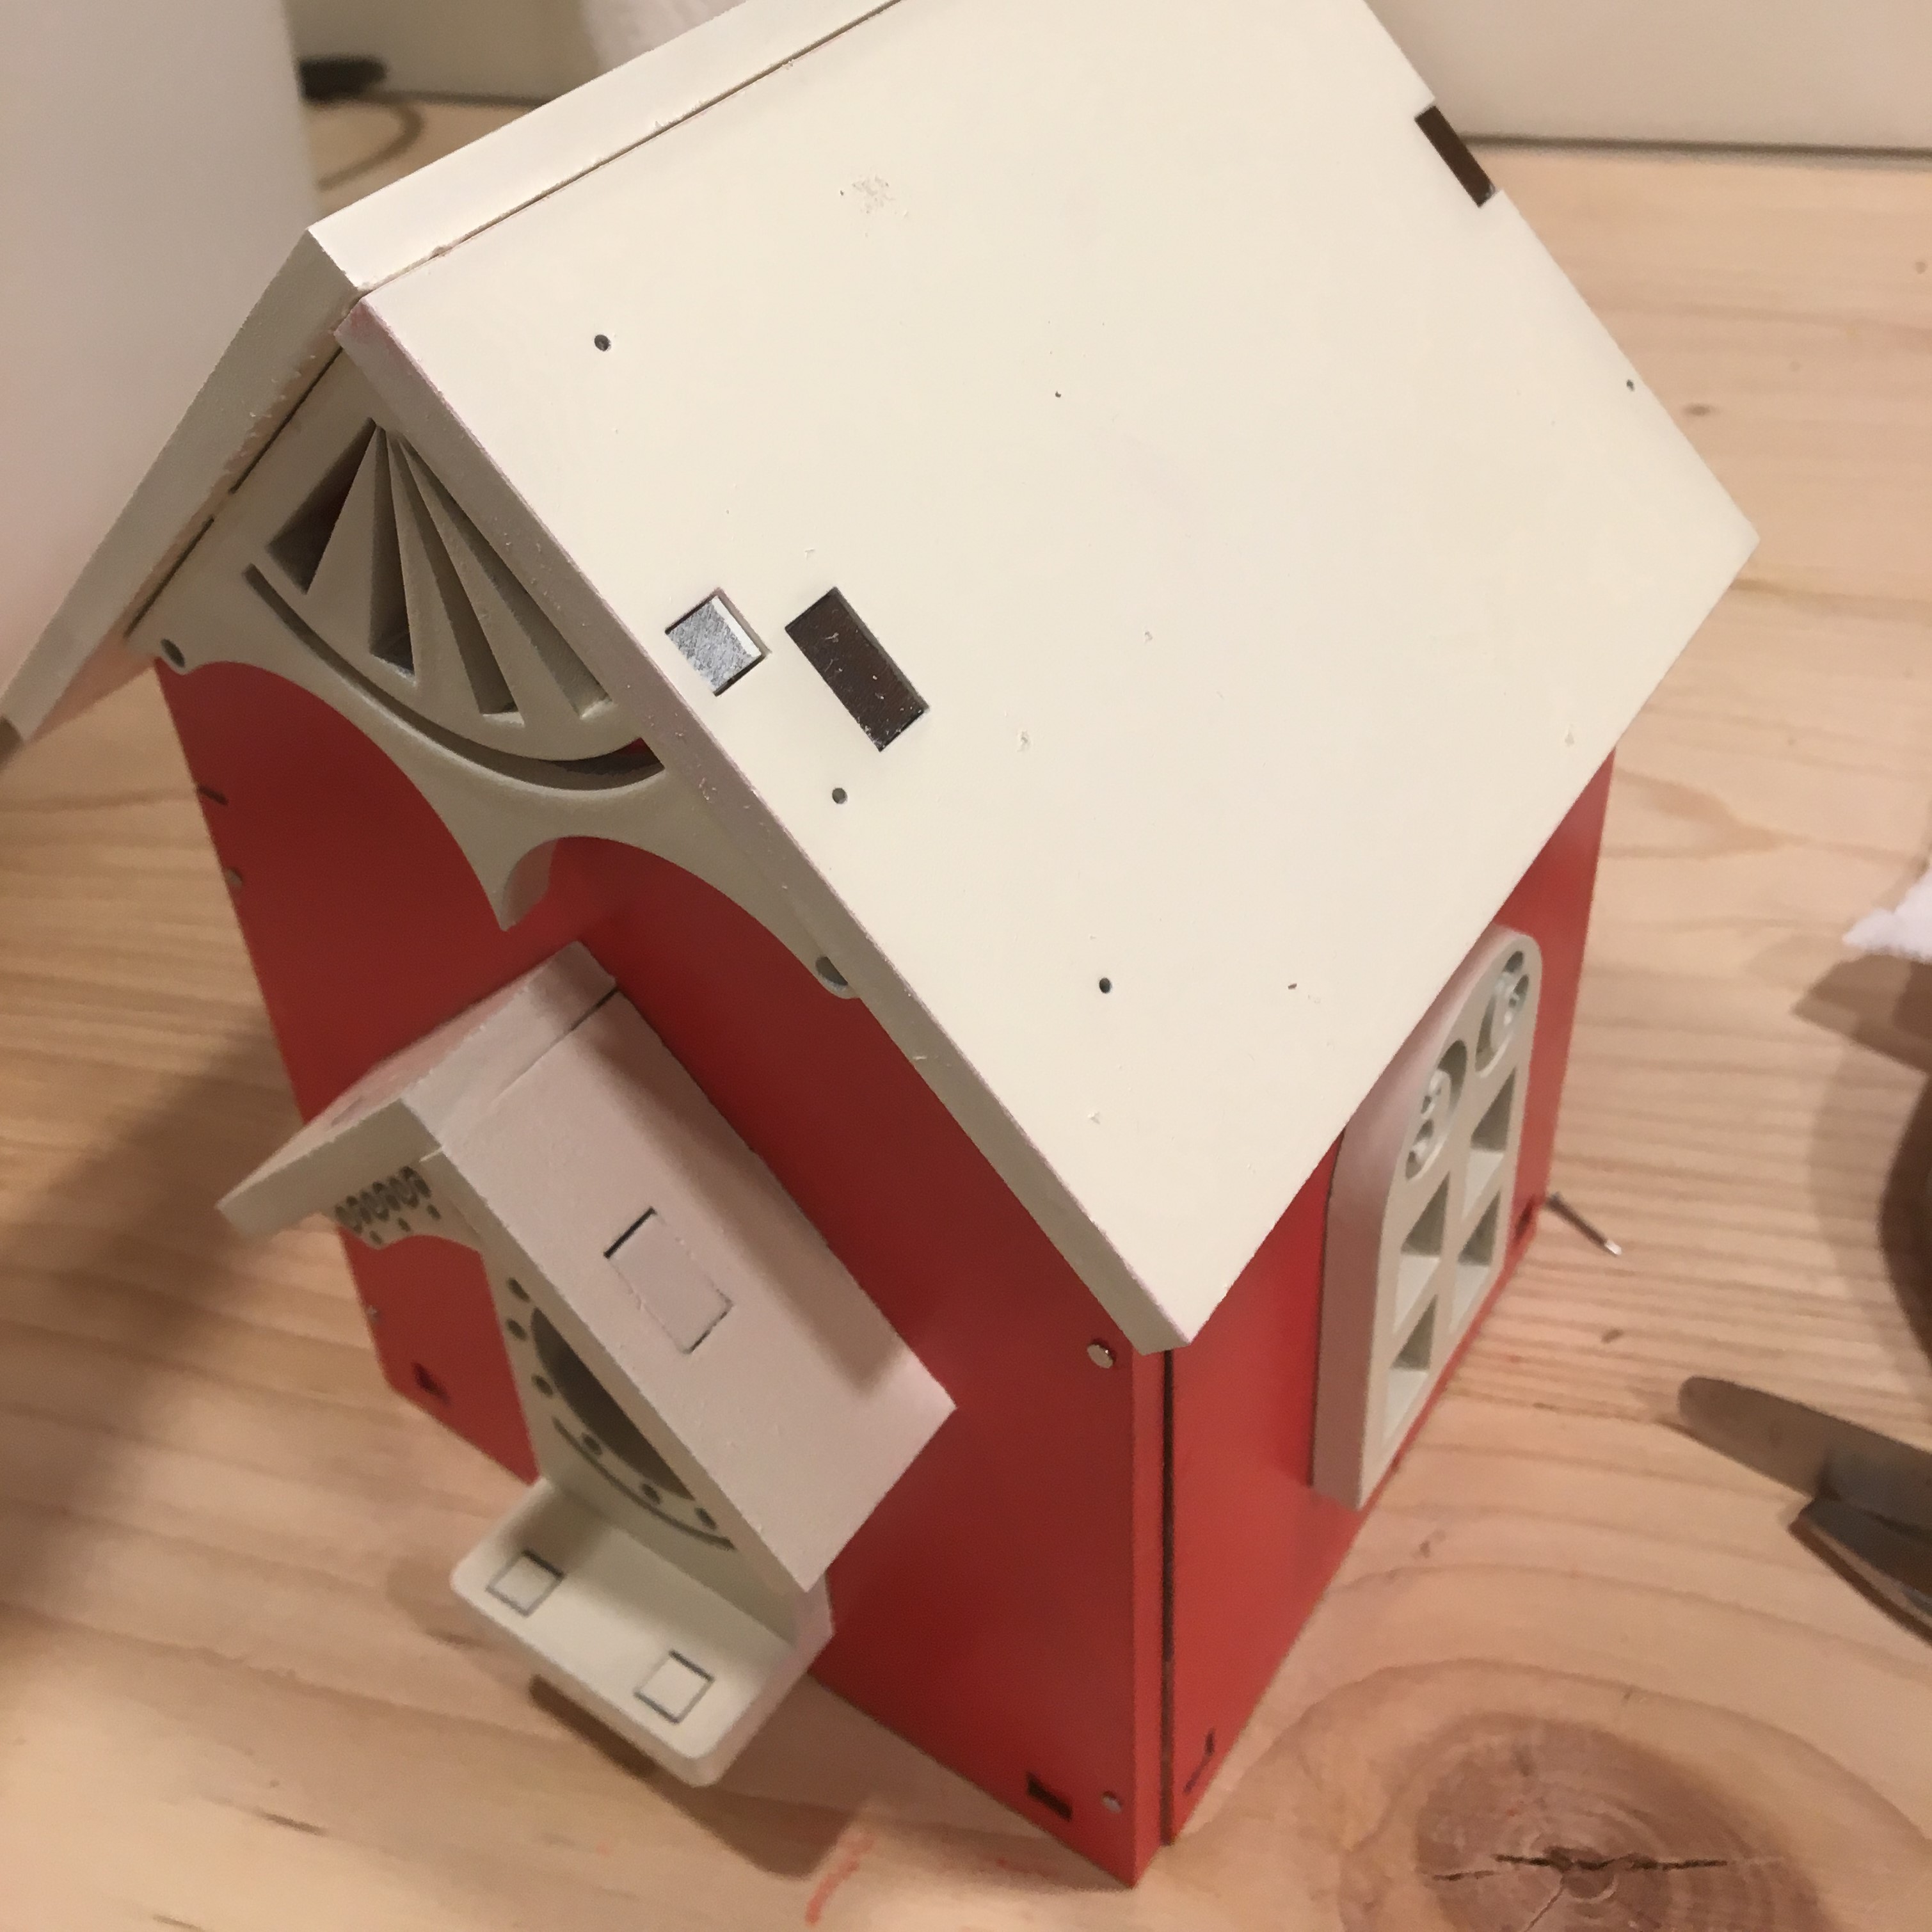
Tip House Upside Down
Tip the house upside down and set upon the paint support as shown.
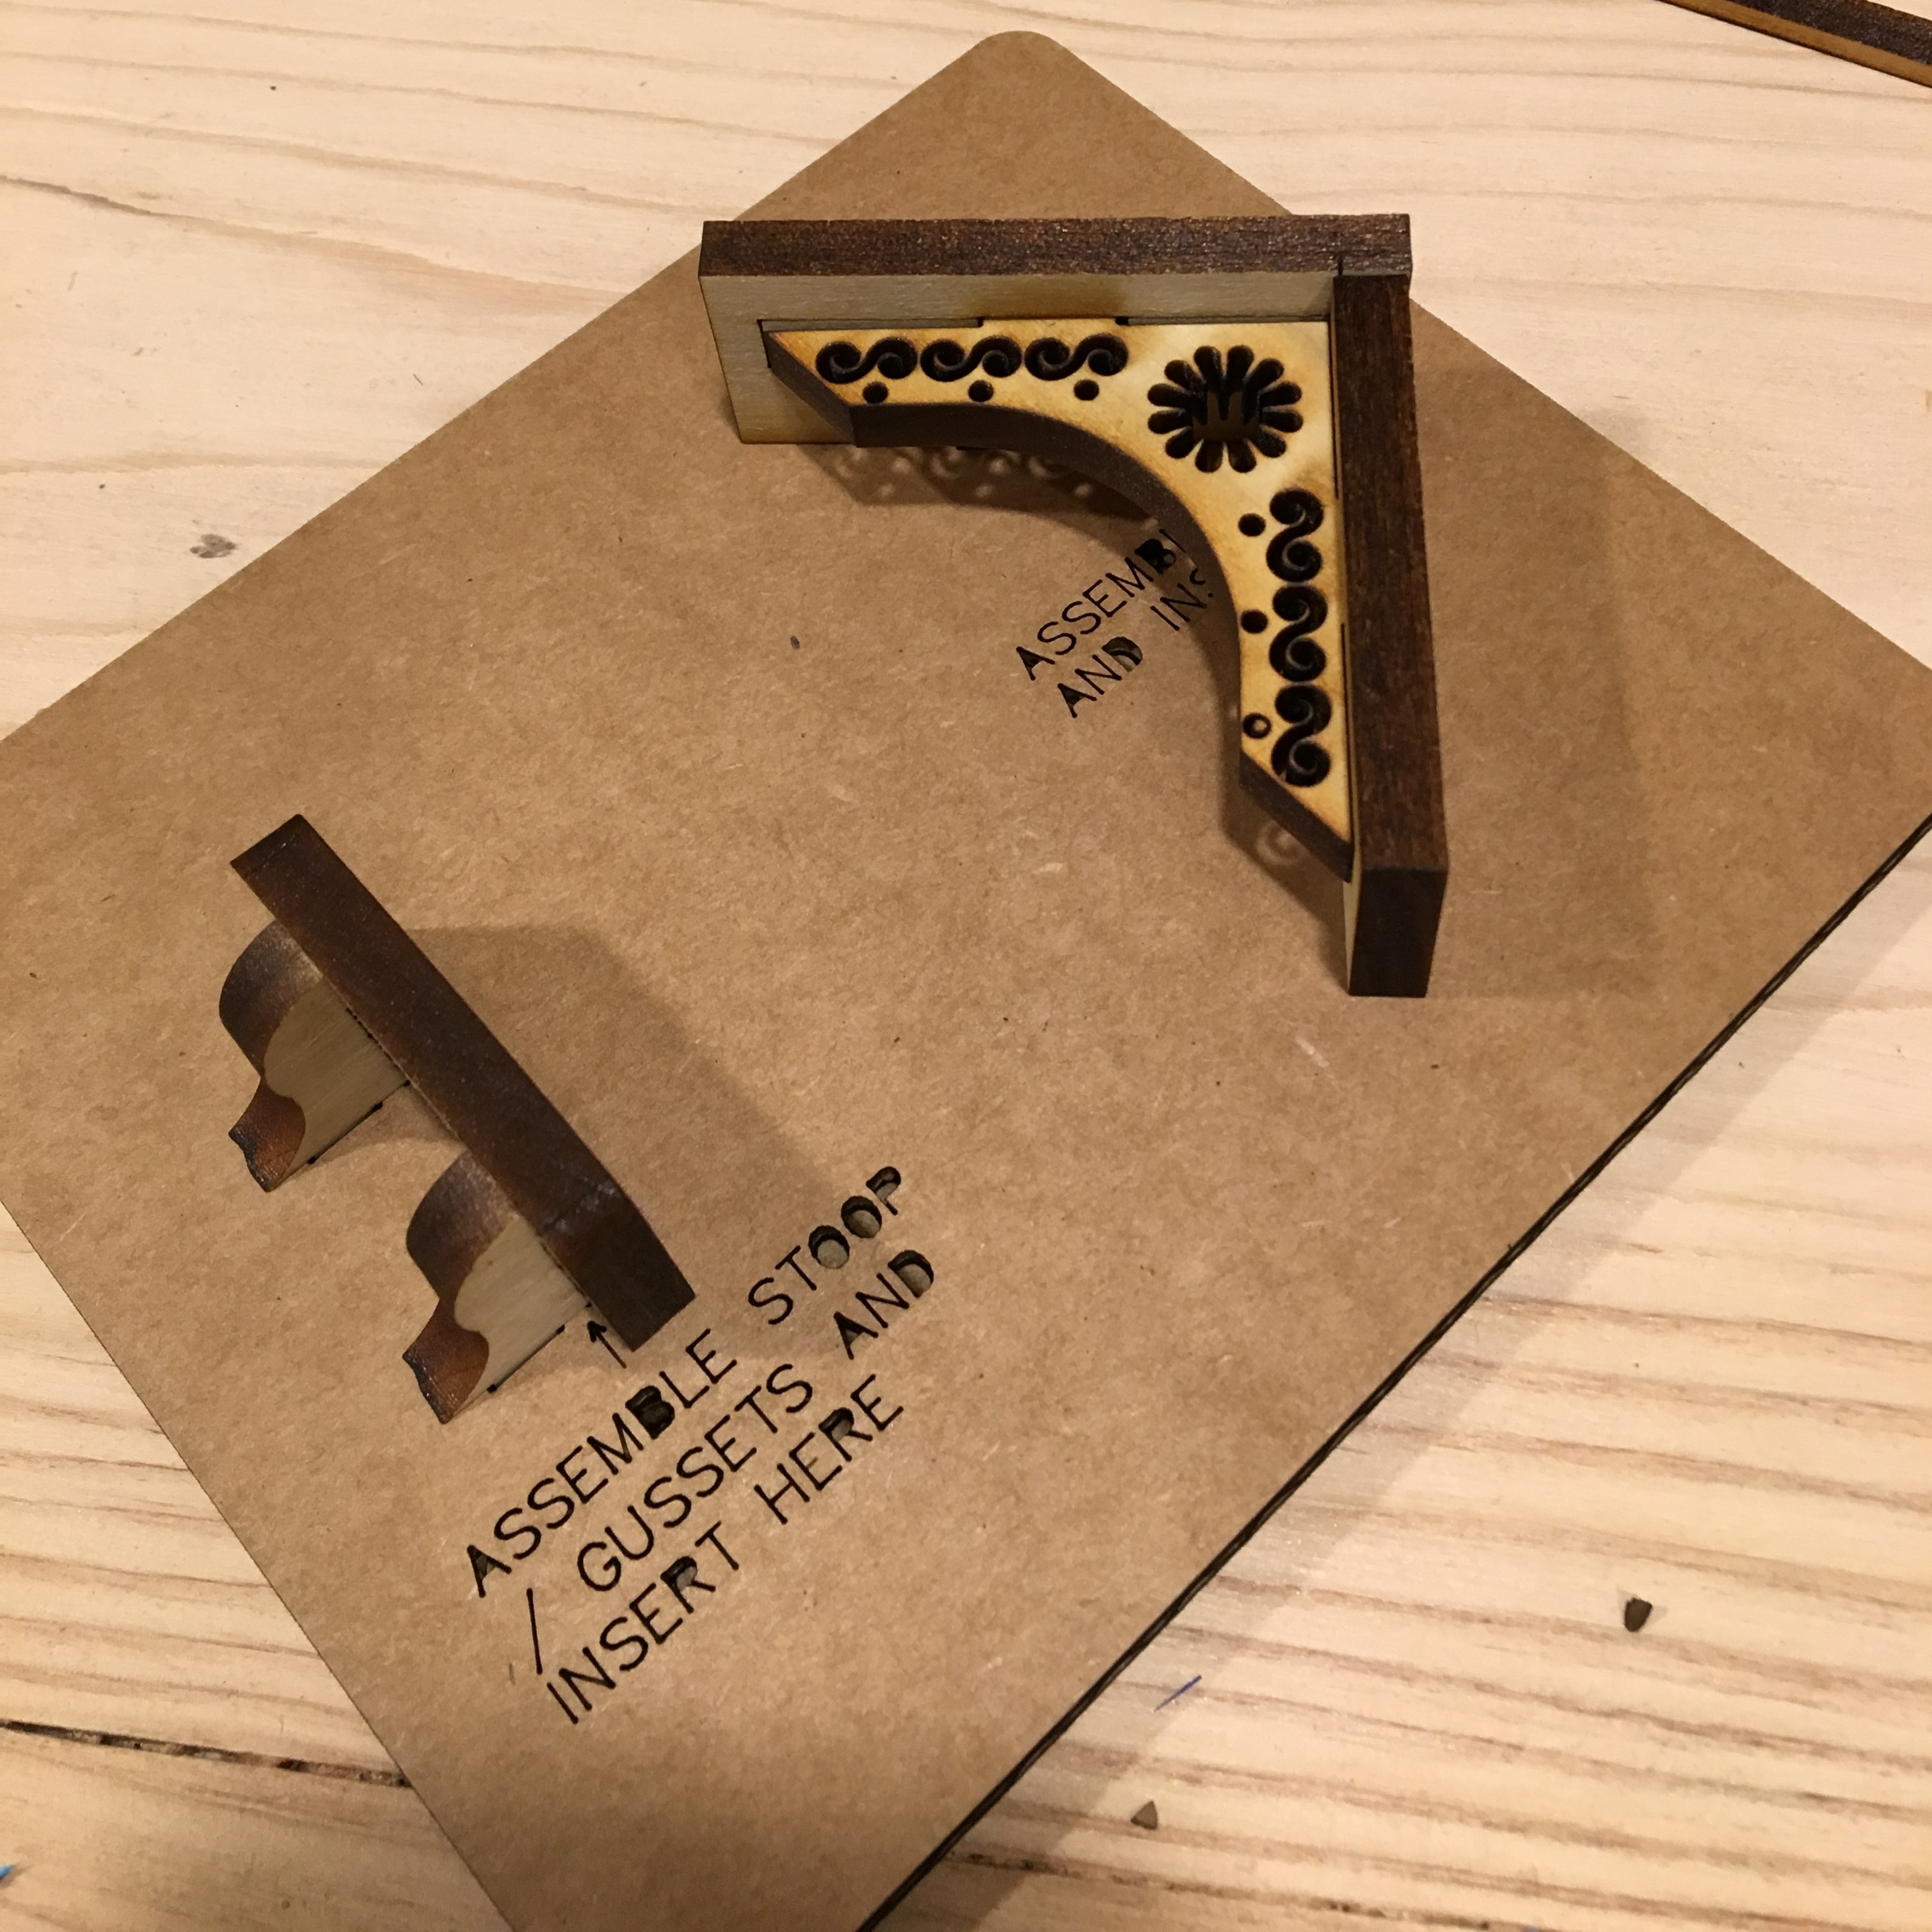
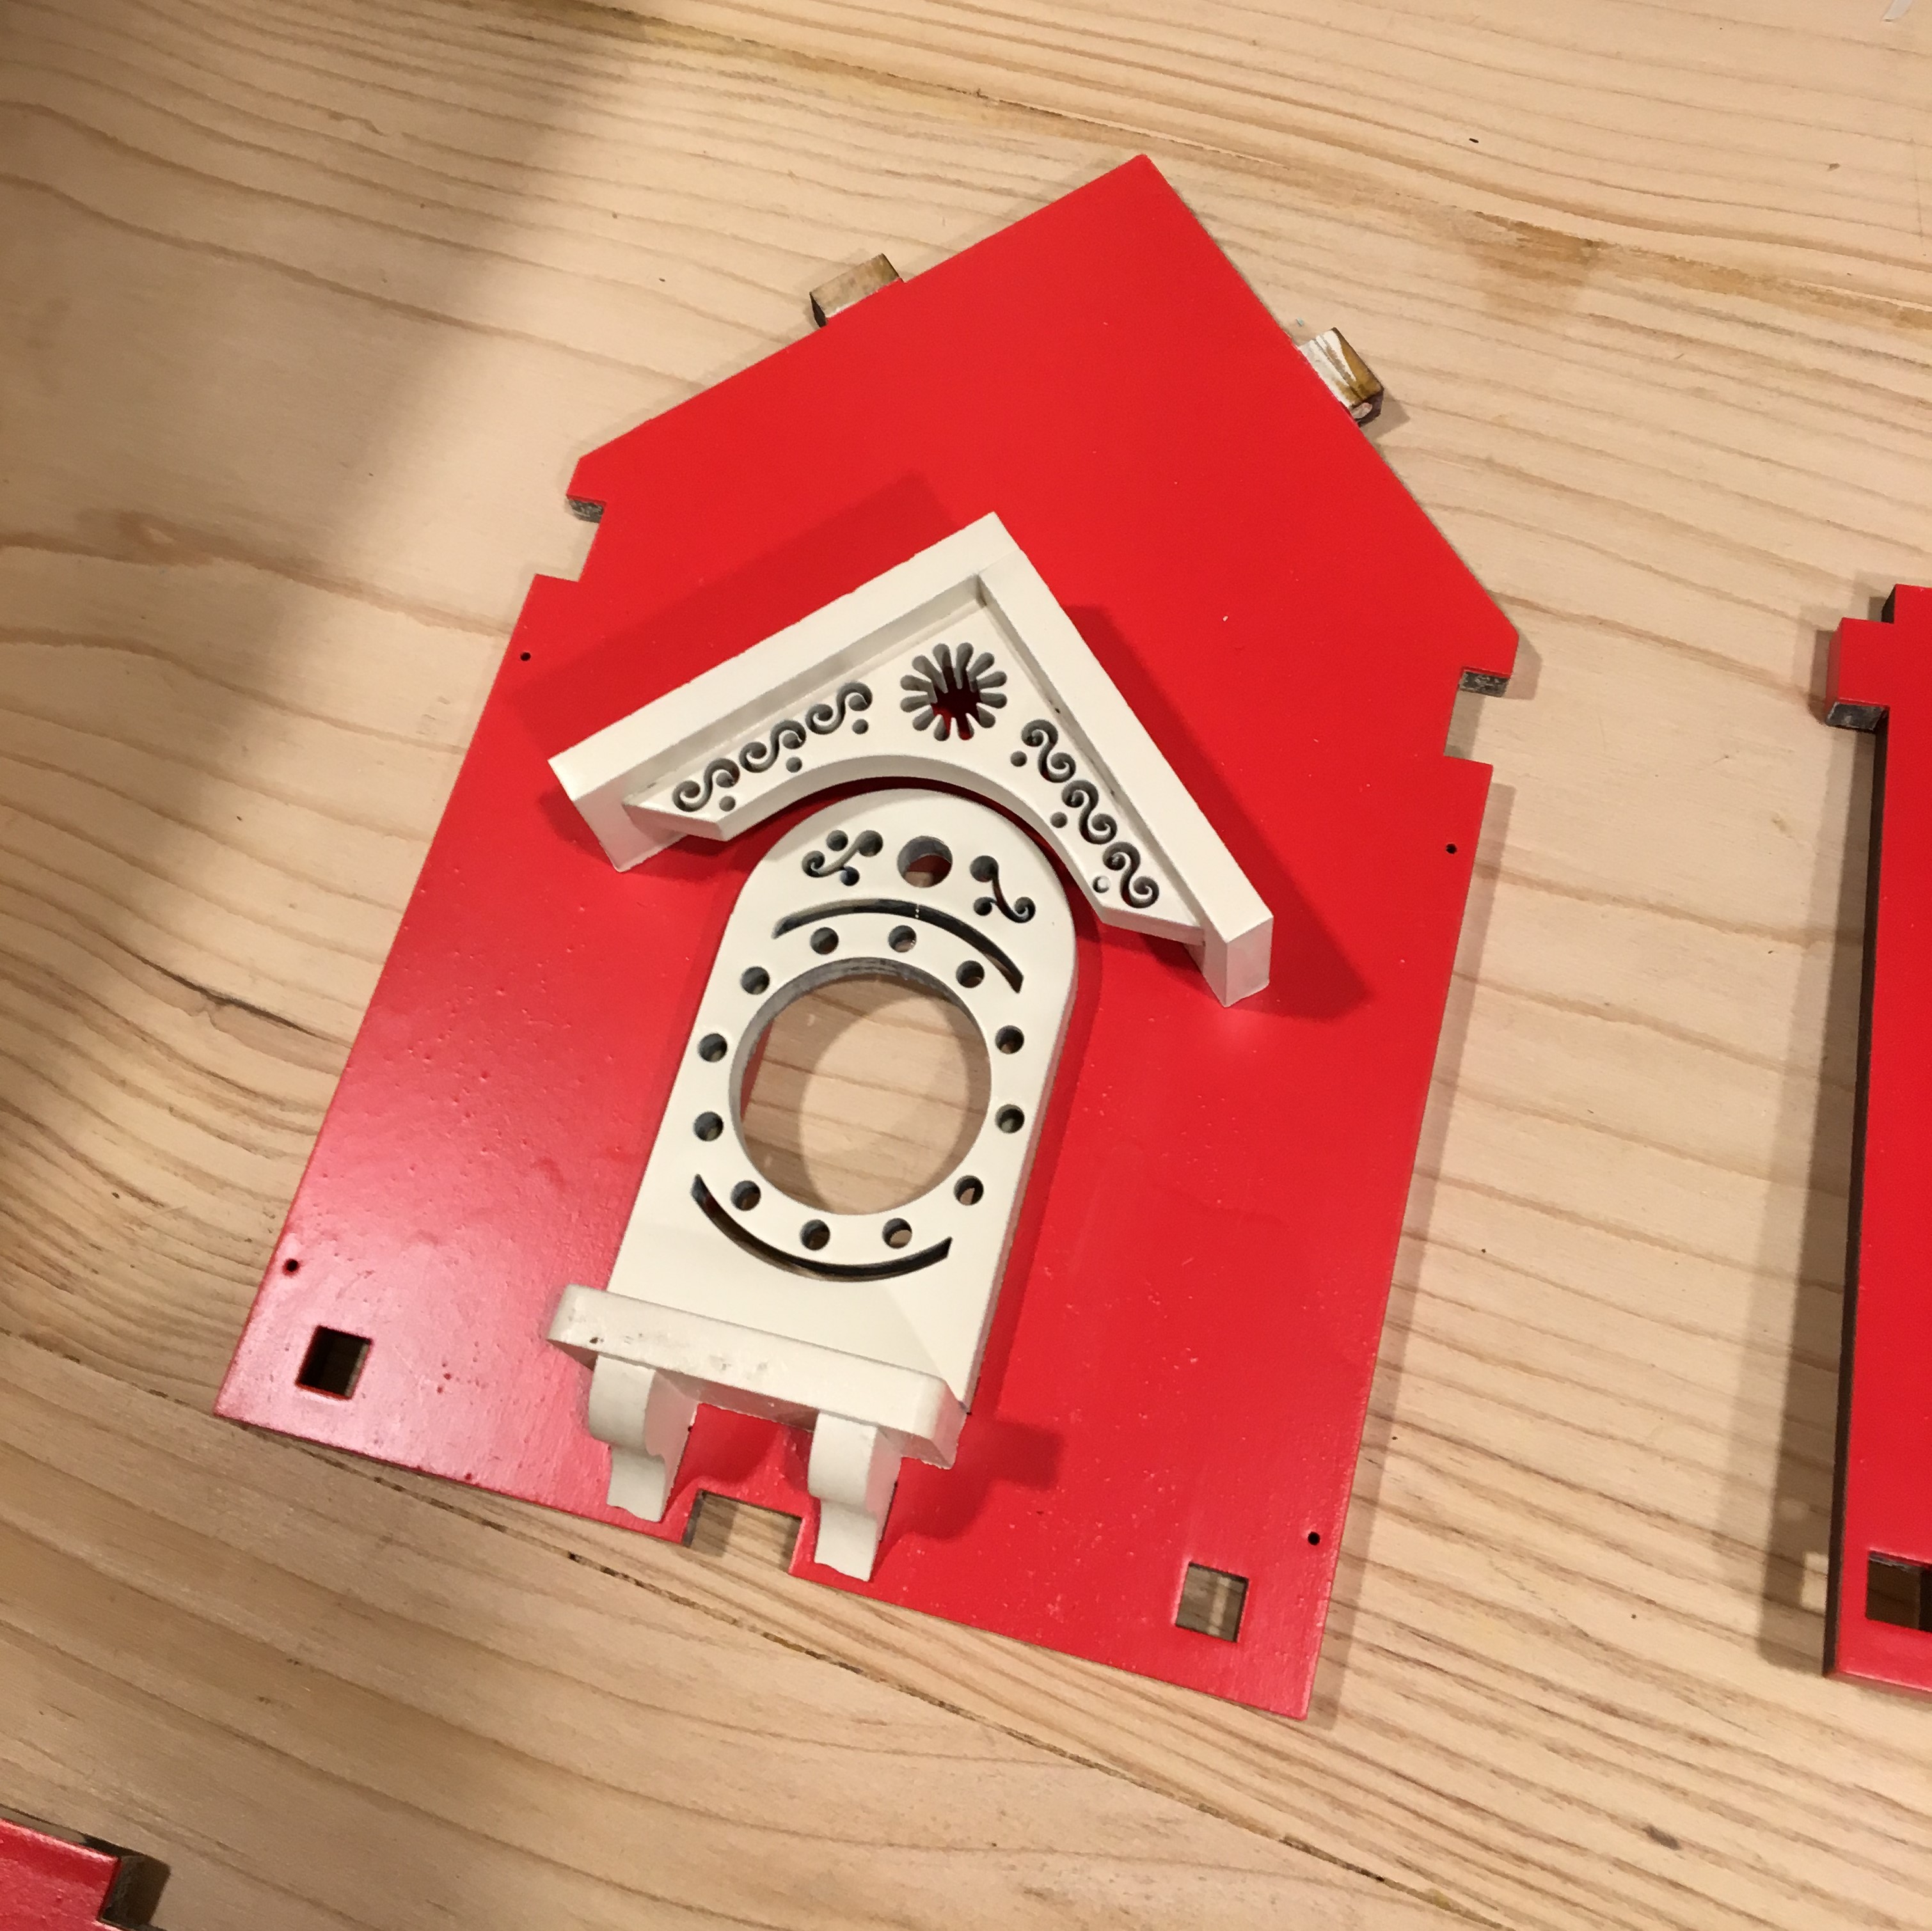
Assemble Stoop / Porch
Assemble and glue the porch roof (longer piece is on the left) and the stoop and set into the panel to prep for paint. Use the etching on the underside of the porch to line up the porch roof components.
Roof Paint Supports
The roof paint supports assemble in order to elevate the roof panels keeping them from sticking to the surface you will be painting against. You will need to paint both sides of the roof.
Prime Paint Components
Prime paint all parts, for best results it is best to give two coats of primer to all components.
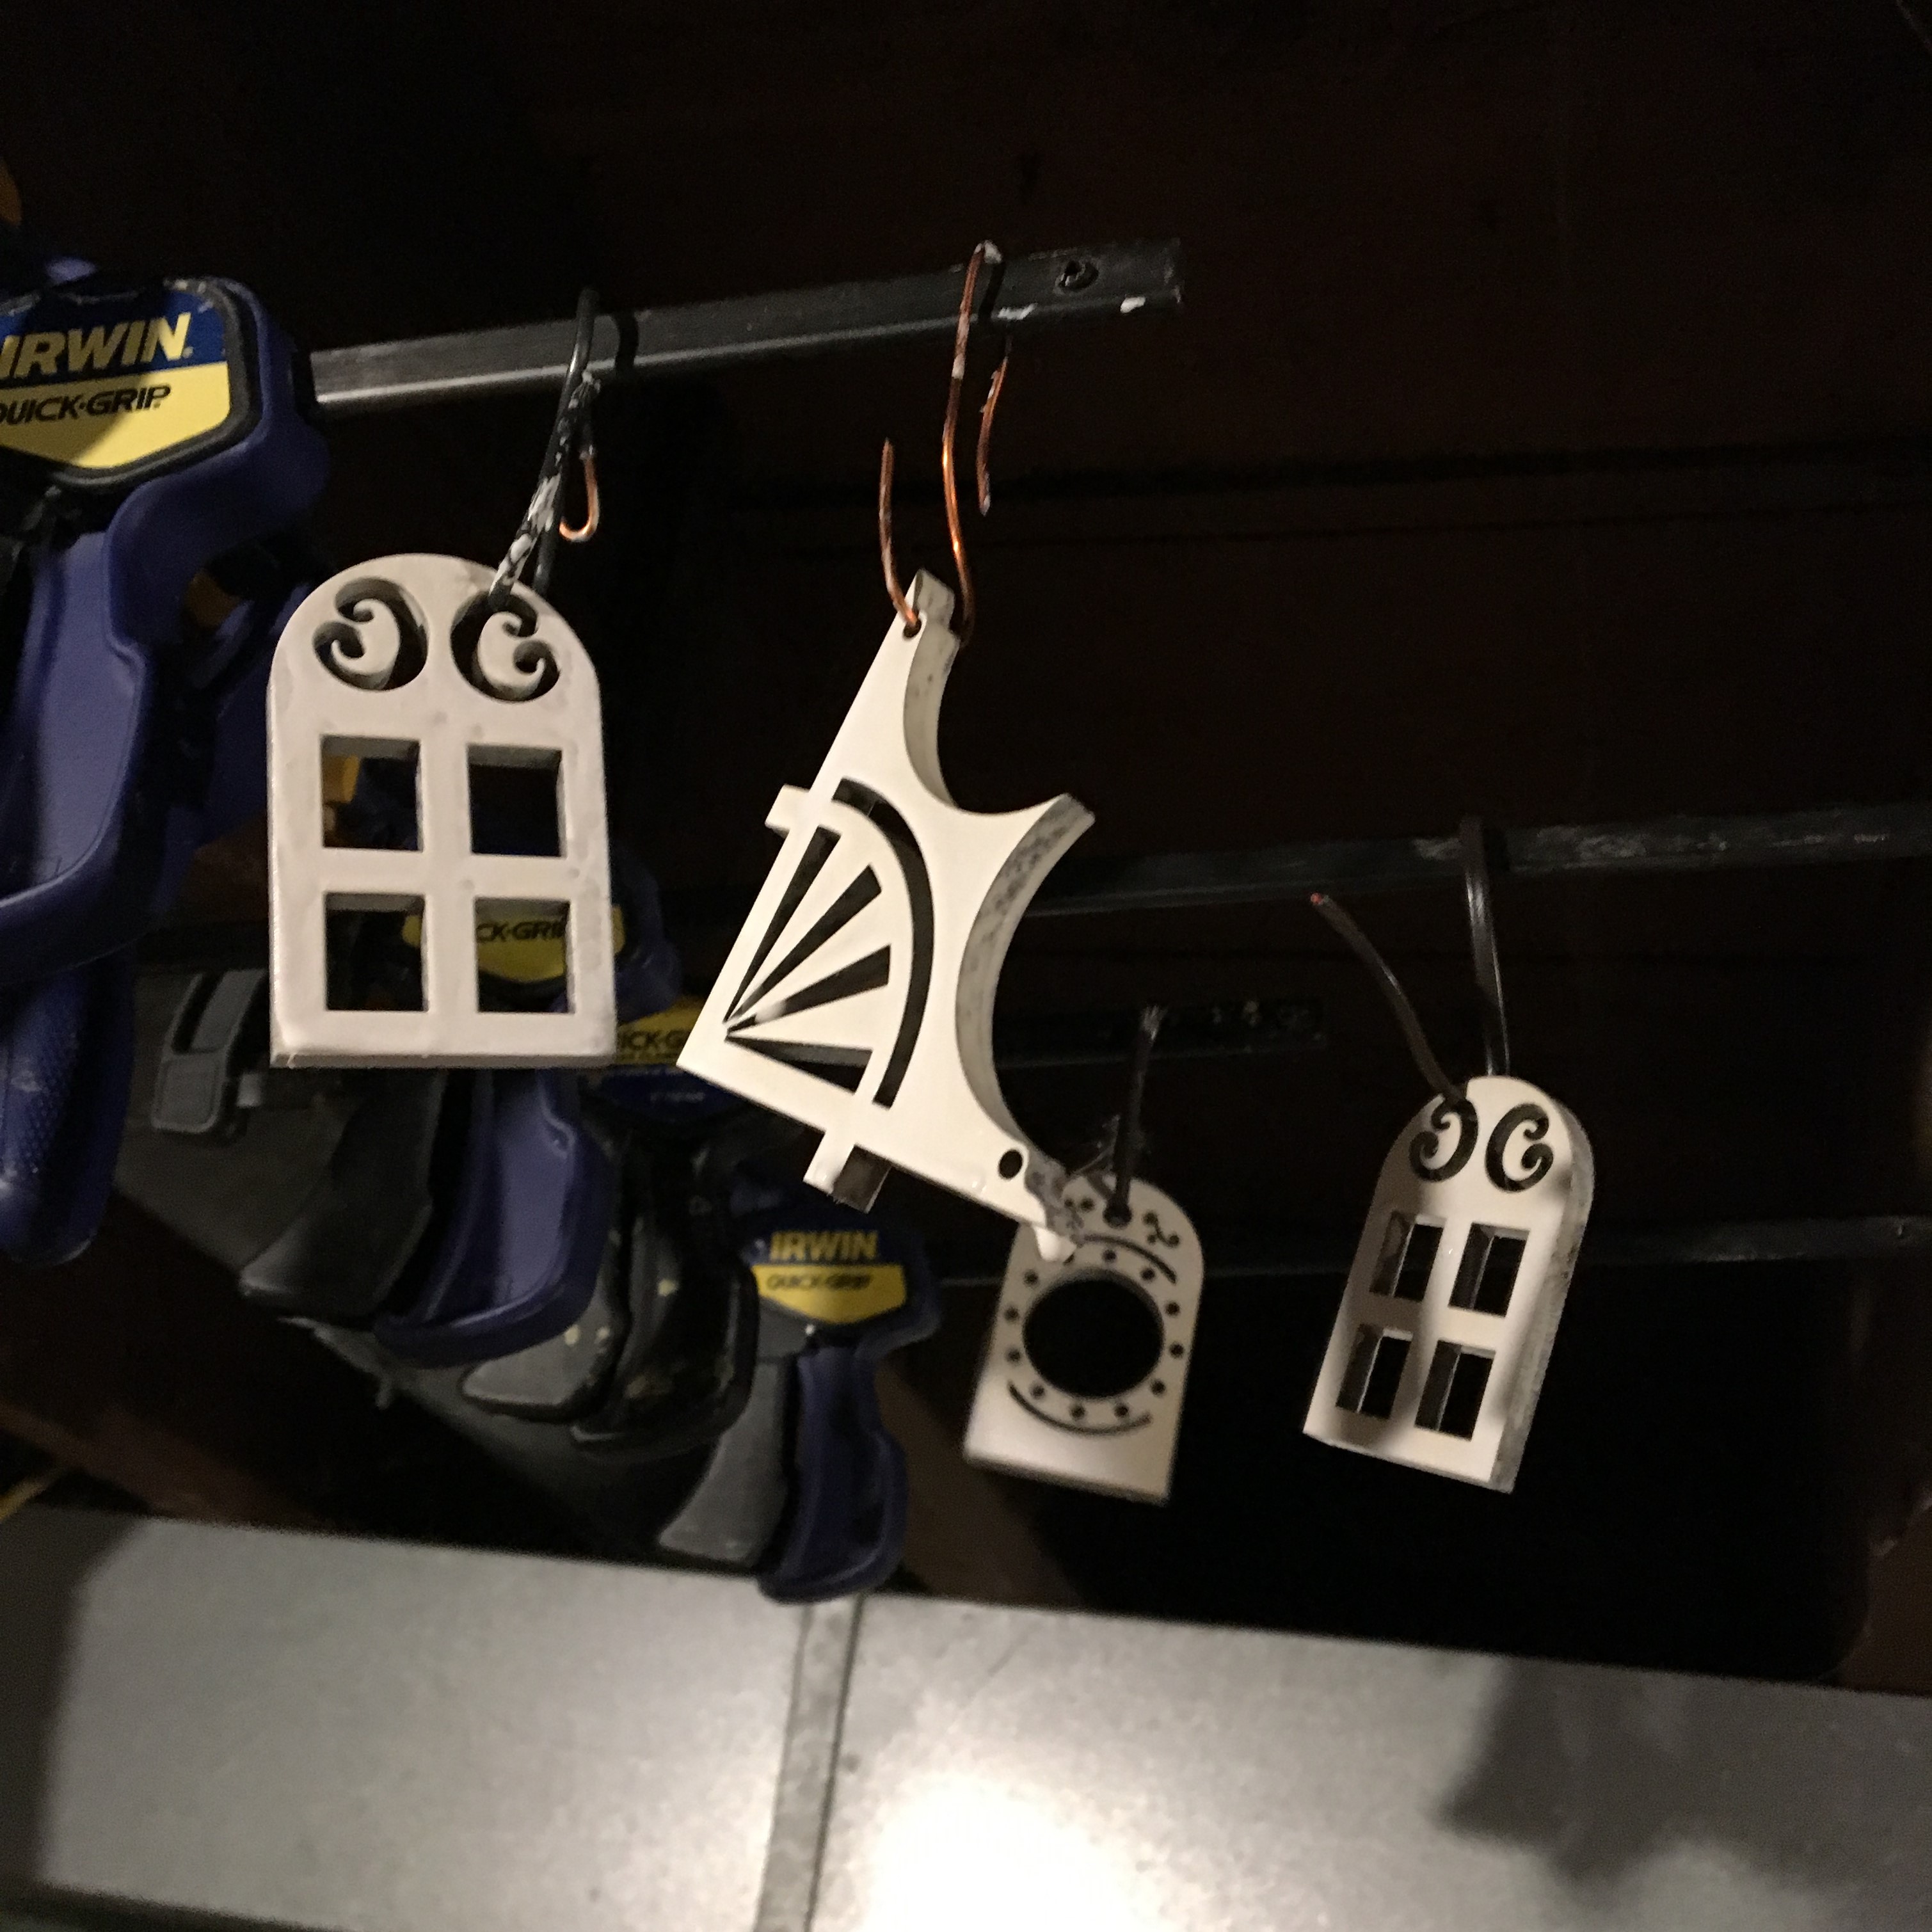
Paint Window Frames / Door / Gusset
Using a piece of wire or cut a coat hanger, hang the window frames / door front / gusset, prime and paint the fronts only.
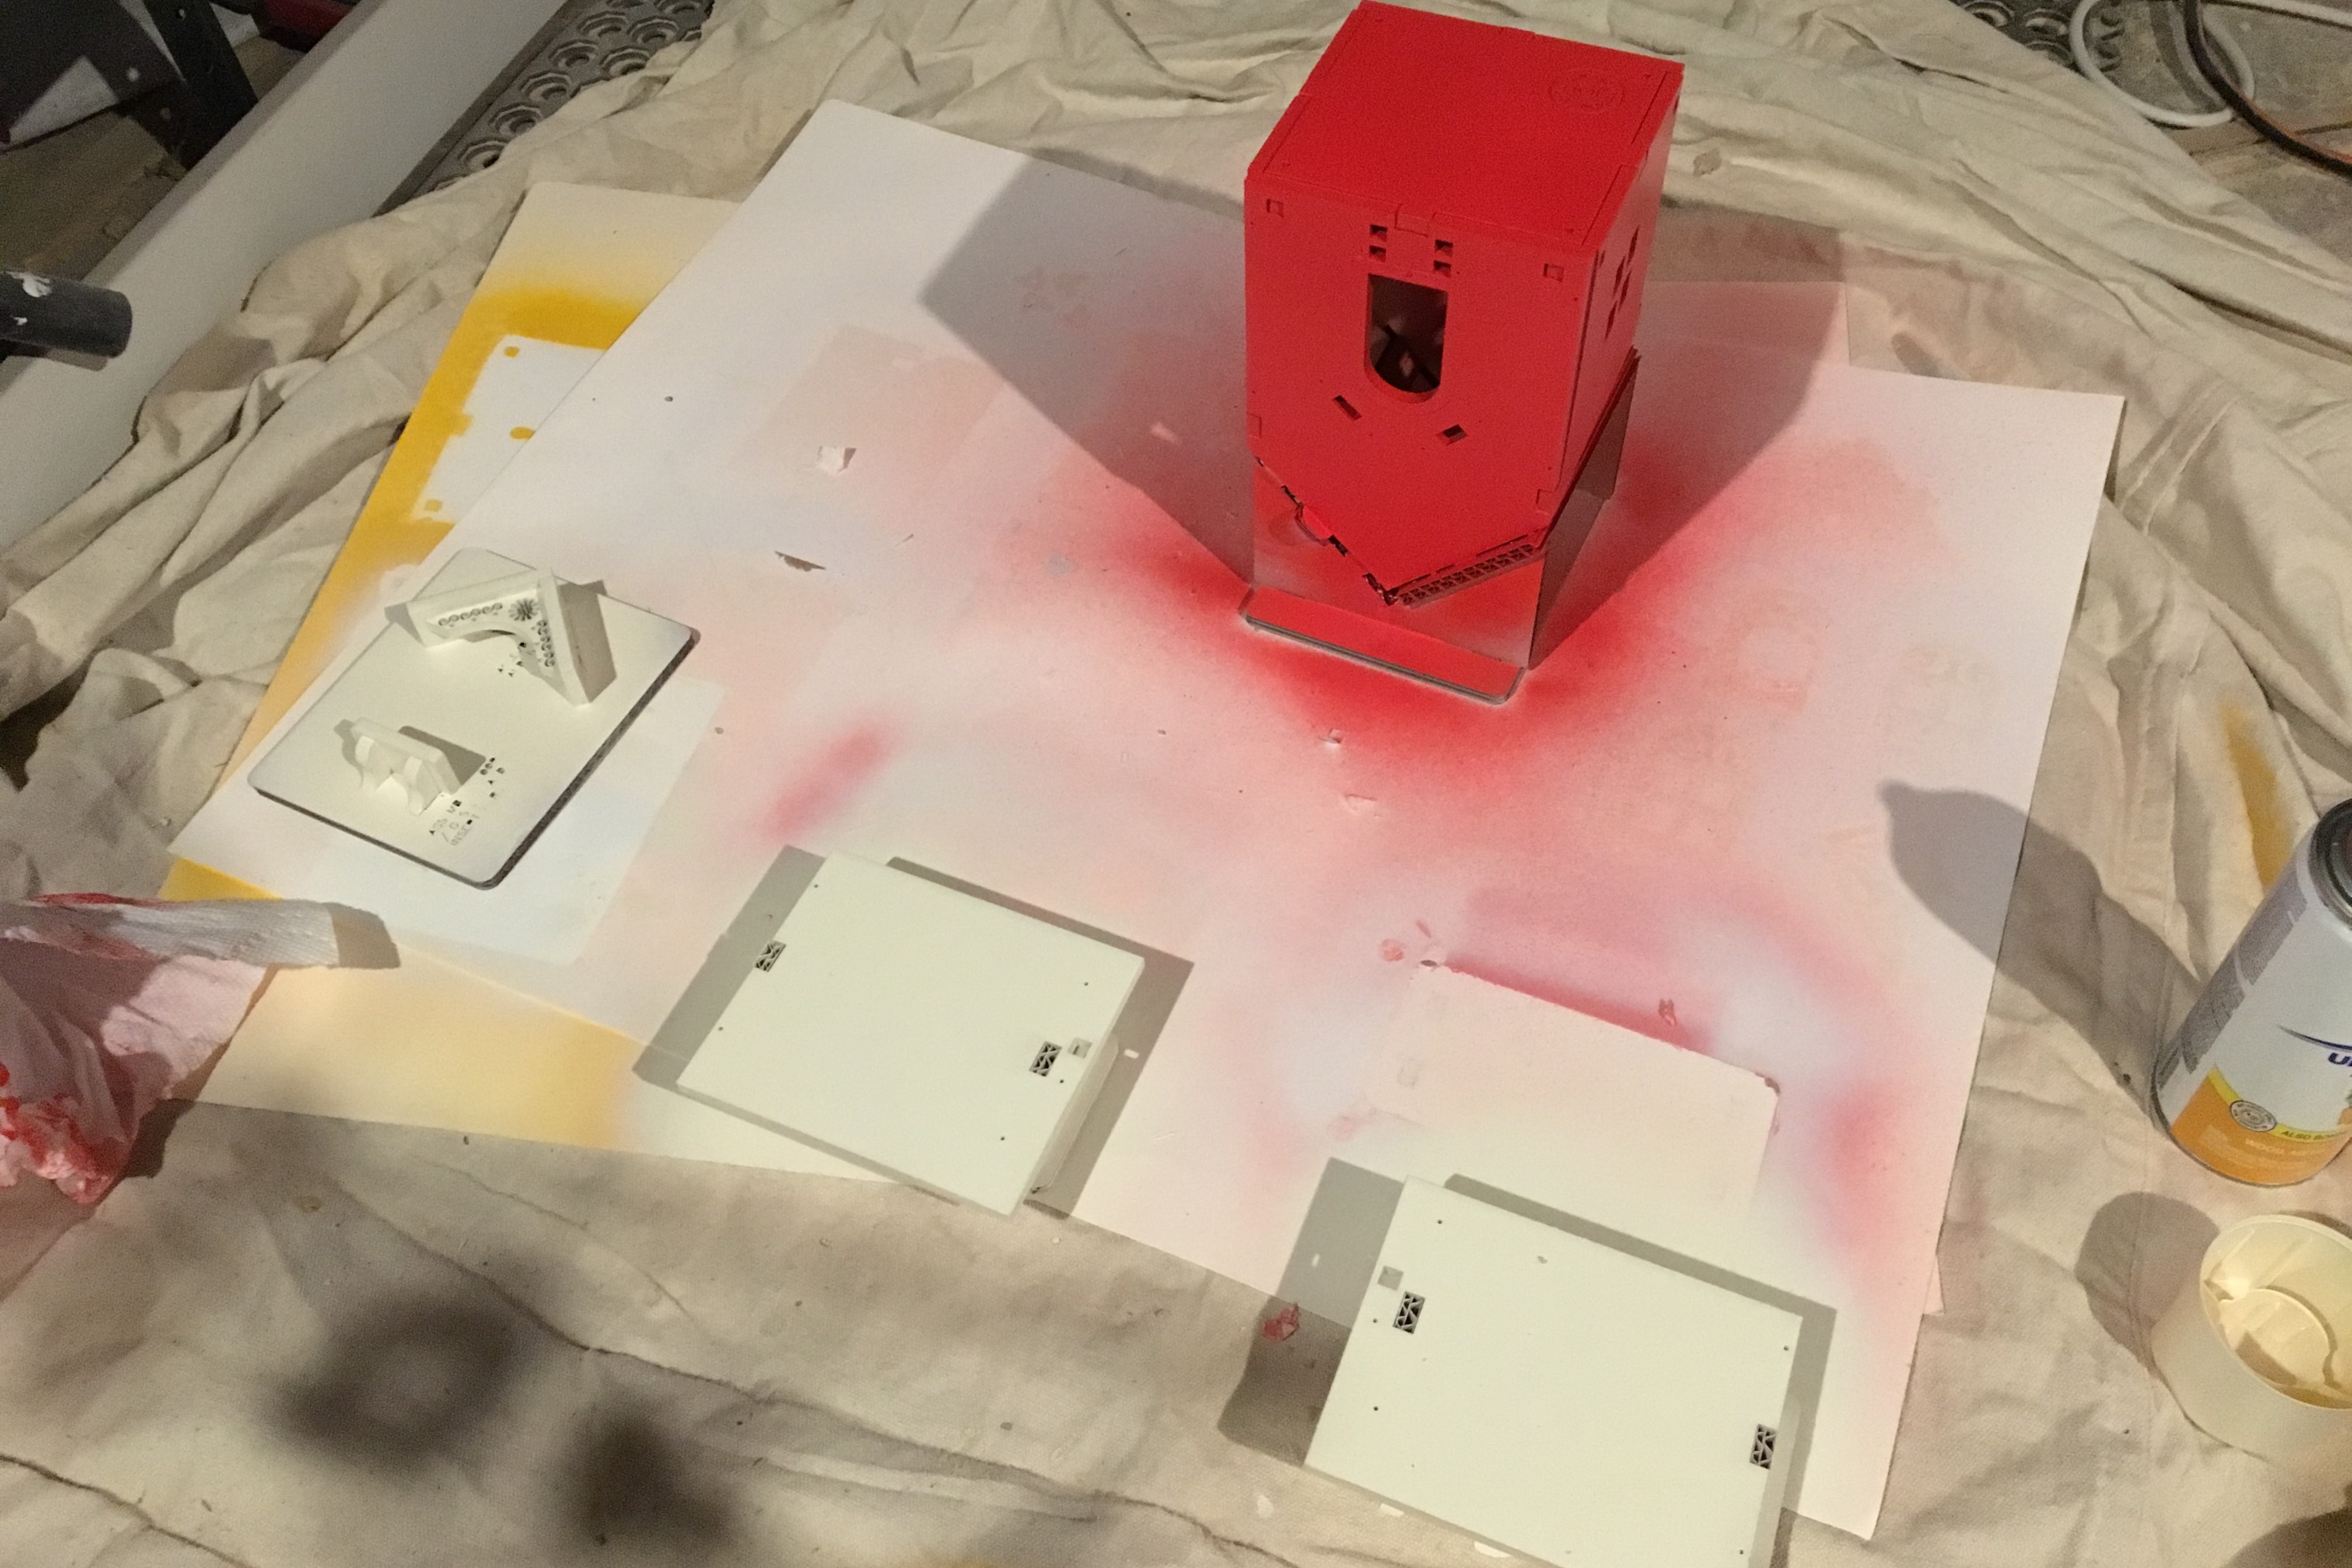
Paint
Paint the upside down house a darker color of your choosing and paint all around the roof panels, porch and stoop. Make sure to get on the sides of the roof and porch as well. Two coats of paint should do it.
Tear Down…Carefully
Disassemble the house being very careful of the tabs as they will shear off easily. It is also a good idea to put a label at each corner so you can remember how you put it together before you painted it.
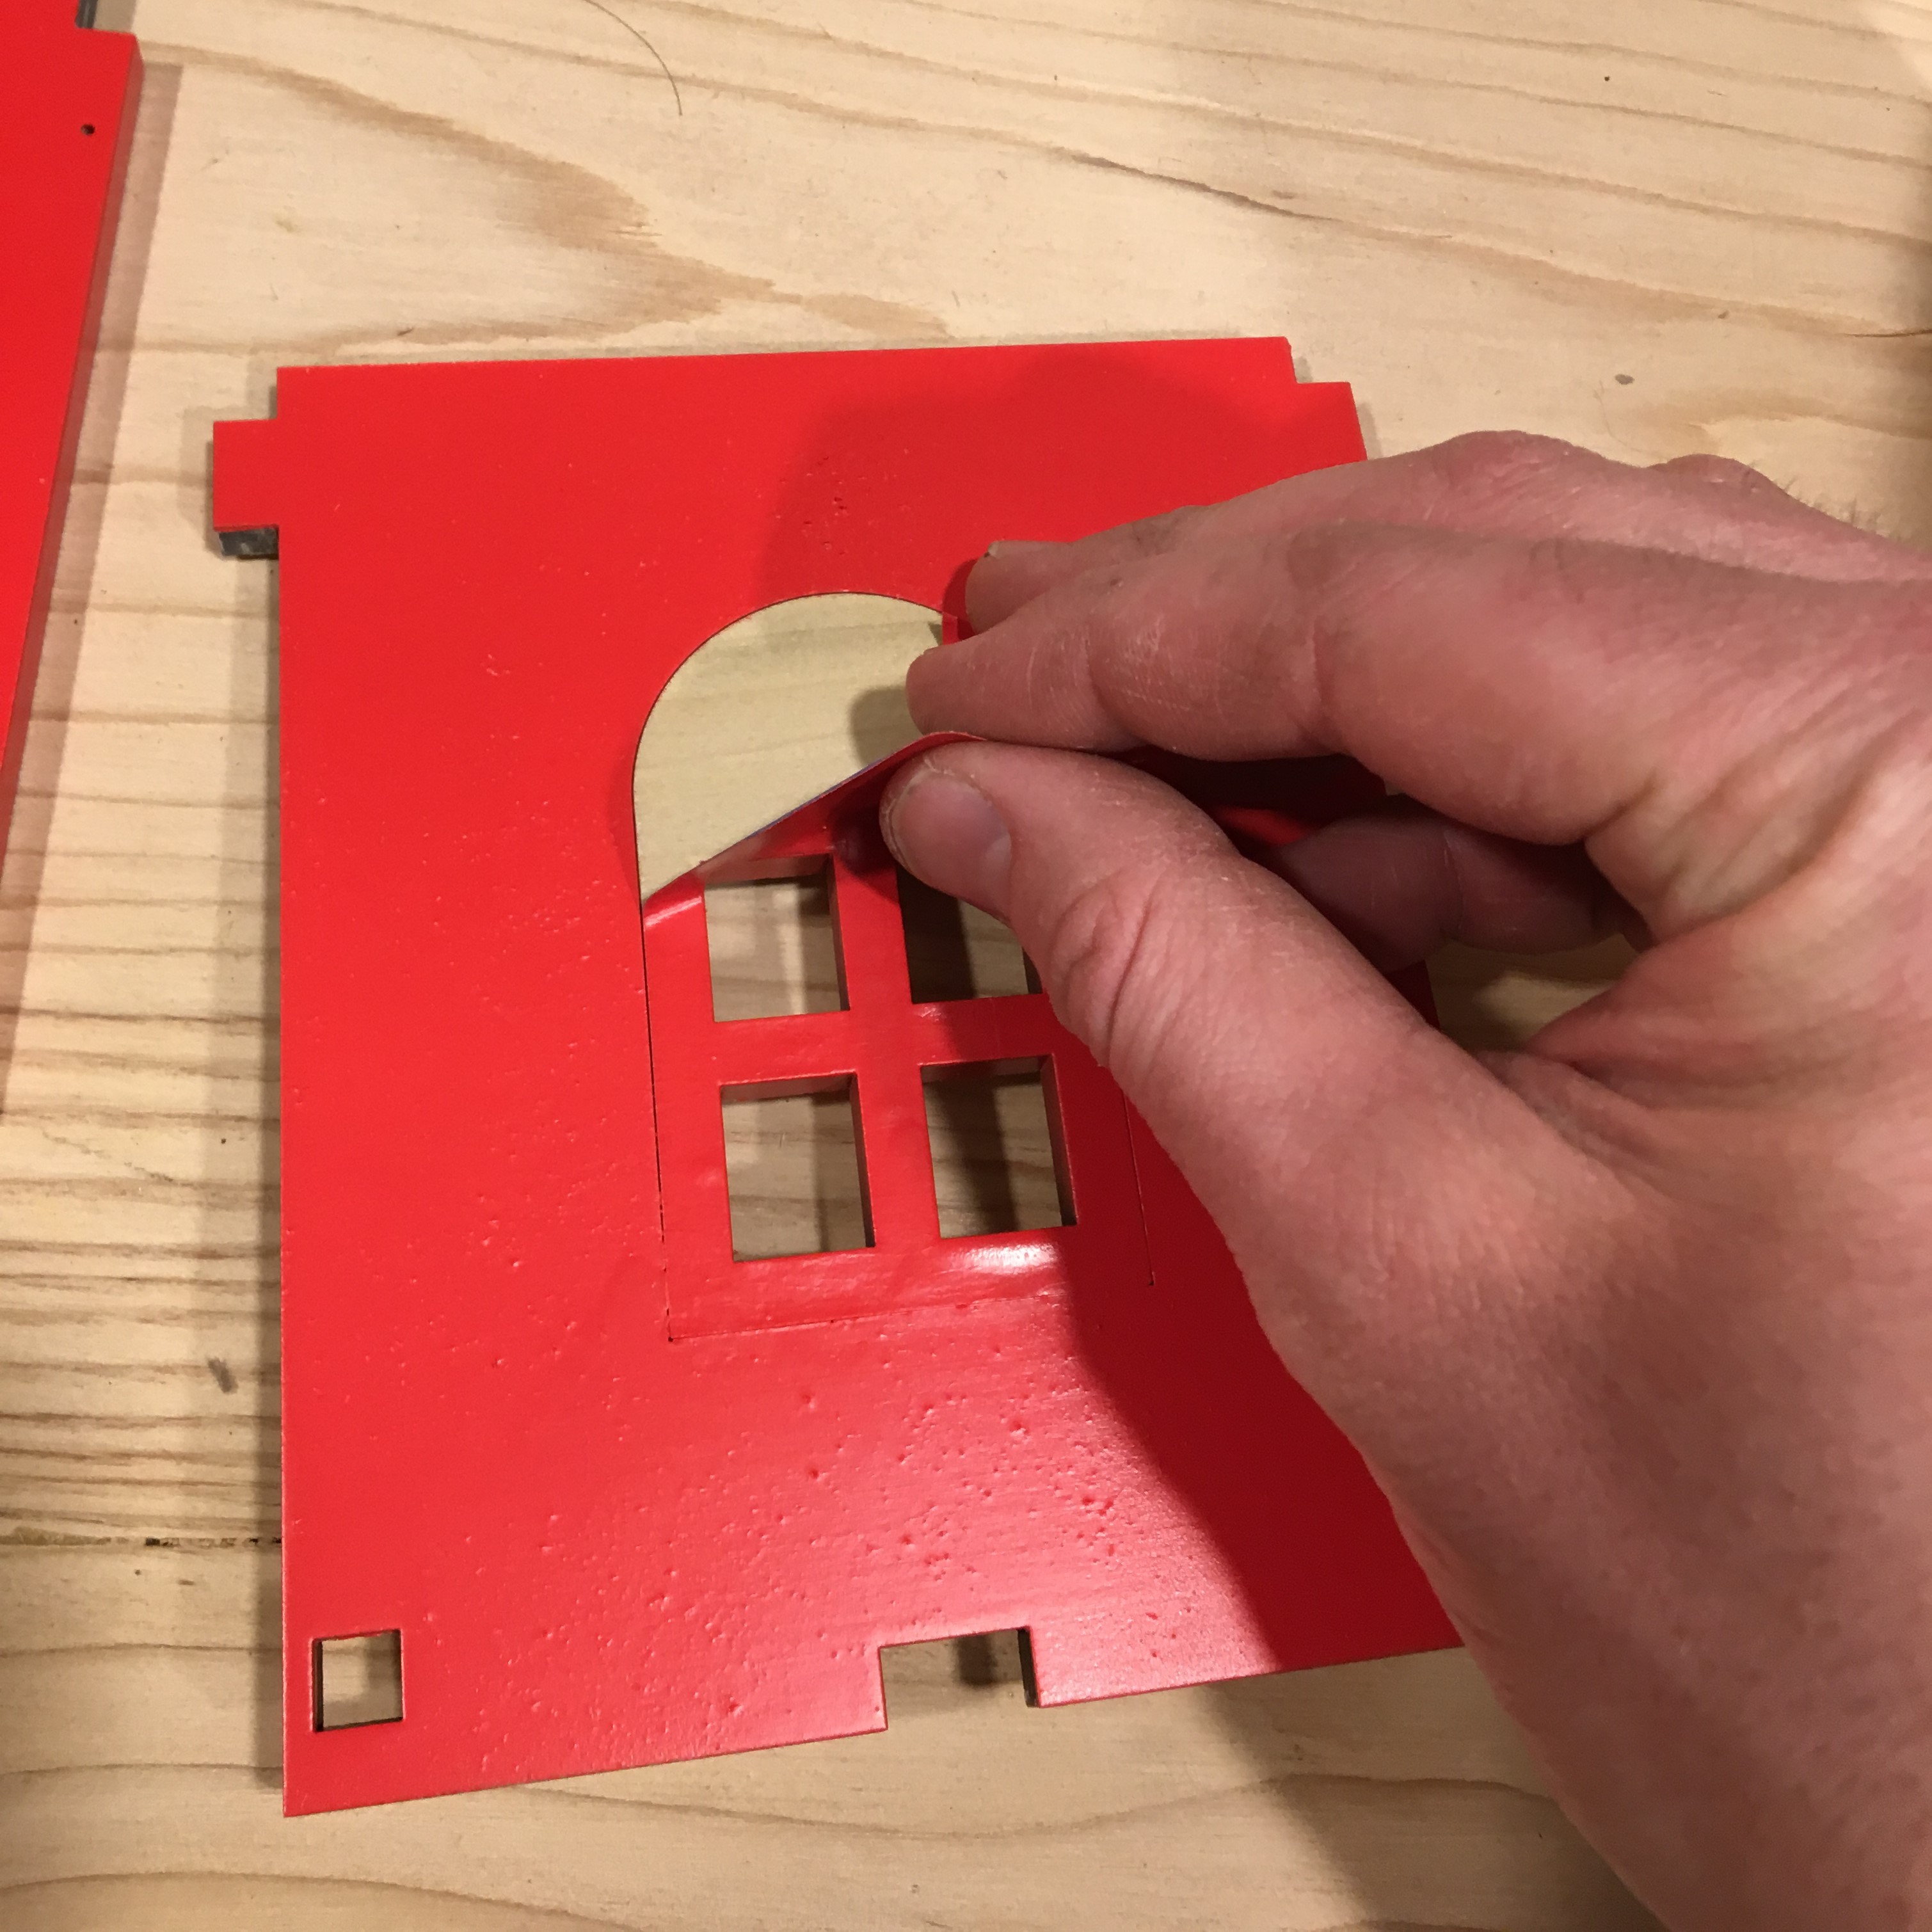
Peel Tape
Peel the tape around the window frames and the front entry to expose the bare wood on the panel
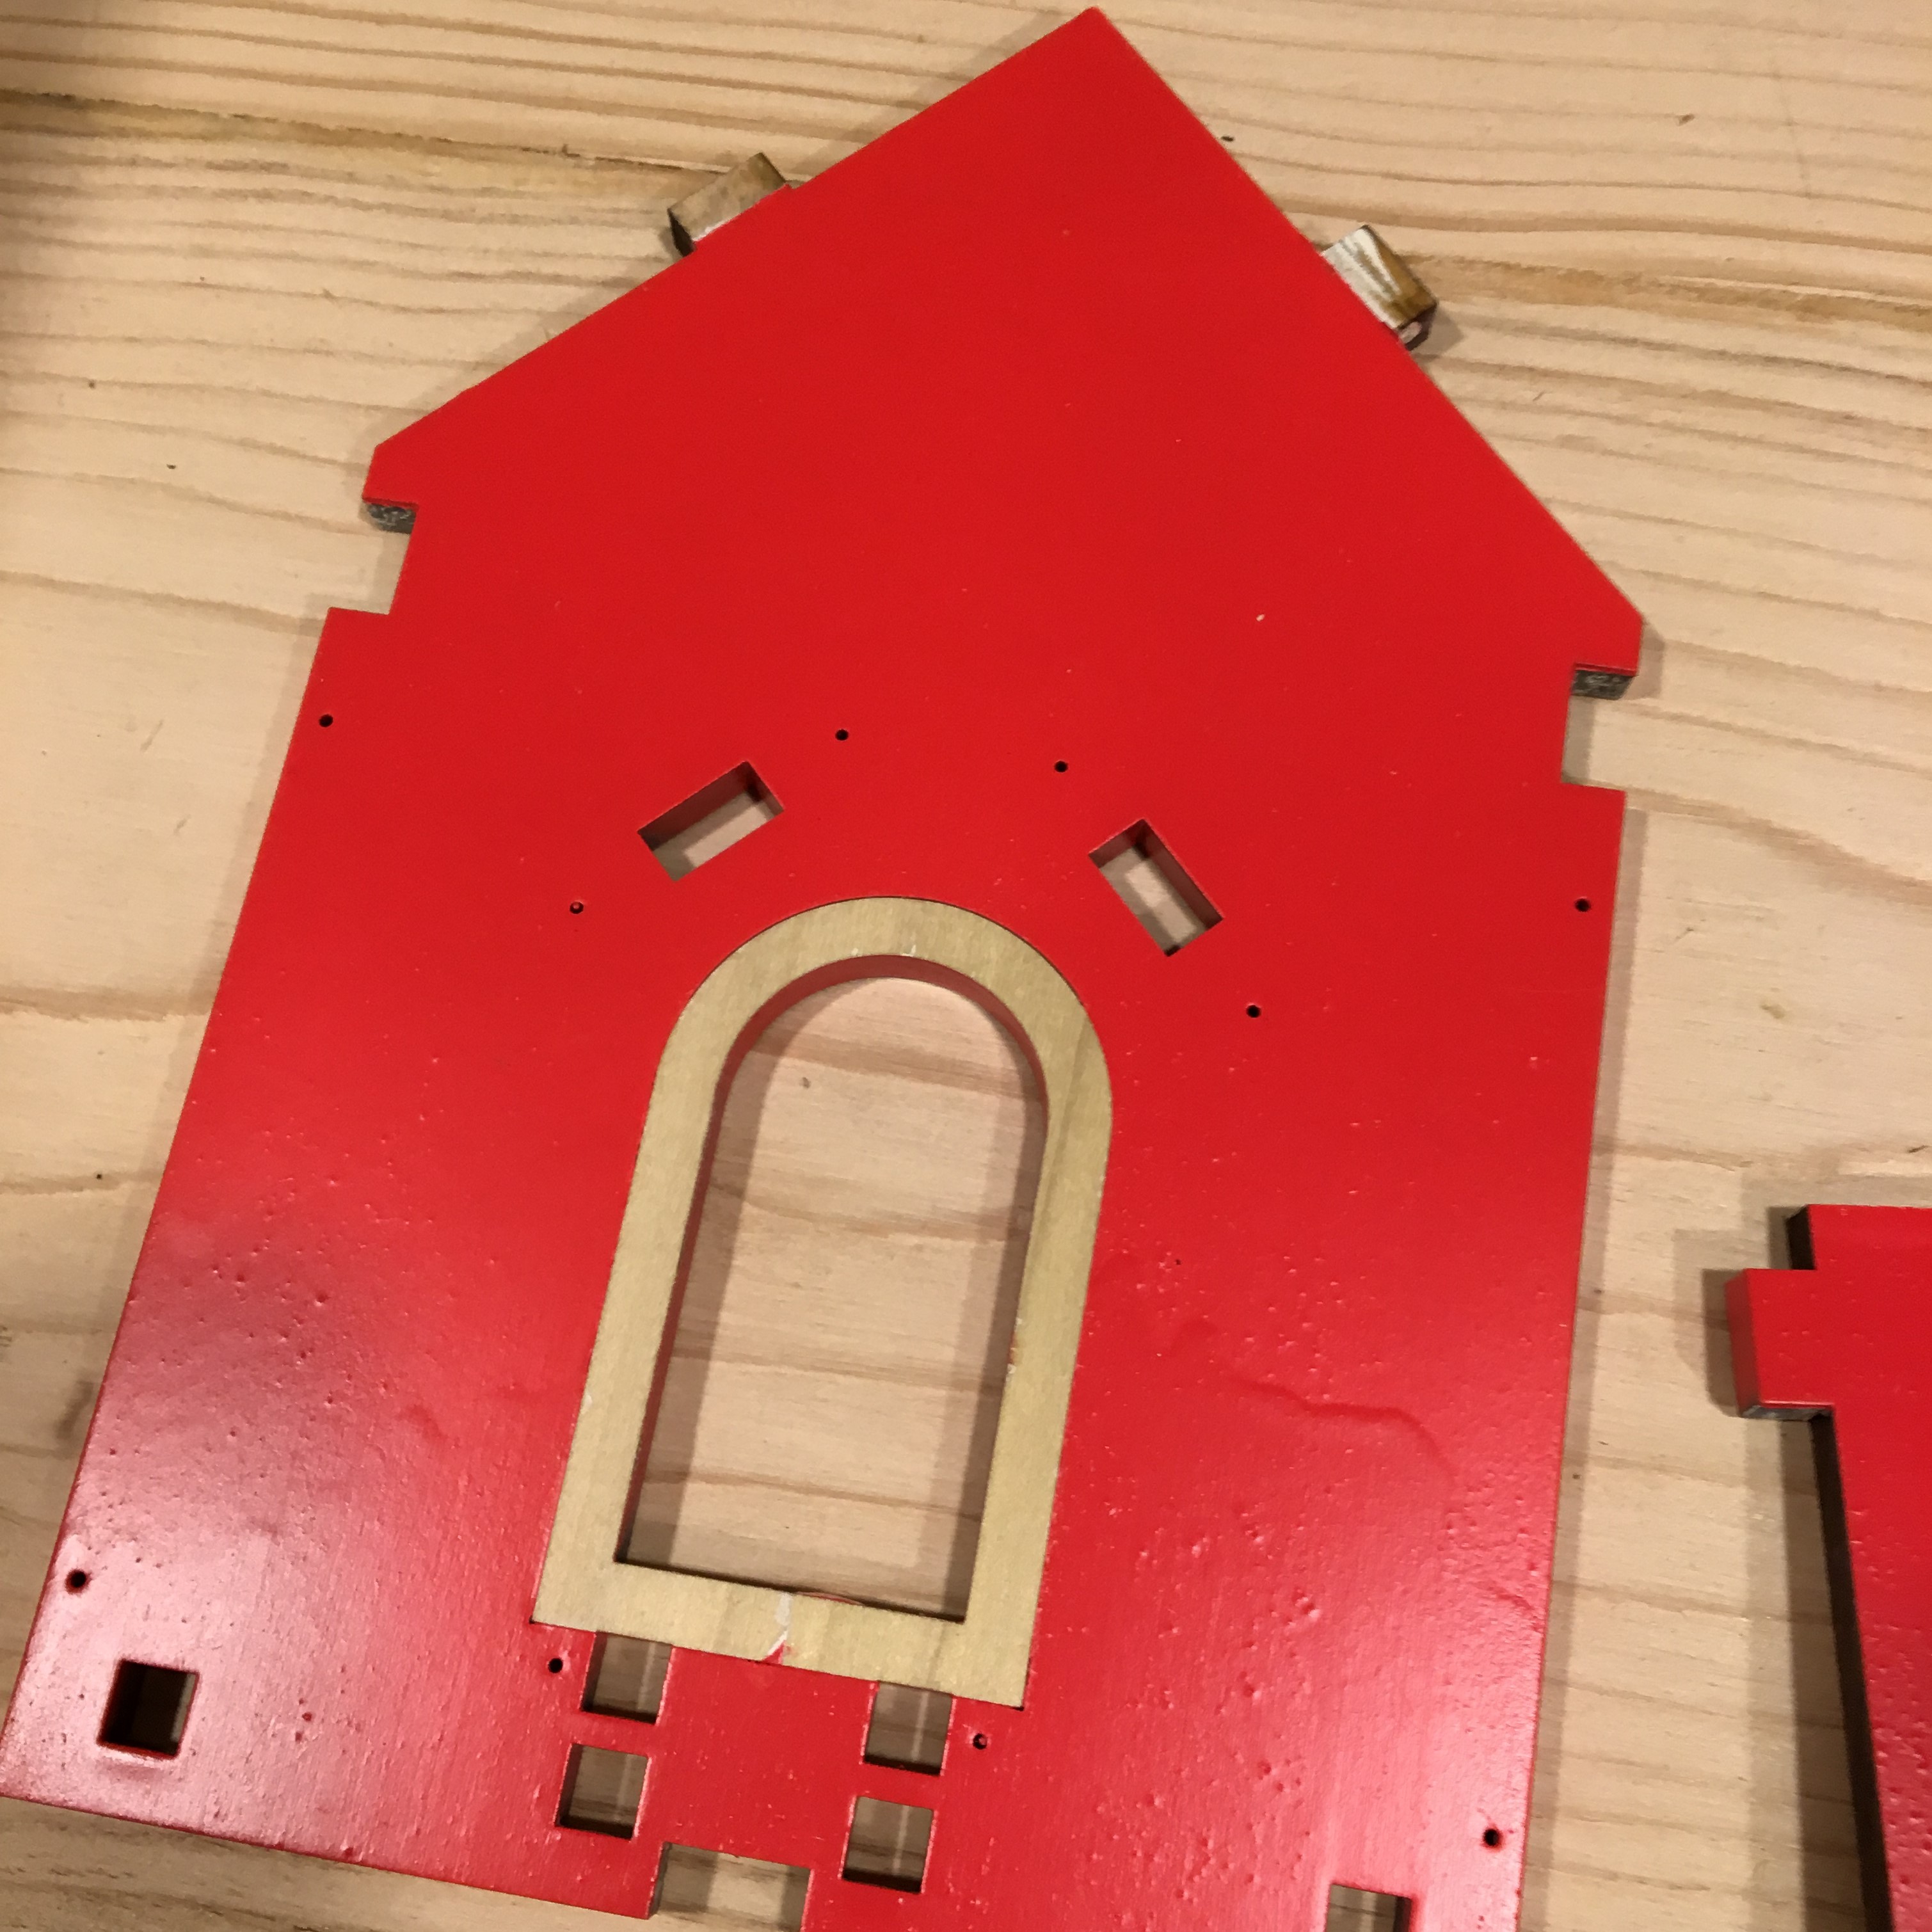
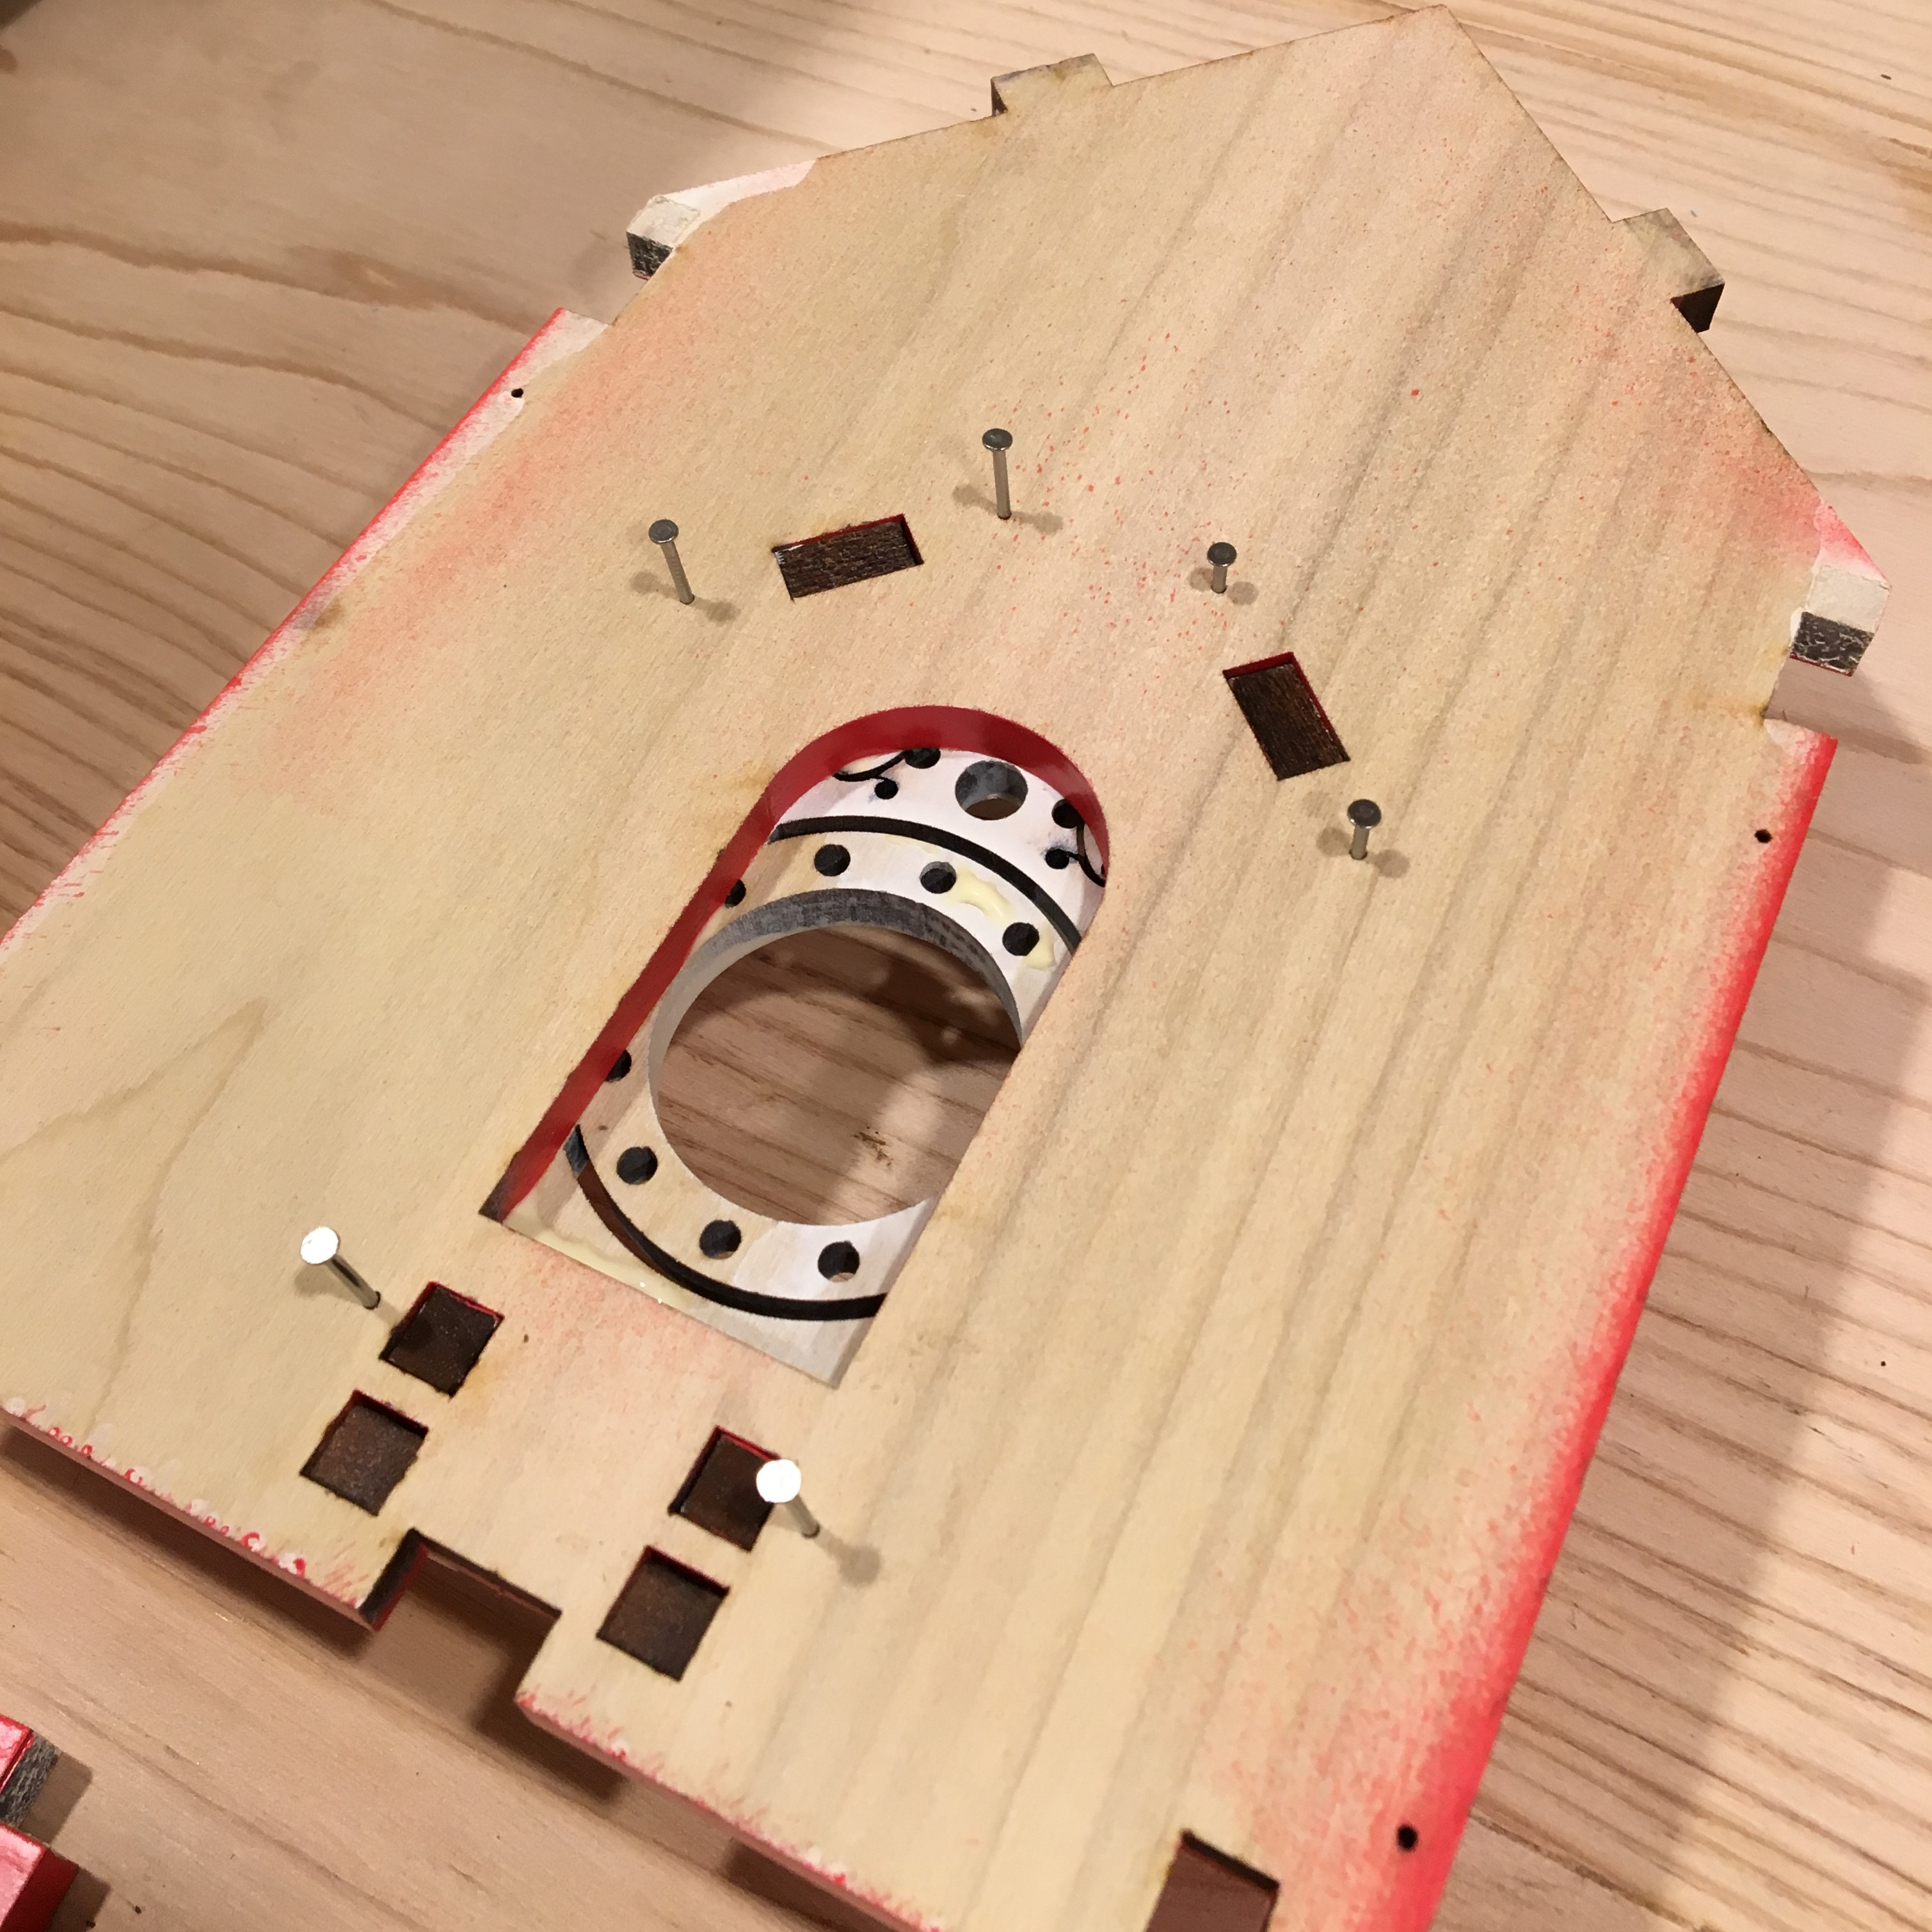
Front Panel
This is what the front panel should look like after the tape has been peeled off
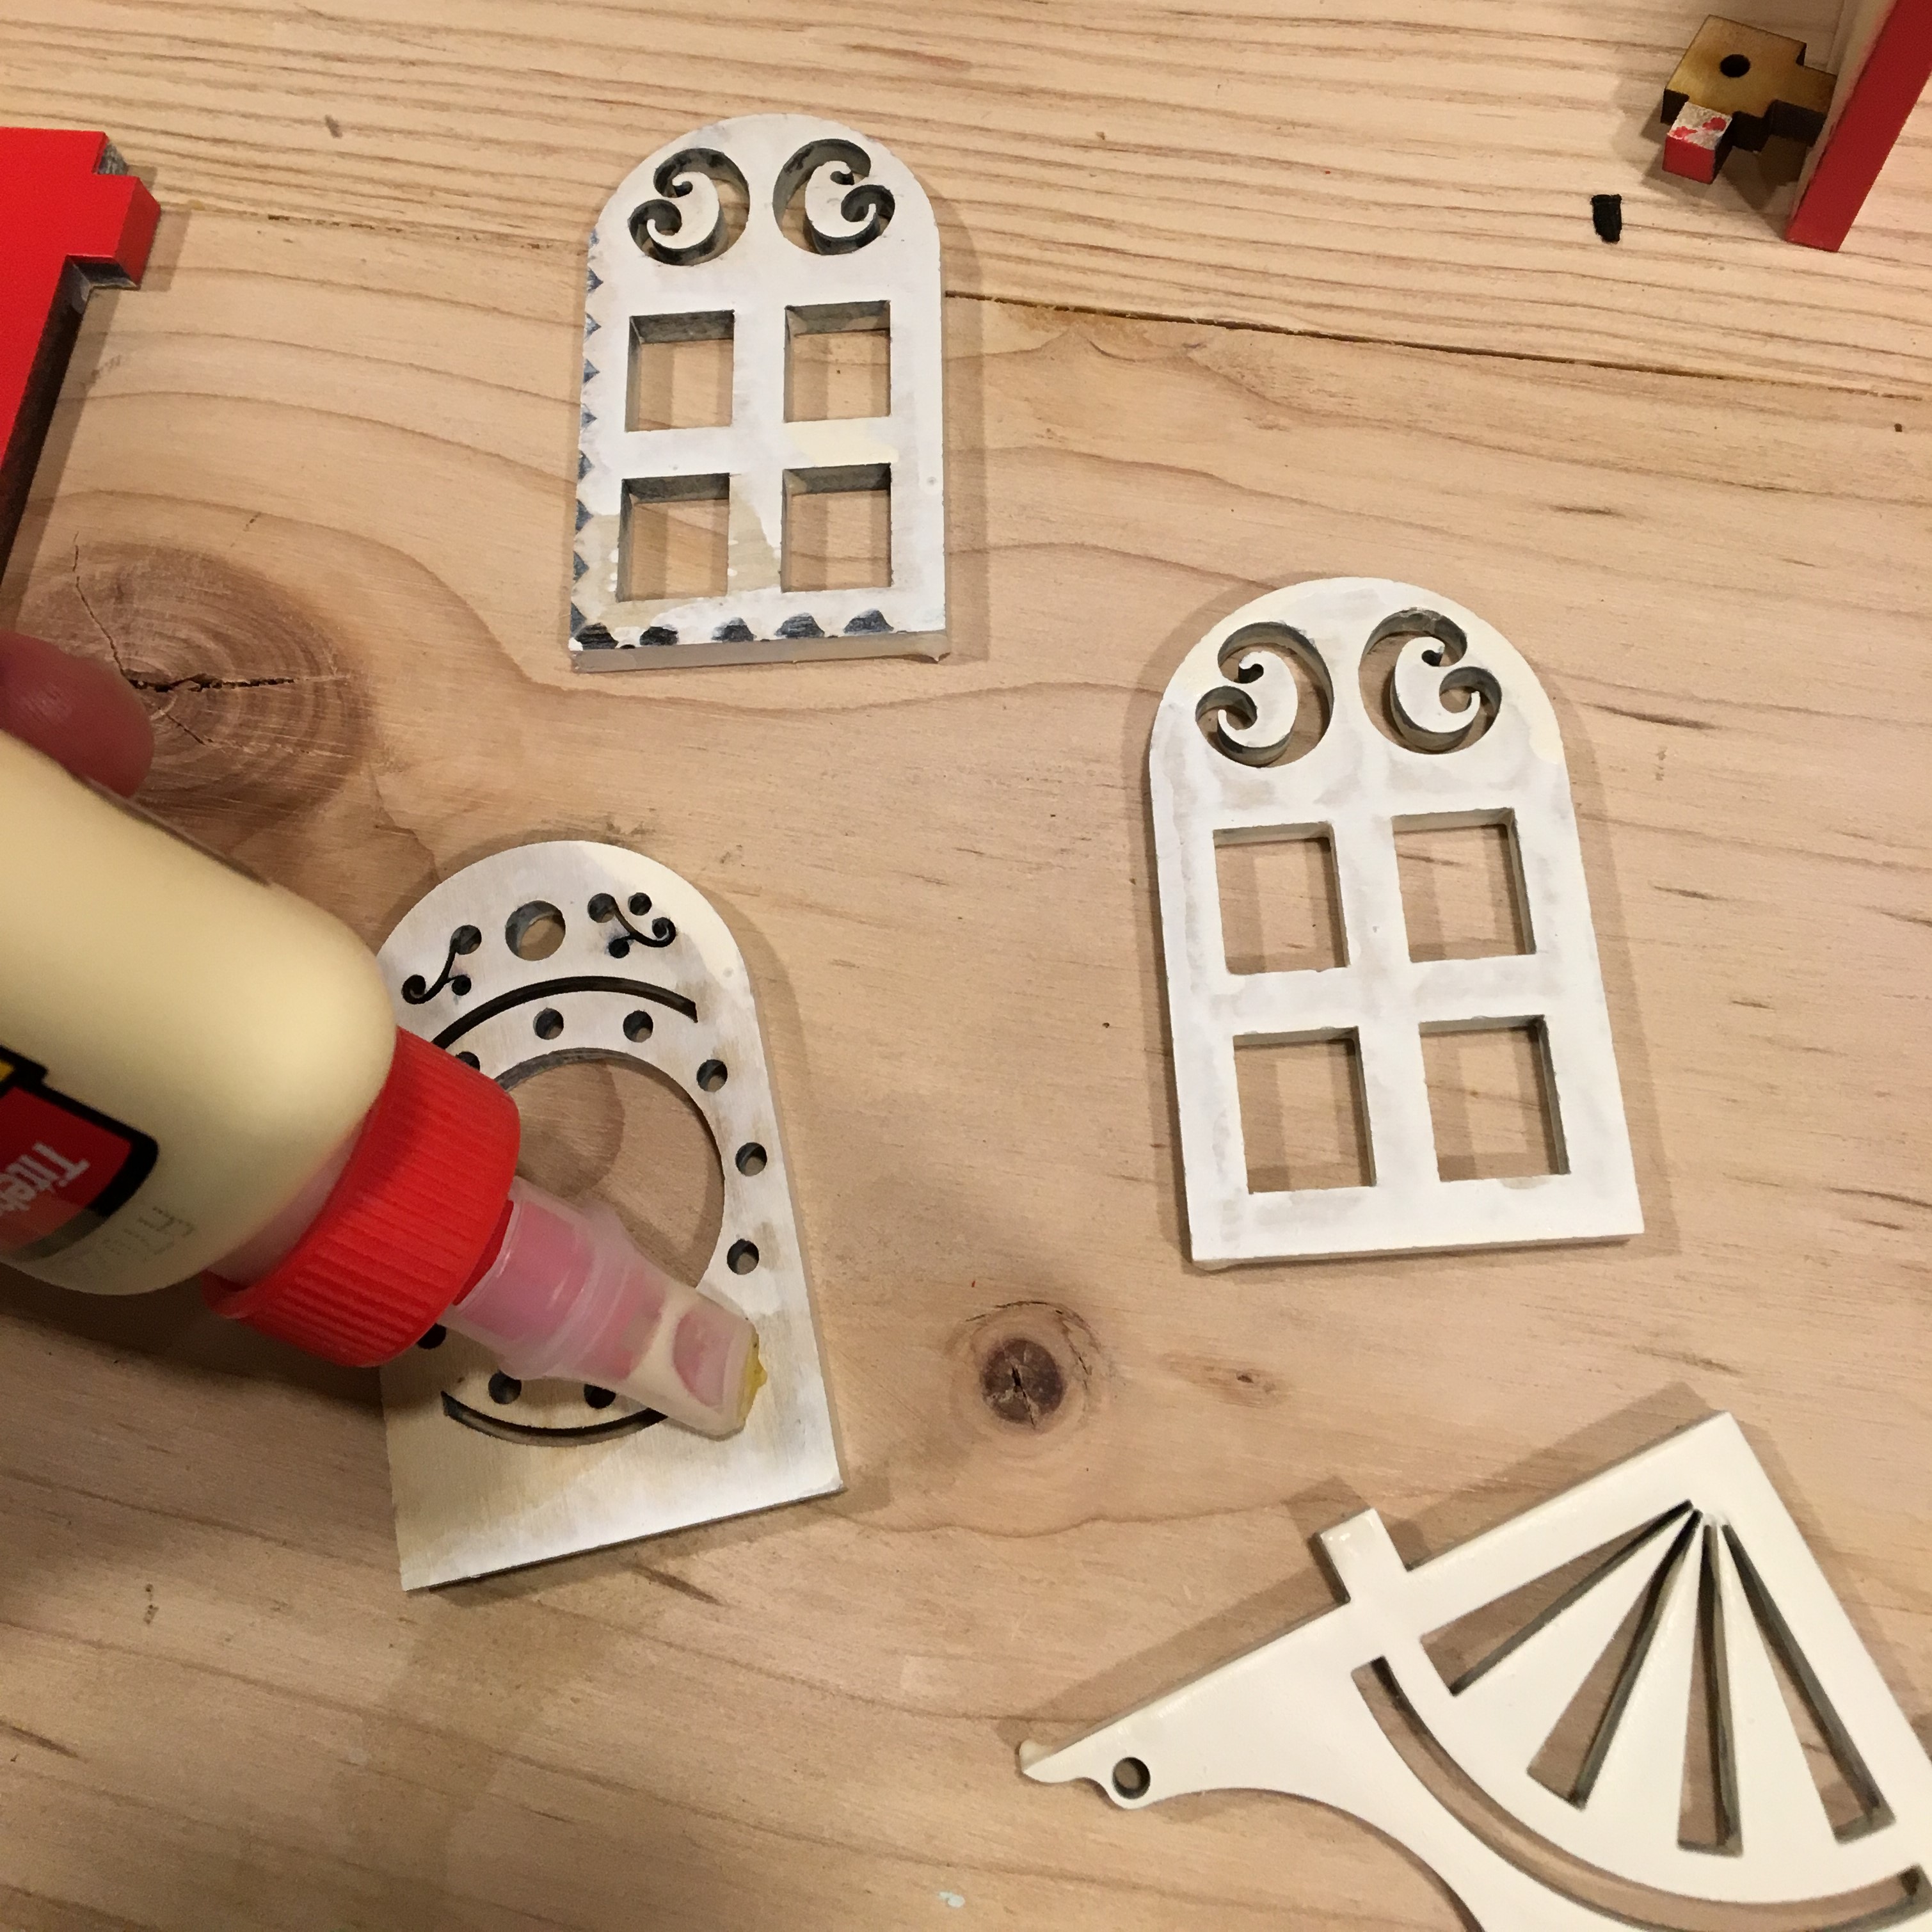
Glue Components
Apply wood glue to the back of the entry door and window frames. If there is paint build up on the back side, use a piece of sandpaper to expose the wood.
Glue Windows / Door to panels
Glue the door and windows to the side and front panels as shown
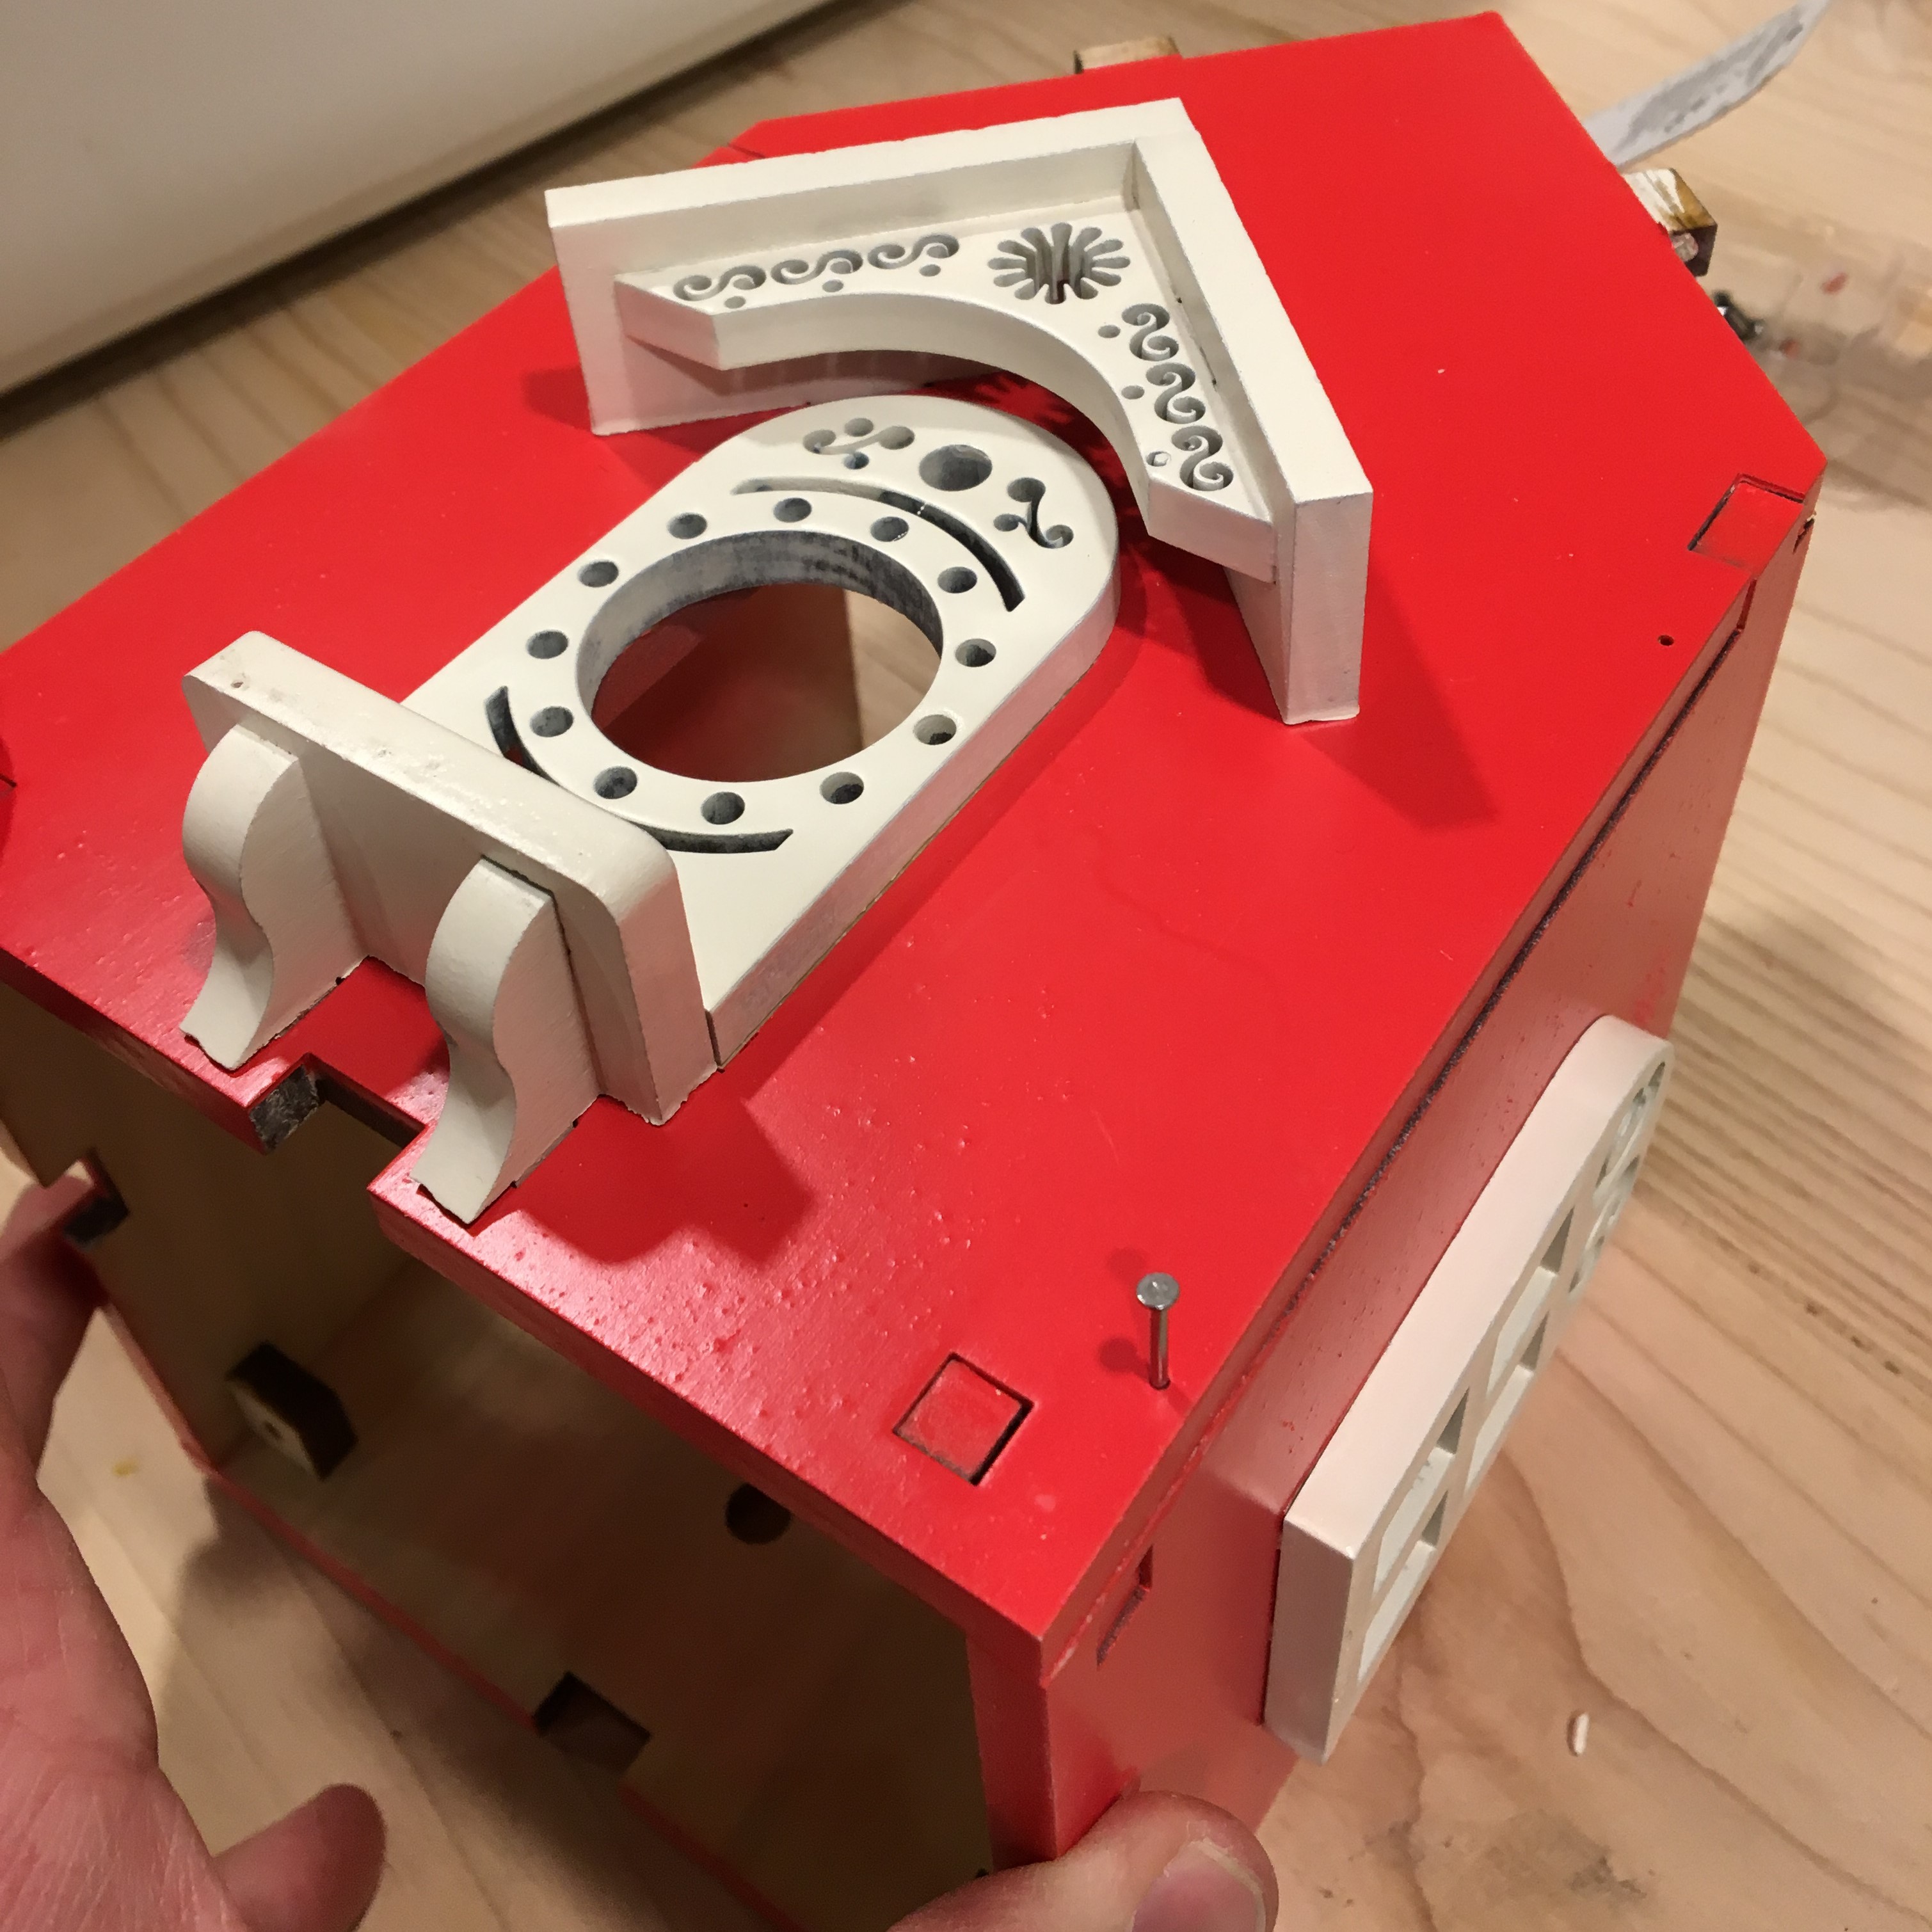
Install Porch / Stoop
Install the porch and stoop now in the front panel, you can apply a thin bead of wood glue to help it adhere to the front panel
Nail Porch / Stoop
Flip the front panel over and tack in the nails using the small lasered holes to secure the porch and stoop
Nail Panels
Re-assemble all of the side panels and make sure you include the bottom panel as well before you proceed. With all panels together nail all panels together using the small lasered holes. You can also apply a small bead of wood glue to help secure the panels together.
Glue Roof / Gusset
Apply a thin bead of glue to the gusset and install to the top roof, install the left roof panel into the top of the birdhouse.
Install Right Roof panel
Install the right roof panel connecting the gusset as well to the top of the bird house.
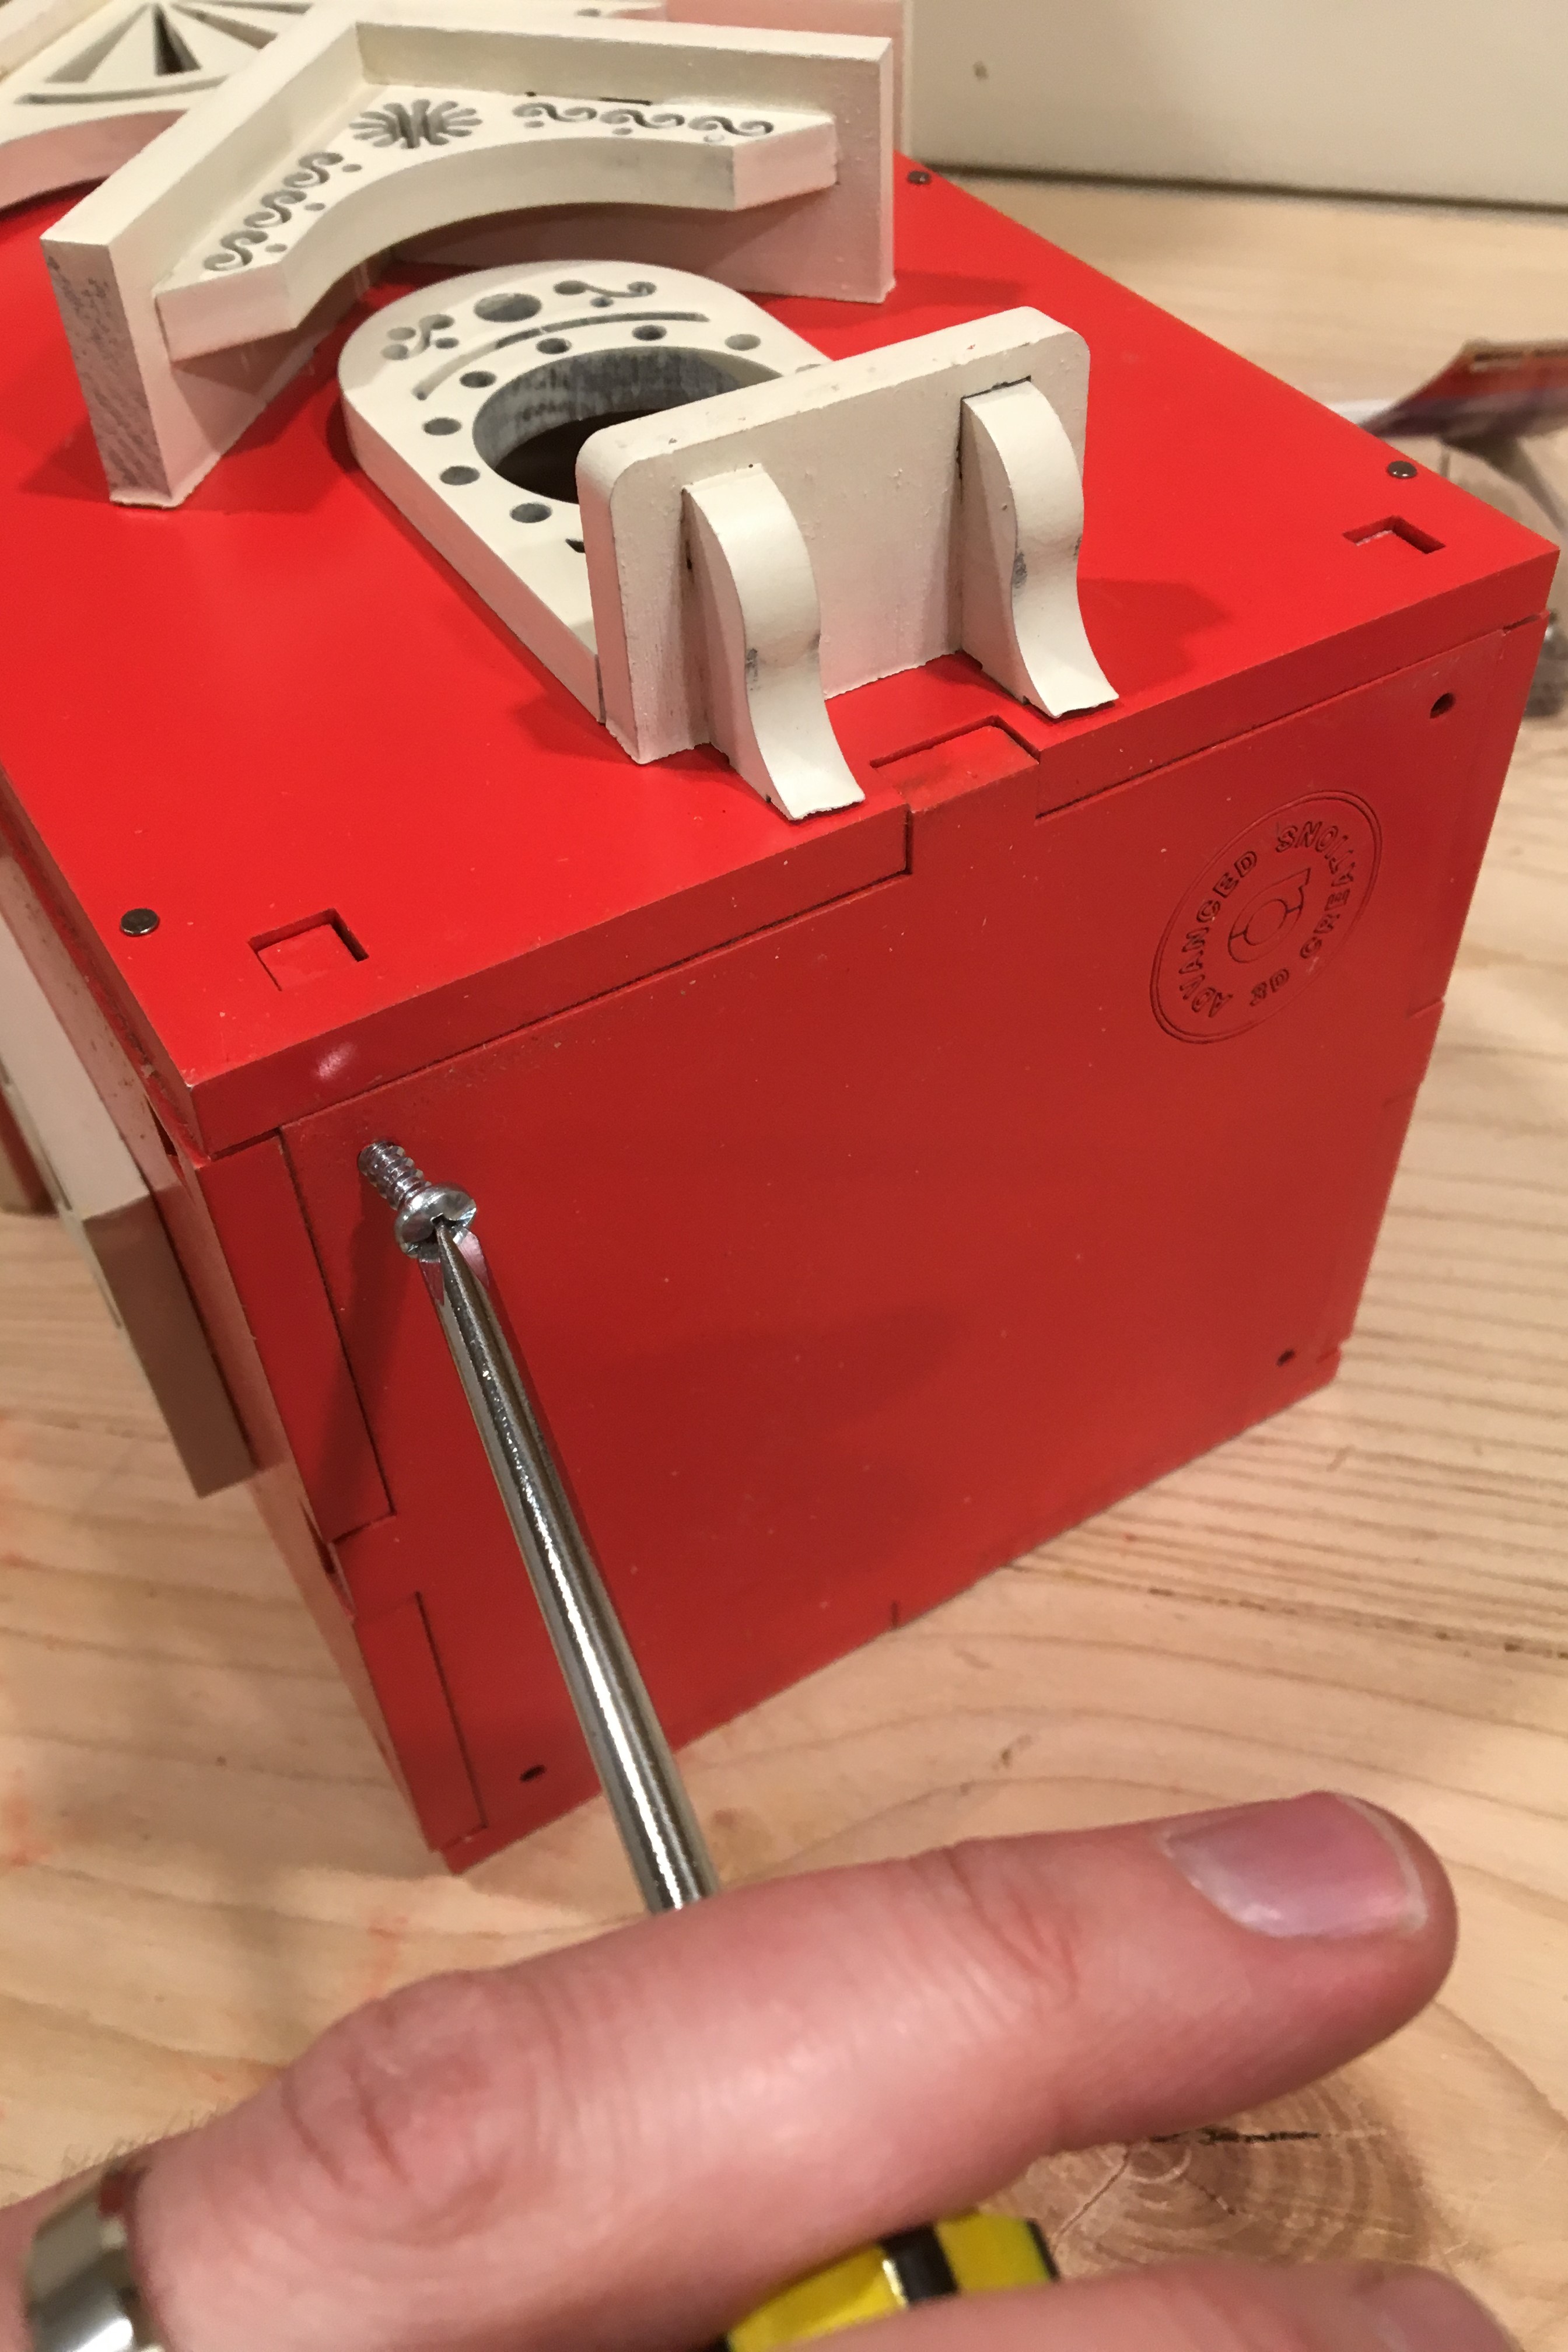
Secure Bottom Panel
Secure the bottom panel with the #6 screws at all four corners of the panel. This allows you clean out the house after it has been used.