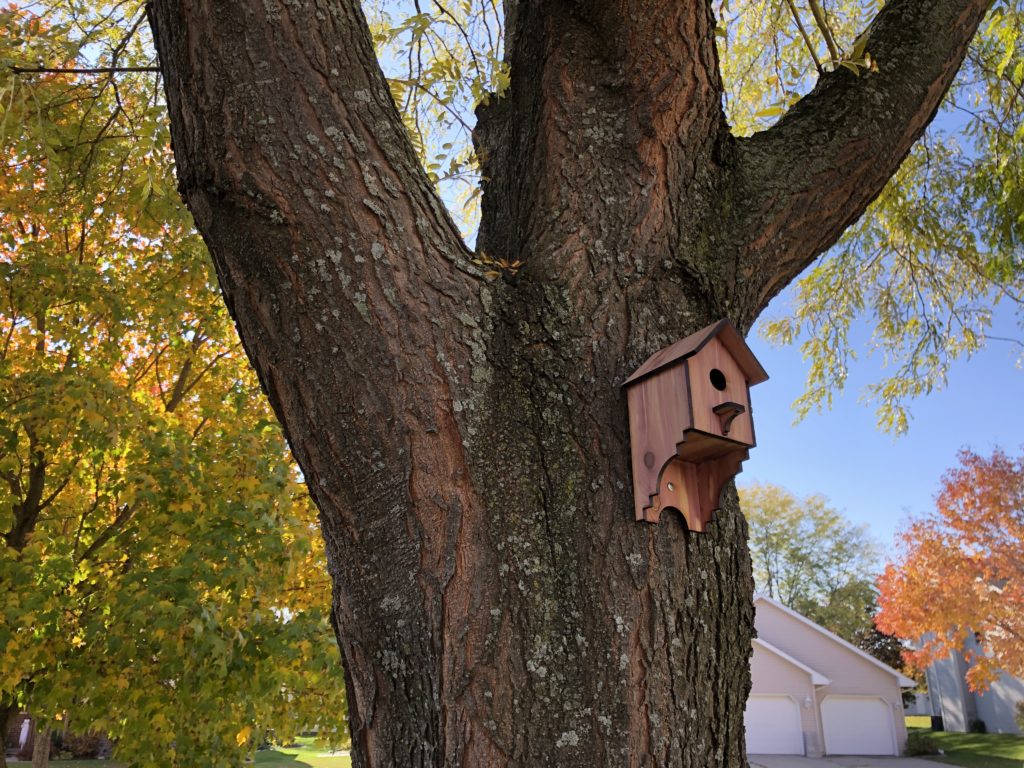
ADD THIS SIMPLE BUT ELEGANT BIRDHOUSE TO YOUR YARD TODAY!
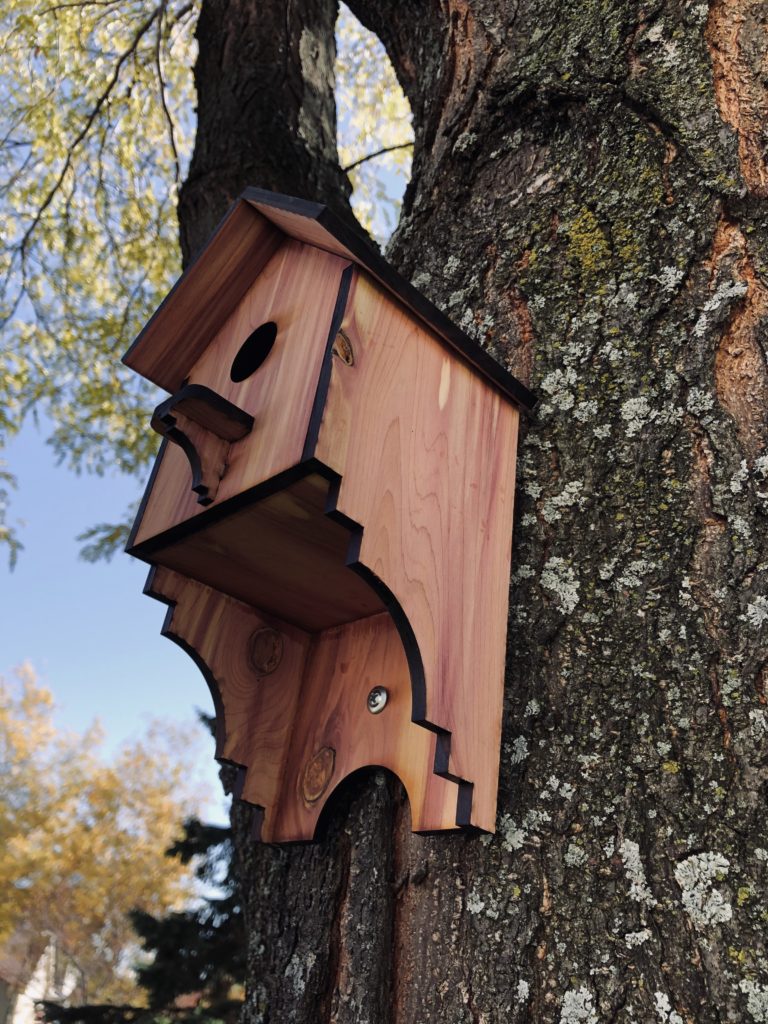
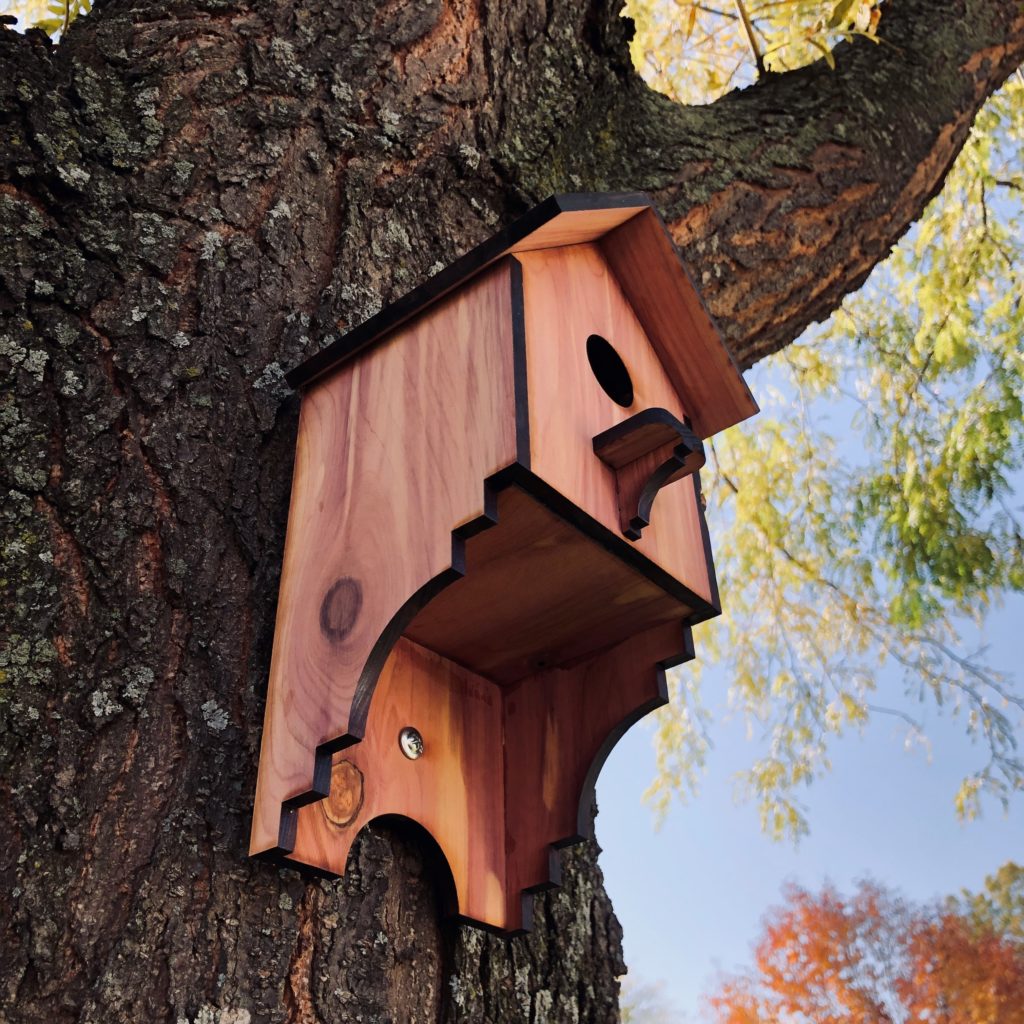
I was meaning to get this design posted a lot sooner this year but alas the summer slipped away from me and now it’s fall…but I really love this design and it served very well this summer. This birdhouse houses a wren or similar sized bird (opening diameter – 1-3/8″) and uses a very modest amount of material. It is recommended to use wood glue versus nails as red cedar tends to develop water spots around the nails after a while. This house boasts a Victorian style design and uses what I like to call “the pergola cutout” which I’ve used time and again in designs and really adds something special. Final Dimensions when assembled are 5-5/16″ x 5″ x 10″ and provides holes for 2X #8″ wood screws to secure the house.
WHAT YOU’LL NEED
- 2X 1/4″ X 5.5″ X 20″ RED CEDAR BOARDS (I was able to custom order these boards from The Wood & Shop, INC)
- Wood Glue – I find TiteBond works really good
- Small disposable dish (like a used butter container to mix glue)
- Small paint brush (for glue)
- Quick Grips (longer grips are a good idea for clamping everything together)
- Design files (get them here)
- Paper Towel
- Glowforge laser cutter or other laser cutter capable of cutting 1/4″ x 11.5″ x 20″
- 2X #8 x 1″ Wood Screws to mount the bird house
- Time…(This one seems to be the hardest commodity to track down these days)
ASSEMBLY:
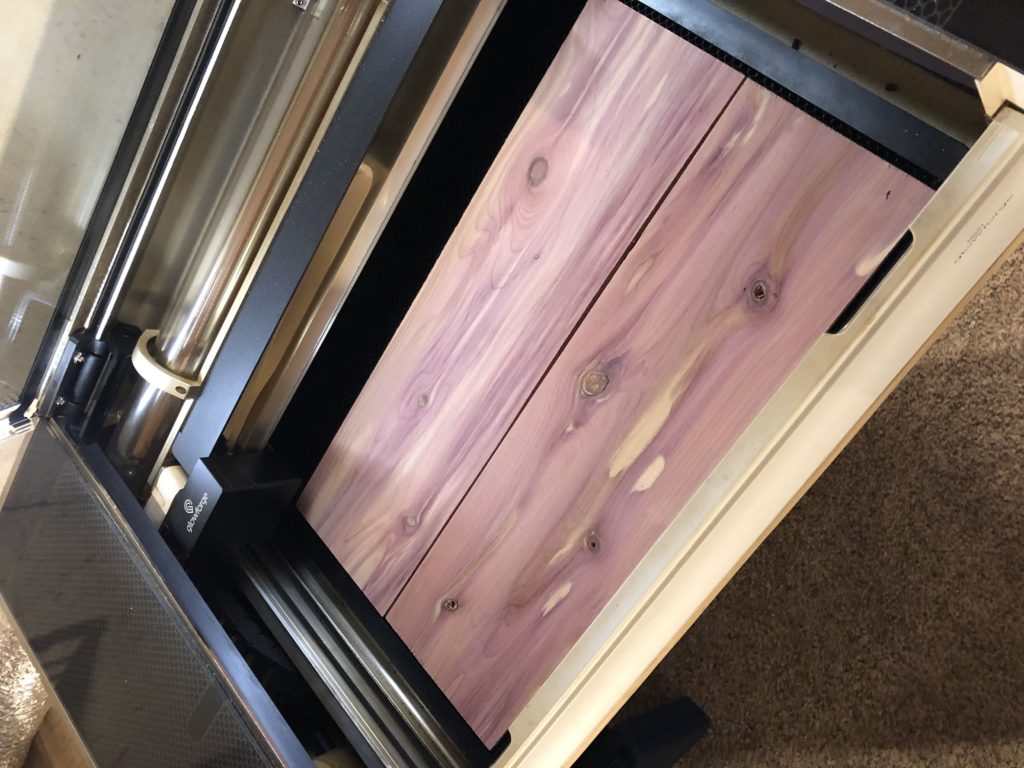
Load Red Cedar into Laser Cutter 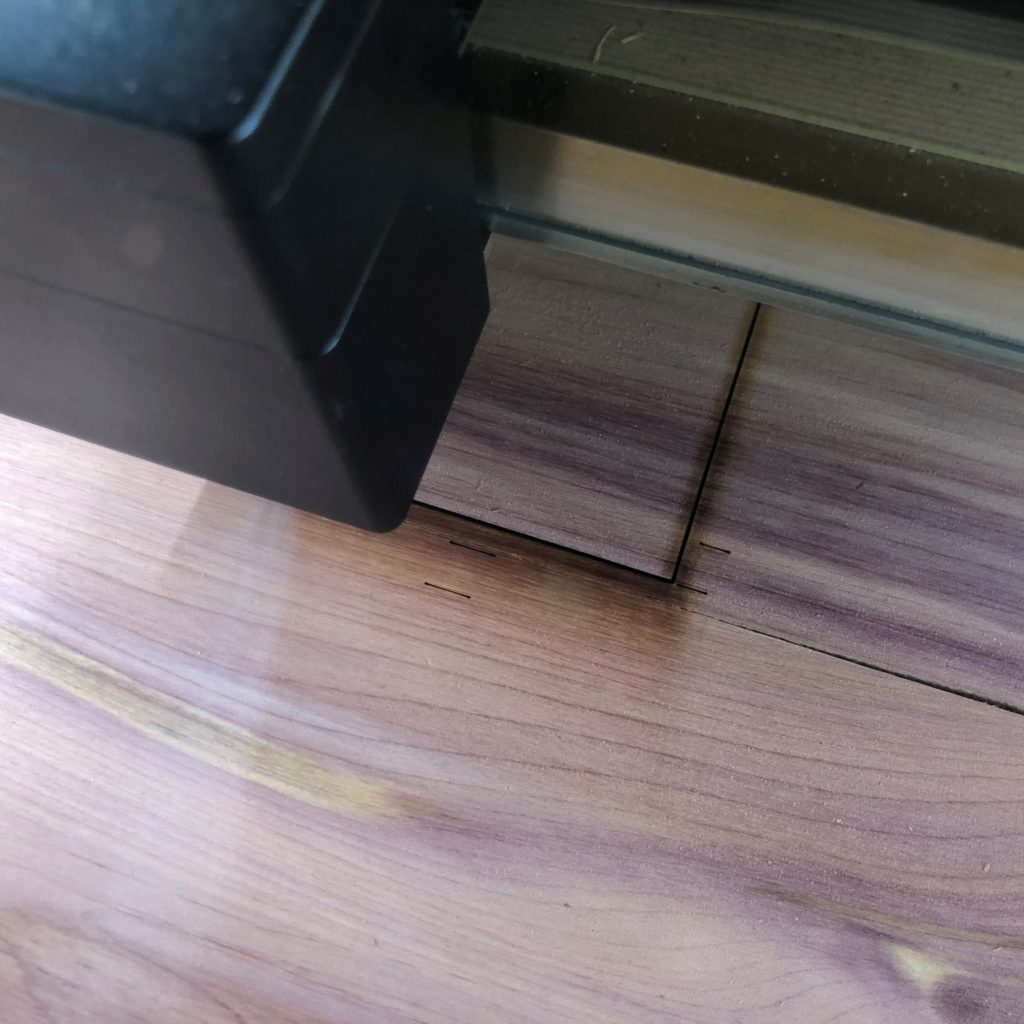
Score the provided guidelines as the first operation to help ensure parts are cut within the boundary 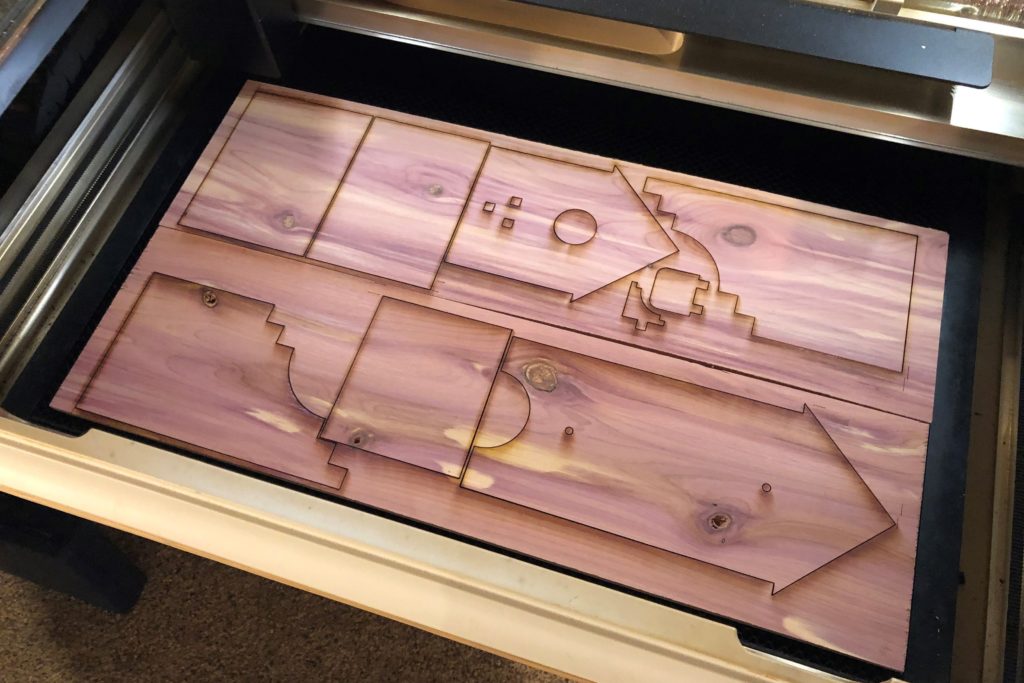
Cut Parts @ ~21 in/min or Glowforge Speed of 145-150 and full power 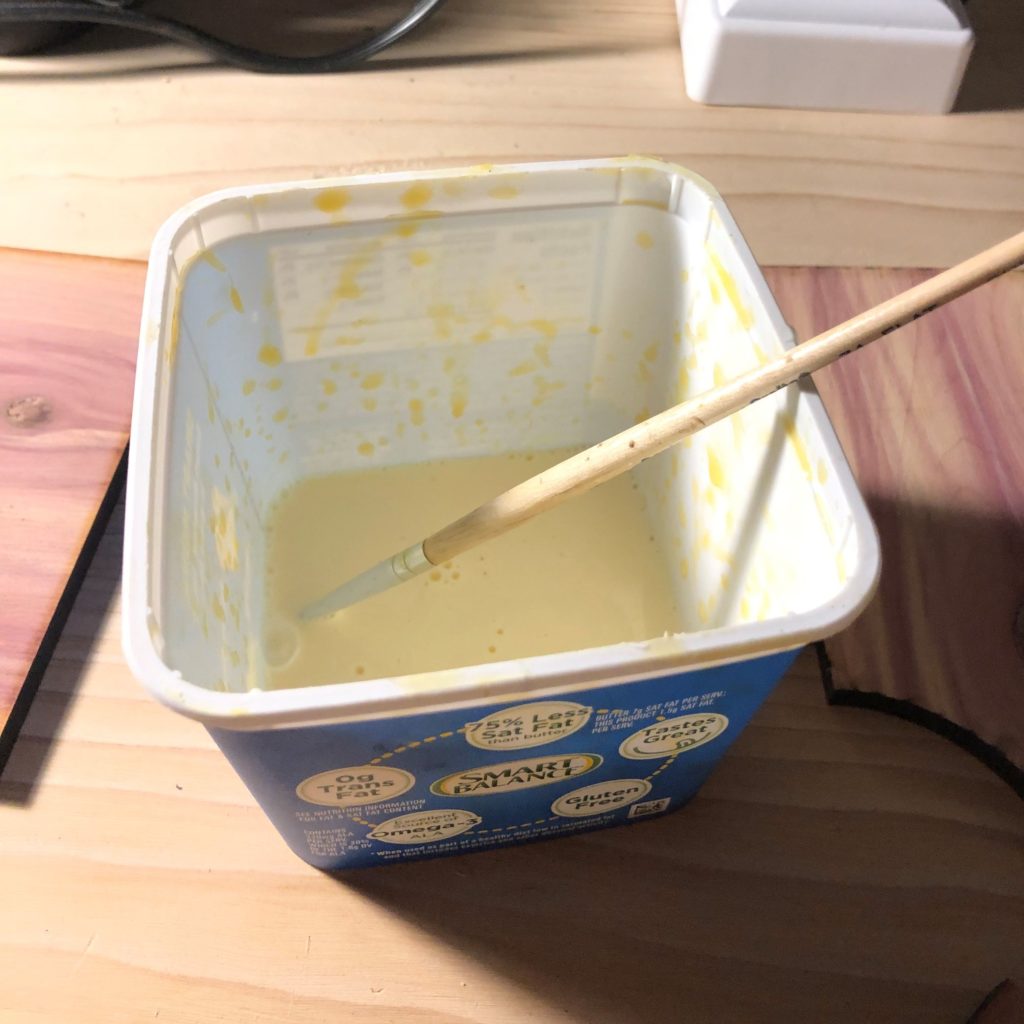
Mix Wood Glue with a bit of water and stir with paint brush 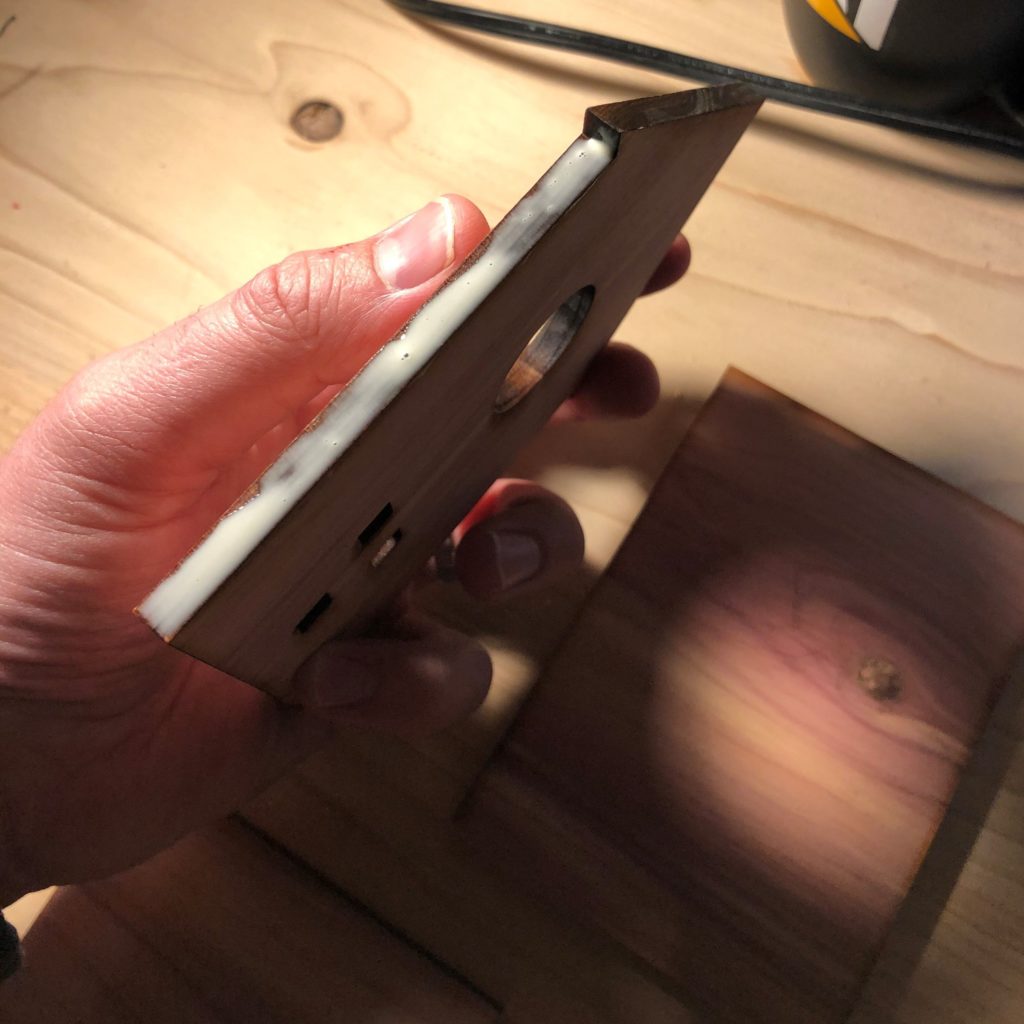
Lay Back panel flat down and glue seams on side panels 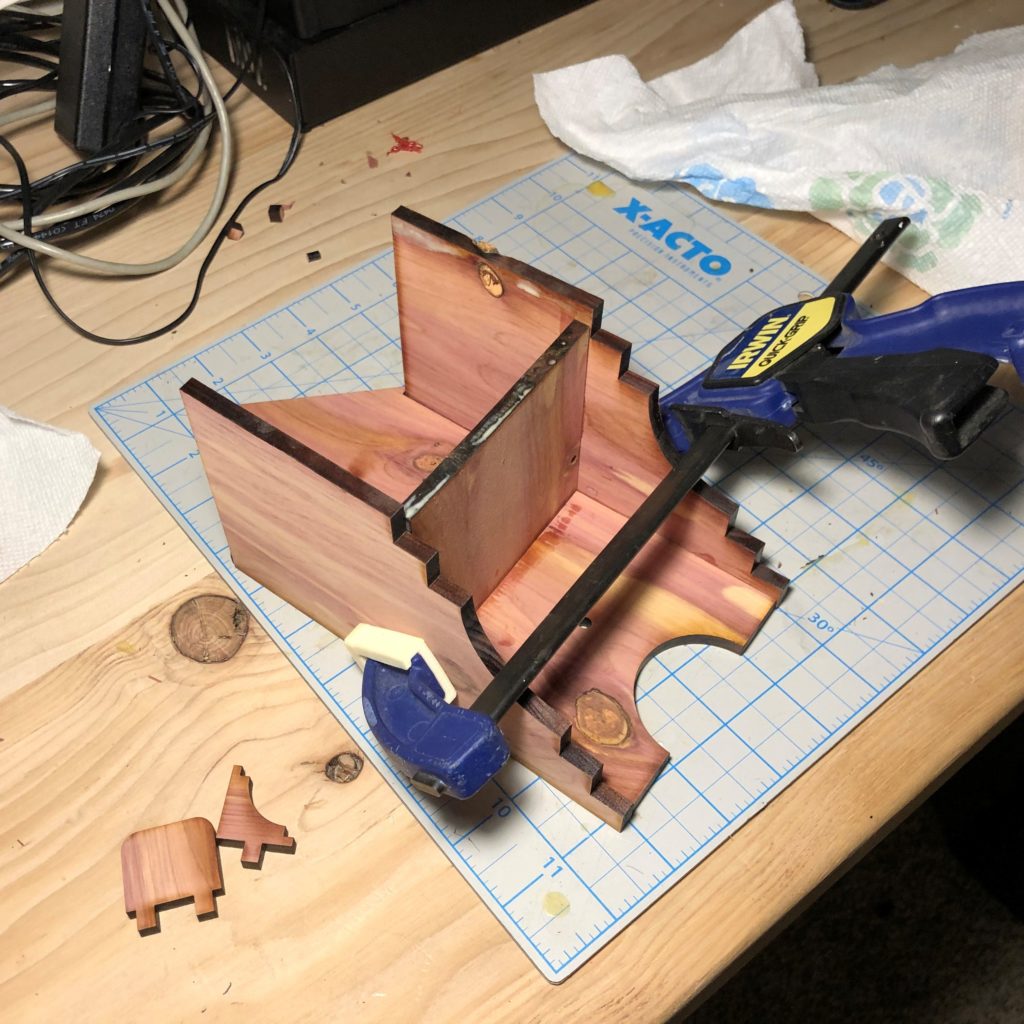
Apply glue around floor panel and assemble, applying clamps across 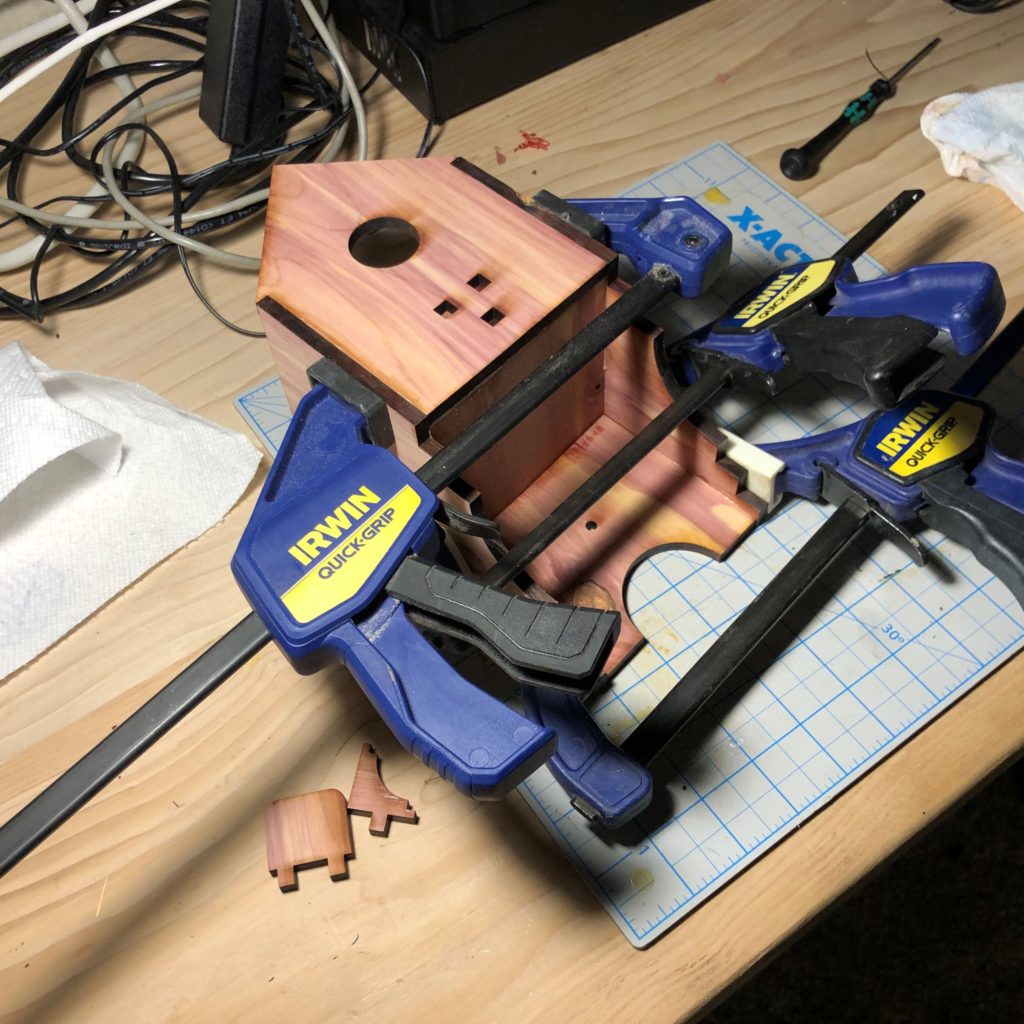
Clamp all over or wherever there is a gap from warps in the wood 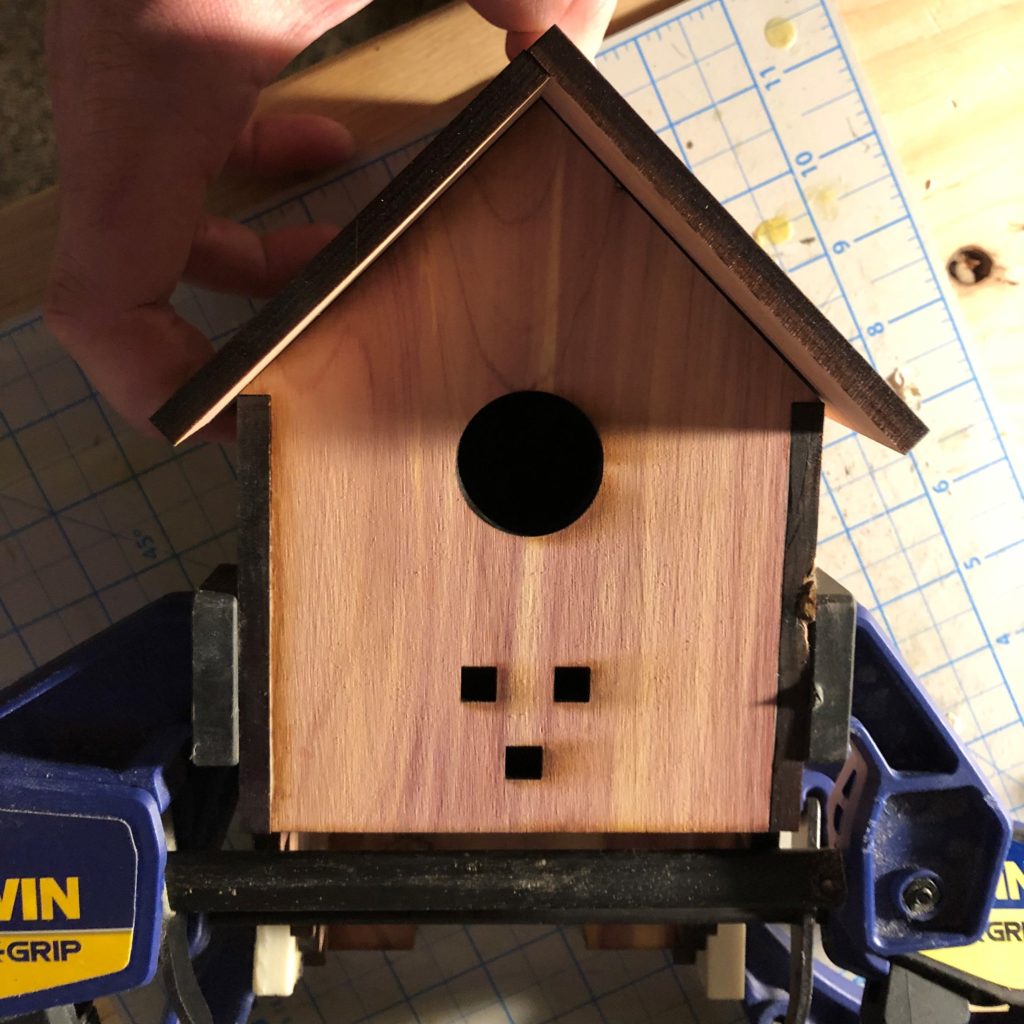
For the Roof one side is a little longer in order to lap over the other piece 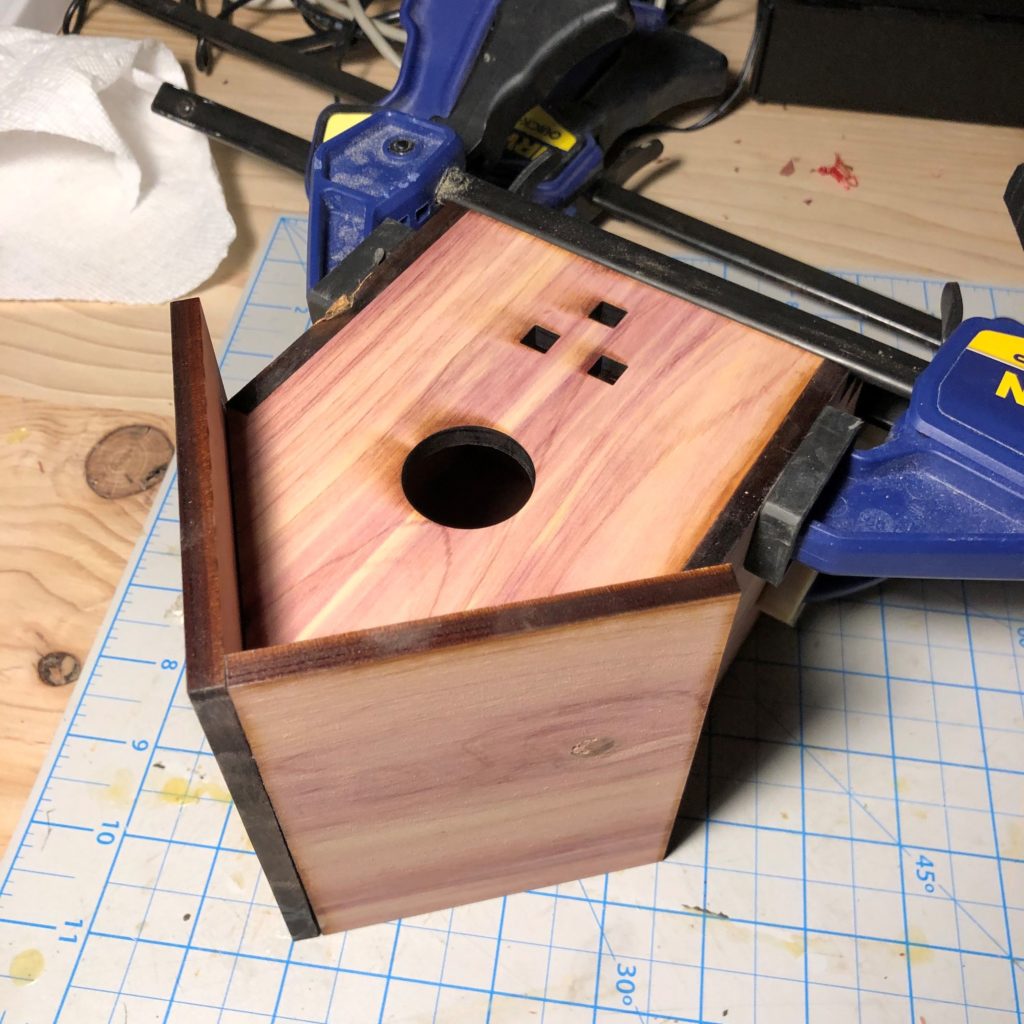
Apply glue to the front and back panel and the roof top seam and set in place 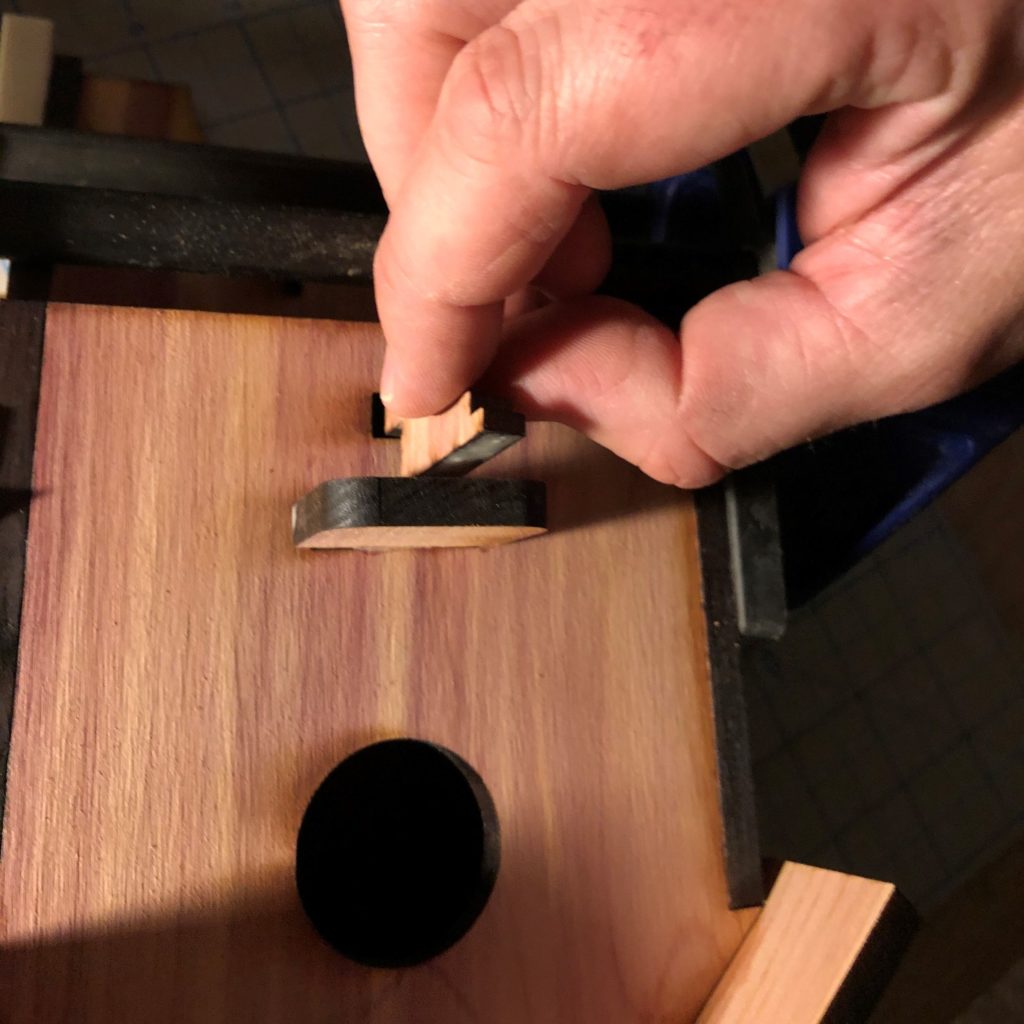
Apply glue to the stop and gusset and place on the house 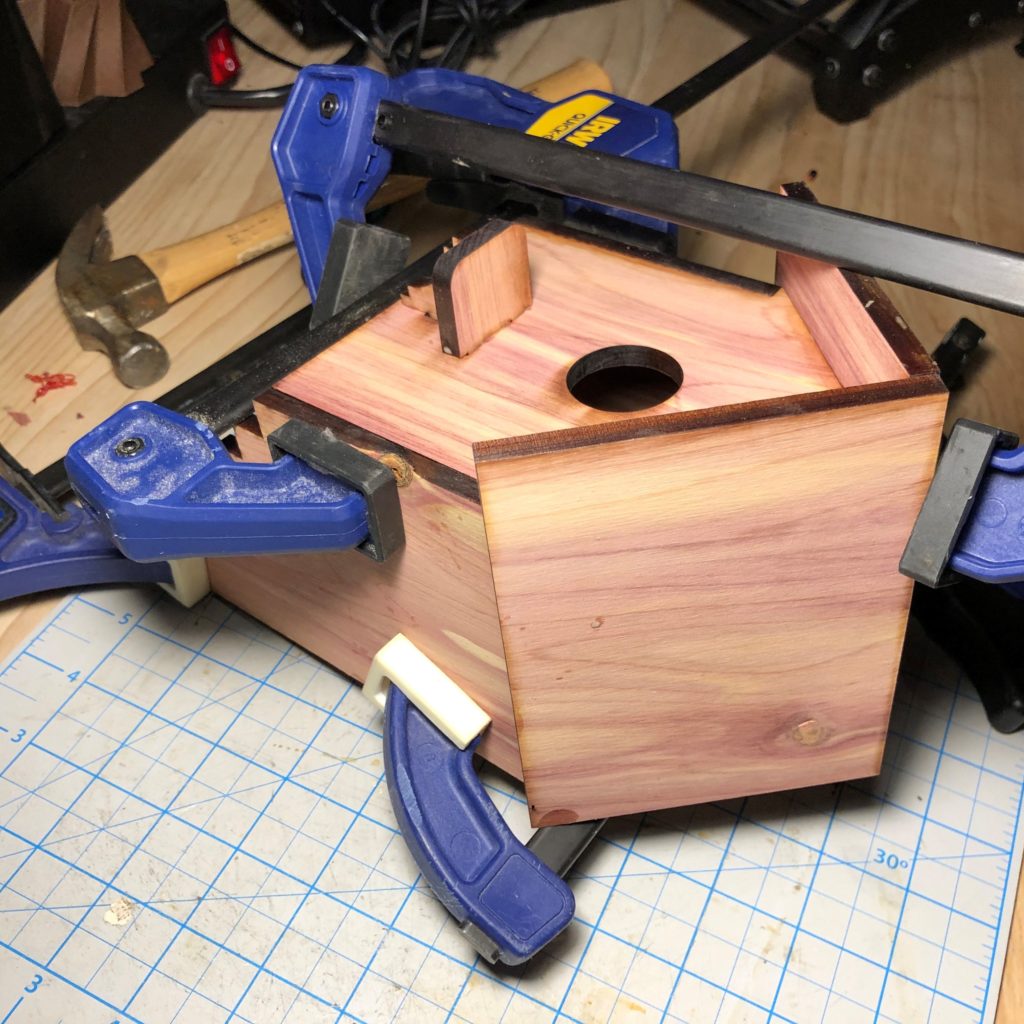
I found if you put a clamp on the bottom lifting the house a bit and then clamp from the roof top to the bottom works well
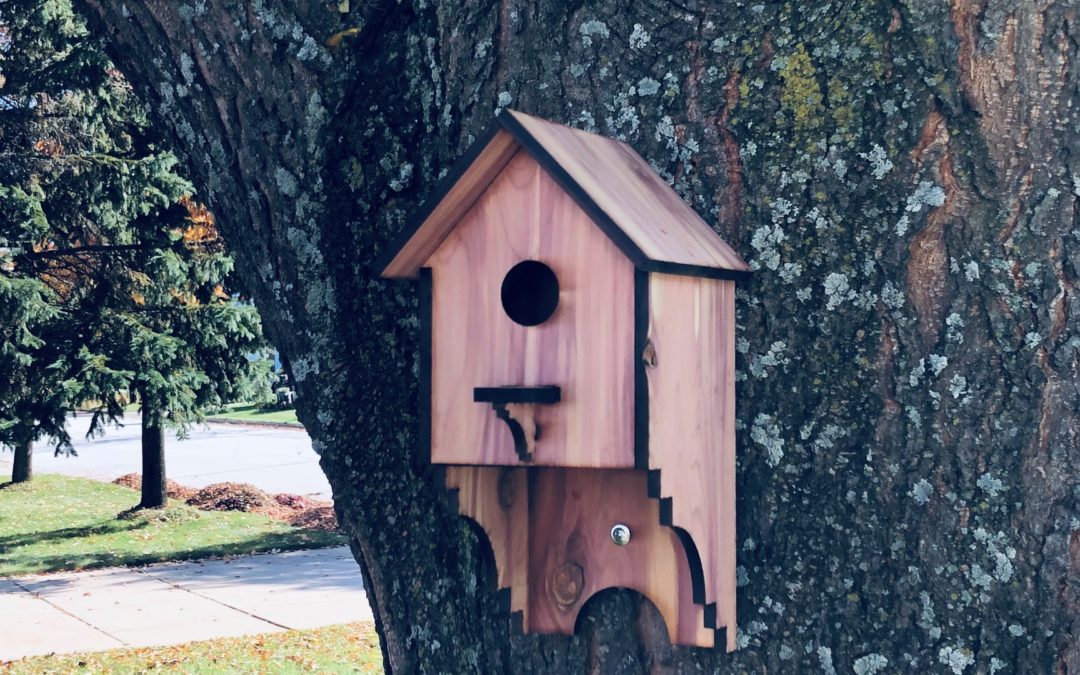
Make sure there are no gaps around the house and wait for the glue to dry before removing the clamps. It’s a good idea to go around with a paper towel and dry any glue drops that may have escaped thru the seams. Hang your birdhouse on a tree or other worthy post at least 4 feet off the ground, it’s a good idea to put the house around a garden or a feeder as the birds like to catch bugs or grab a bite to eat at the feeder. You can also paint the house of course. Enjoy!