

It certainly has been a while since I uploaded a new design and don’t worry, I have a lot more exciting new projects to share in the near future. Life has picked up it’s pace and so I must budget my time more precisely these days. My wife and I have been blessed with two very healthy, hungry, accident prone boys that are an absolute blast to watch grow up. Trust me I will supply a follow up post to show just what Advanced 3D Creations, LLC has been up to but sufficed to say we are still here and creating. But enough about that, this design is fairly simple, the top is 3D printed in pretty much any material you choose, the wood can be laser cut, routered out or cut out with a hole saw. I had a bunch of 3/4″ thick cedar boards that I wanted to use up which hold up excellent outside.

BILL OF MATERIALS:
1x 5″ Hole Saw
1X 3″ Hole Saw
1X 1-1/2″ Hole Saw
1X 3/8″ x 1″ Wood Dowel (or 1/4″)
1X 3/8″ Drill Bit
1X 13/64″ or 1/8″ Drill Bit
3X #10 x 3″ long wood screws
1X Center Punch
3/4″ Cedar Wood
Drill and Quick Grips would also be helpful
Design Files: Etsy Design Files
Assembly / Print Settings:

You can print the top using 15% infill or better, PLA is not as weather resistant but will work fine, PETG is a little better, ASA filament I’ve found is the most weather resistant but prone to cracking.

Cut out the house body components with the 3/4″ cedar wood using the 3″ hole saw first, then cut out the outside using the 5″ hole saw. You will need atleast 4X with inner holes cut out (you can add more if you’d like) and 1X bottom piece without any cutouts.

Line up the printed top onto one of the cedar rings and center as best you can, use a hole punch to mark out the holes to drill.

Use a quick grip to secure the cedar to a table and take the drill with the drill bit installed and drill thru the cedar boards. Make sure you get all the way thru as the screws will crack the boards.

Add the screws to the top and secure with a drill…slowly, you really don’t want the wood to crack it’s very disheartening.

Next, take the 1-1/2″ hole saw and drill out the opening in the side, make sure to go between the #10 screws.

Next, use the 3/8″ drill bit to drill out for the 3/8″ dowel for the perch, you can also use a slightly smaller drill bit to press fit the dowel in tight.

Lastly, install the dowel pin in the drilled hole, You can use wood glue or hot glue to seal the dowel pin into the birdhouse.
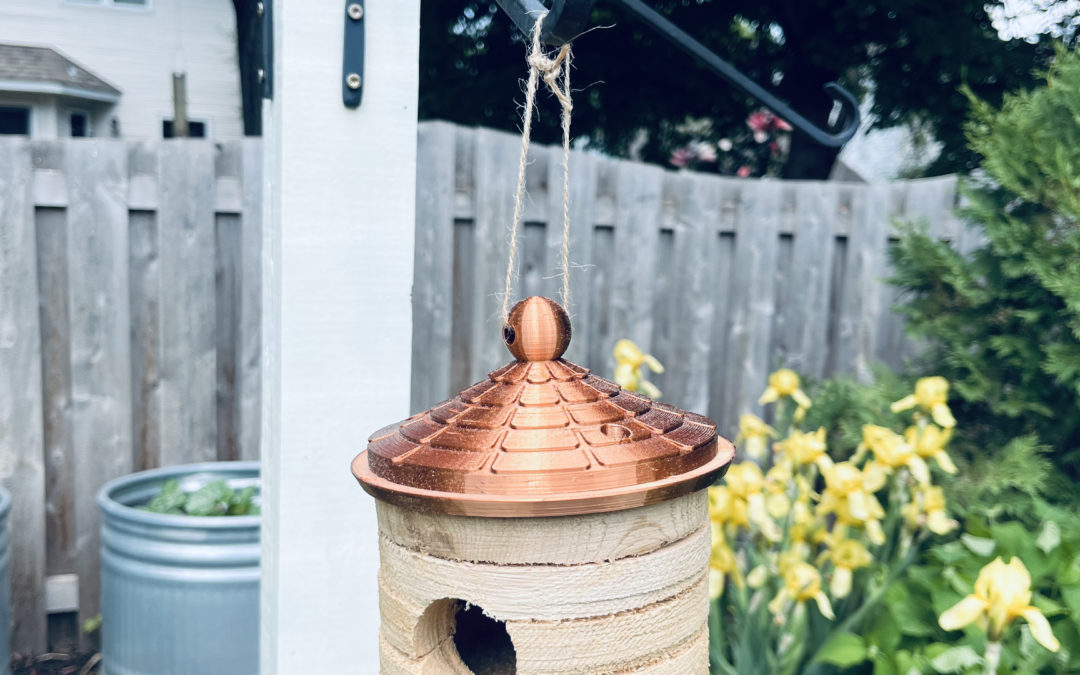
That’s it! Grab some twine or you can also use some copper house wire to hang the house from a tree, a shepards hook can also work nice. Good luck and I hope you enjoy!